Not all days are bright and illuminating for a perfectly exposed shot. But instead of packing your bag to return home without taking a single shot in low light conditions, you may try adjusting your camera settings and then clicking your shot. However, this may or may not work. So you must try the post-production photo editing alternatives easily available nowadays.
Follow the instructions given in this blog to improve bad lighting in your photos.
Discover Post-Production Options to Fix Bad Lighting
There are two types of bad lighting – harsh and soft. Harsh light creates shadows in your pictures that can ruin them completely. While a soft light turns a beautiful portrait gloomy as the subject looks invisible or lifeless.
Fortunately, with the help of the below three simple solutions, you can turn a badly lit photograph into a picture-perfect shot. Let’s learn how to use them:
1. Convert it to Black & White in Photoshop
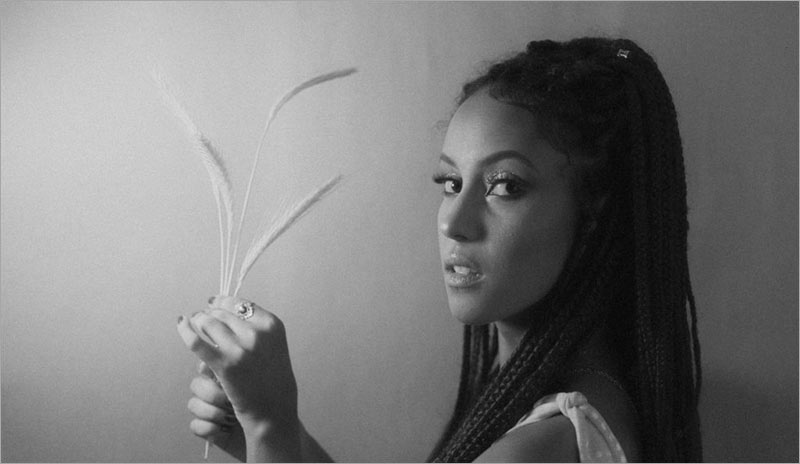
An aesthetically inaccurate image involves muted colors and unfitting background objects. By removing the colors from such pictures, you can shift attention toward the subject and wipe out its major flaws.
Follow these steps to turn a badly-lit image into a black & white photo using Adobe Photoshop.
- Download and open Adobe Photoshop.
- Click on File > Open > Browse to the folder > Select the desired image and press Open.
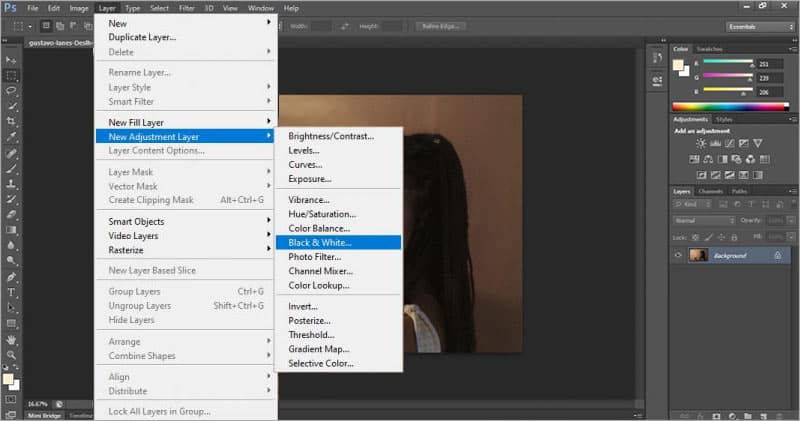
- Click on the Layer option on the top menu and go to New Adjustment Layer > Black & White.
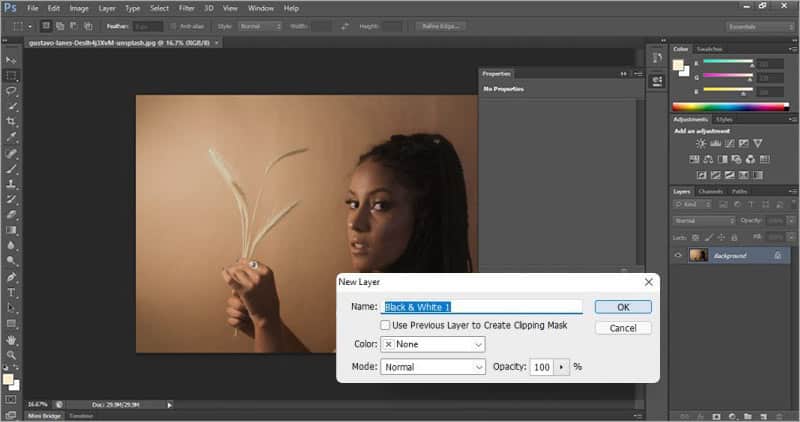
- A pop-up window will ask whether you’re certain about turning the present image Black & White. Press the OK button to give your consent.
- It will turn your image into Black & White and sweep in the Properties slider to adjust red, yellow, green, and other colors to make your black and white picture appealing.
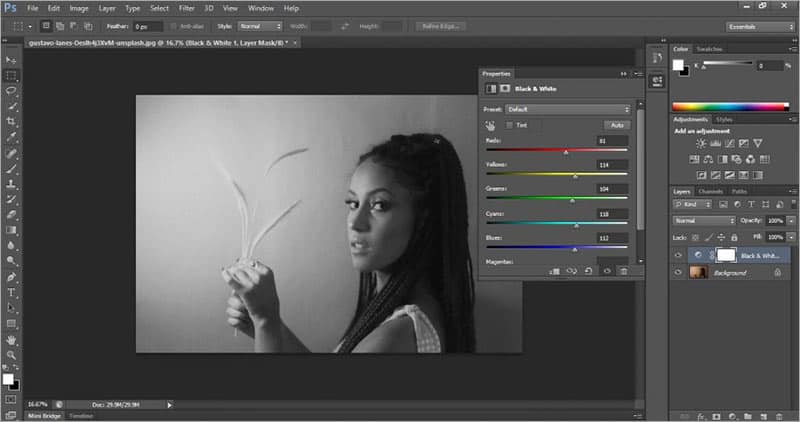
- Adjust each color option by moving the cursor on it to get the perfect brightness in your black-and-white image.
The Burn tool is another fantastic option to add mood to a photograph by intensifying the variation in darkness and adding shadows to the extremes. It allows you to create deep shadows in colored photographs. As a result, you can add new depth and richness to a badly- lit photo, which is impossible with a digital camera.
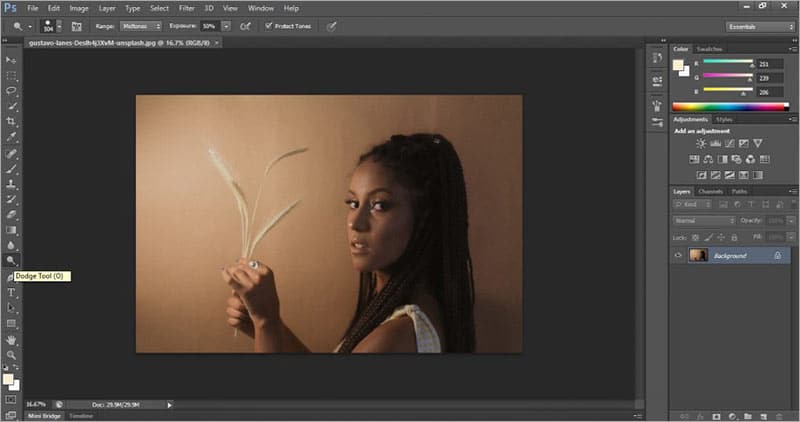
The Dodge tool is an alternative to the Burn tool. It can augment the distance between the darkest and the brightest areas of a photograph. Use it to create patches of light, as it adds richness, depth, and texture to your pictures. Observe the step-by-step instructions to burn or dodge an image in Photoshop:
- If already downloaded, double-click on the Photoshop icon to open the application.
- Next, open the image you wish to improve and select the Burn tool from the left-hand-side toolbar.
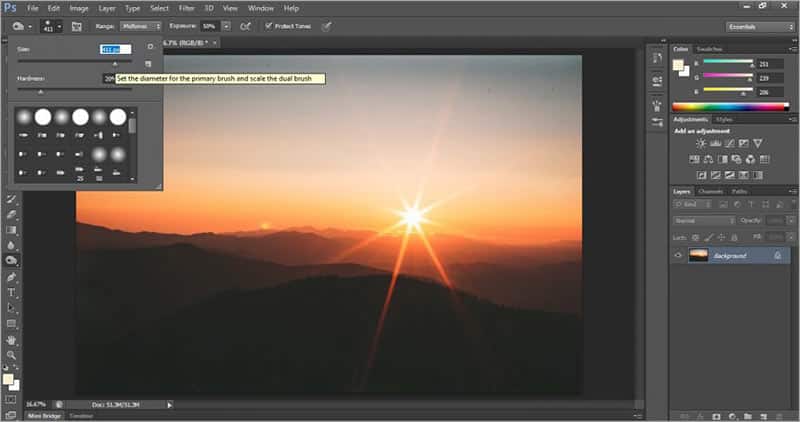
- Next, click on the down arrow under the Edit button in the top-left corner to set the diameter of the brush. You can also adjust the harshness of the brush.
- Frequently move your mouse on the brighter areas of the image to reduce the brightness of the image.
- To select the Dodge tool, press the Alt key on your keyboard and double-click on the Burn tool in Photoshop.

- Once you get the Dodge tool icon, set the brush size and harshness exactly how you did with the Burn tool at the top-right corner.
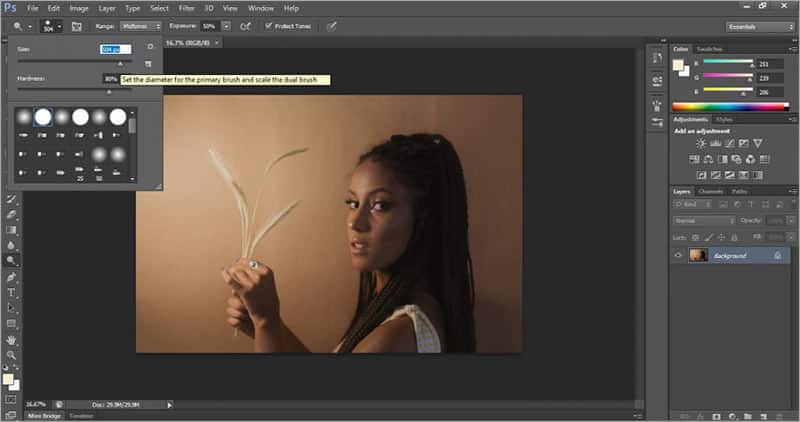
- Similar to the Burn tool, you need to frequently move your cursor on the photograph to improve the picture’s brightness.
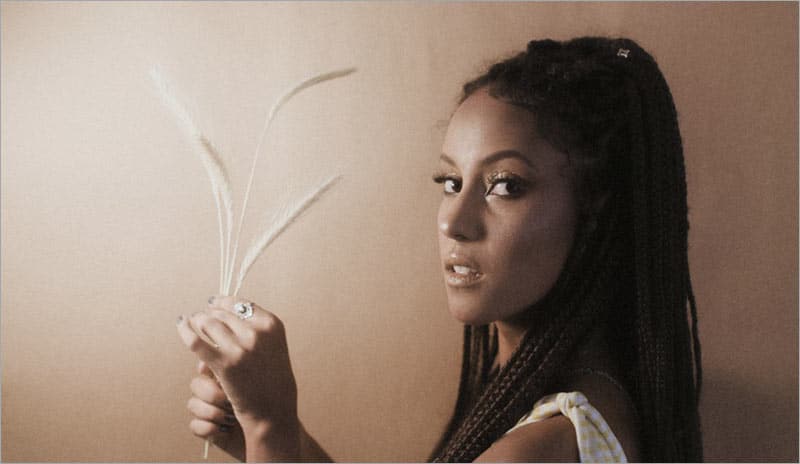
Pro Tip: Using the Burn or Dodge tool on the background layer will permanently alter the original image. To experiment with such tools without ruining the original shot, always work on a duplicate layer in Photoshop. For information on duplicating layers, read Adobe Layer basics.
After editing a photo, you may find that it won’t open due to bad sectors in the storage drive. Bad sectors corrupt photo files stored as backup or archive. As a result, photos become inaccessible or damaged. There’s only one solution for corrupt pictures: a reliable photo repair tool. We recommend Stellar Repair for Photo, an advanced photo repair software that can automatically fix damaged file header, structure, and data. Be it RAW or JPEG, you can fix many flaws like grainy, blurry, greyed-out, or color-damaged photos. Read on to learn How to Repair Damaged JPEG/JPG Files from Digital Camera.
Key Advantages:
Stellar Repair for Photo allows you to fix damaged sections of a photo. Although there are multiple applications available online that can help you repair corrupted photos, we recommend Stellar Repair for Photo for the following reasons:
- The software can repair multiple JPEG/ JPG photos simultaneously.
- It gives you a preview of the repaired photos.
- The tool works well on pictures taken from all kinds of digital cameras.
- You will get thumbnails of severely corrupt JPEG/JPG images.
- It can successfully repair RAW file format images.
Follow the instructions given in this Knowledge Base to activate Stellar Repair for Photo on your Windows laptop or computer. Refer to this blog if you wish to reduce noise in your photos.
The Final Words
Fixing bad lighting in a photo with the help of a reliable editing tool like Photoshop is easy. If you capture pictures in a high-resolution RAW format, only then multiple post-processing options to fix bad lighting work. You can increase the brightness of a photo, modify shadows, reduce highlights, and adjust contrast in Adobe Photoshop. Further, you have a wide range of options like black & white to deal with washed-out colors. Moreover, you can selectively modify the subject or the background. So, stay mindful of your options and outcomes while experimenting with other Photo Editing options.