Featured Blogs

Photo Recovery
Top 5 Alternatives for PhotoRec – Free Tools
-
Written By Totan Banerjee
- 06 Mar, 2026
 7 min read

Android Data Recovery
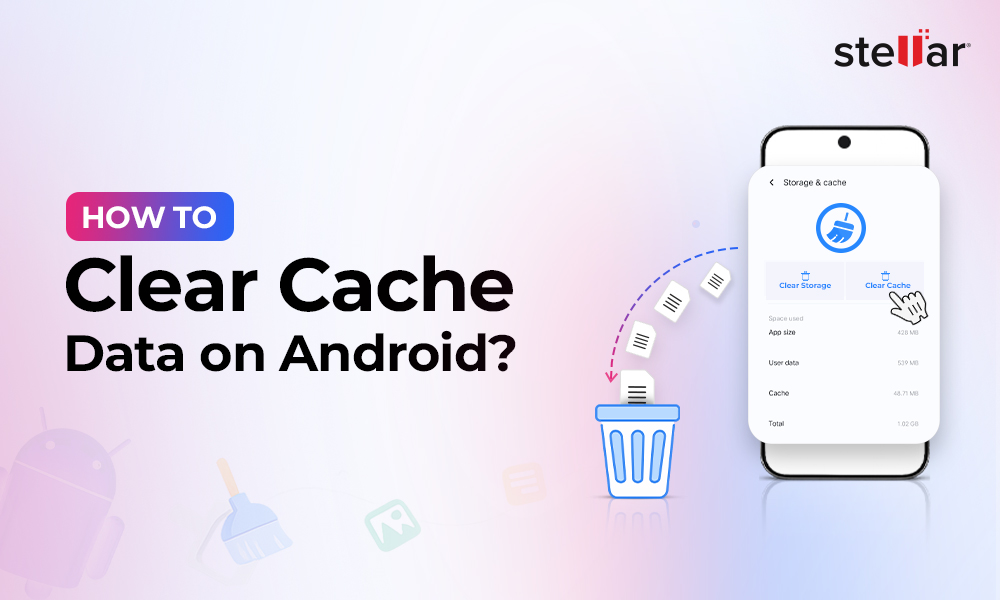
How to Clear Cache Data on Android to Free Up Space?
-
Written By Totan Banerjee
- 06 Mar, 2026
- 6 min read