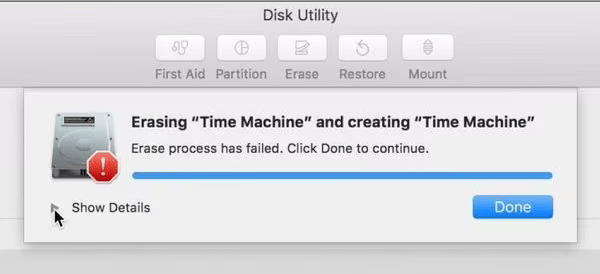
The ‘Erase process has failed’ error message can prevent you from erasing or formatting the Mac hard drive. A damaged or failing hard drive may be the reason why something went wrong during the erase process. In most cases, the error is triggered by software-level restrictions such as FileVault encryption, system protection settings, or attempting to erase the active startup volume. Looking into these typical issues helps clarify what went wrong that led to the ‘erase process failed’ error on Mac. Let’s determine which steps you need to solve this problem.
What is the Erase Process Failed Error on Mac?
The error occurs when Disk utility fails to erase, format, or partition hard drives, volumes, or partitions.
Possible scenarios when the error occurs:
Mac users often face the ‘Erase process has failed’ error message in the following cases:
- When trying to delete, erase, or reformat an APFS volume or external/internal hard drive
- During a clean macOS install, when the installer tries to erase the disk before writing new system files
- When Activation Lock is enabled, and the previous owner’s Apple ID is not removed
- When T2 chip or Secure Boot restrictions prevent erasing the drive
- Using diskutil command, the ‘Erase process has failed’ error appears as a failure message in the command output.
Note: In Sonoma and later, ‘Erase All Content and Settings’ uses Erase Assistant, not Disk Utility, and will only fail if Activation Lock, MDM lock, or a firmware issue is present.
- Erasing a Time Machine backup disk during mid-backup.
- While trying to erase refurbished or second-hand Macs with the previous owner’s Apple ID still tied to the device
- IT admins try to restore or wipe a Mac remotely or via a USB
- When APFS volume group structure is corrupted, or the metadata is damaged
- When the drive is write-protected via a hardware switch or external drive protection setting
Suggested Read: Disk Utility on MacBook: Functions and Troubleshooting
9 Ways to Fix the ‘Erase Process Has Failed’ Error on Mac
Important: First of all don’t forget to take back up your Mac data on a cloud-based service, an external hard drive, or Time Machine, etc., to avoid losing any data. However, in case any data is lost while implementing the fixes below and don’t have a backup, use professional software, such as Stellar Data Recovery Professional to recover your files.
1. Make Sure You’re Not Erasing the Startup Disk
One of the most common reasons for the occurrence of ‘Erase Process Has Failed’ error is attempting to erase the very disk macOS is currently running from. It is impossible to erase the active startup disk from within macOS itself.
Open Disk Utility and look for the disk marked with a boot indicator to see which disk you are erasing or formatting. If it says: startup disk, boot into Recovery Mode (see Method 2 below) before erasing or formatting it.
2. Erase the Disk from Recovery Mode
To erase the startup Disk, boot the Mac in the Recovery Mode so that it can boot from a separate parition, that gives you the access to use the Disk Utility to erase the main system disk.
Note: In Disk Utility, always select “View > Show All Devices” before erasing the parent disk
For Intel Macs:
- On Mac, click the Apple logo, then click Restart.
- Press the Command and R keys simultaneously until you see an Apple icon or a rotating globe. Then, you will see the Mac Recovery Mode Utilities panel.
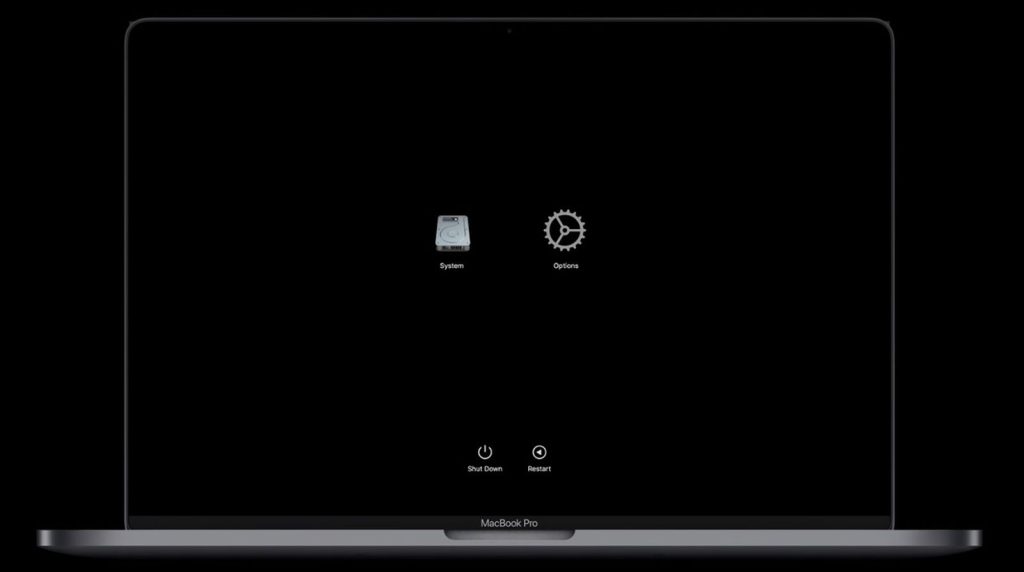
For Apple Silicon Macs
- Press the power button and hold on your Mac until you see ‘Loading startup options’, click Options, and then click Continue.
- Click Disk Utility from the macOS Utilities menu.
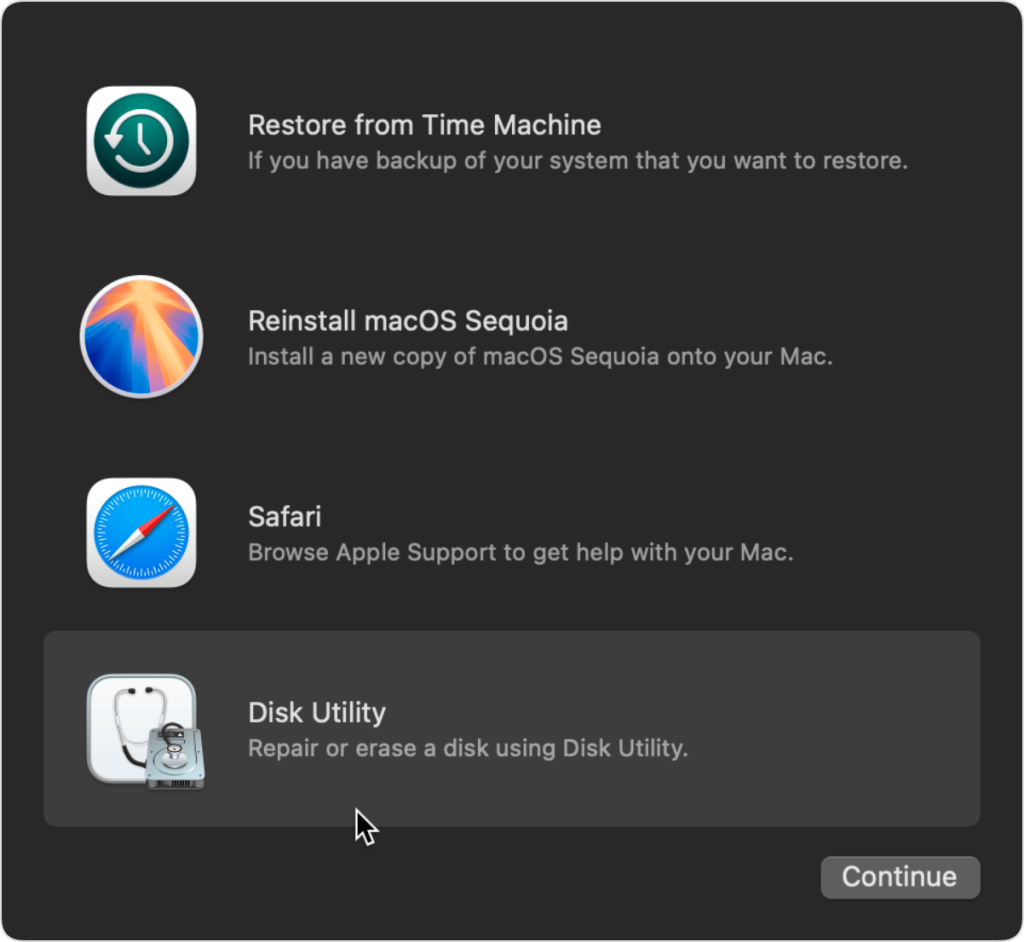
- Select your internal disk from the sidebar and click “Erase.”
When you have successfully erased the main internal disk, restore your Mac data from the backup.
3. RunFirst Aid
When the ‘Erase Process has failed’ due to a disk error, running Fid Aid in Disk Utility might help fix the issues on your Mac. It can fix disk errors and volume structures that might block the erase process.
To run the First Aid:
- Open Disk Utility from Applications > Utilities.
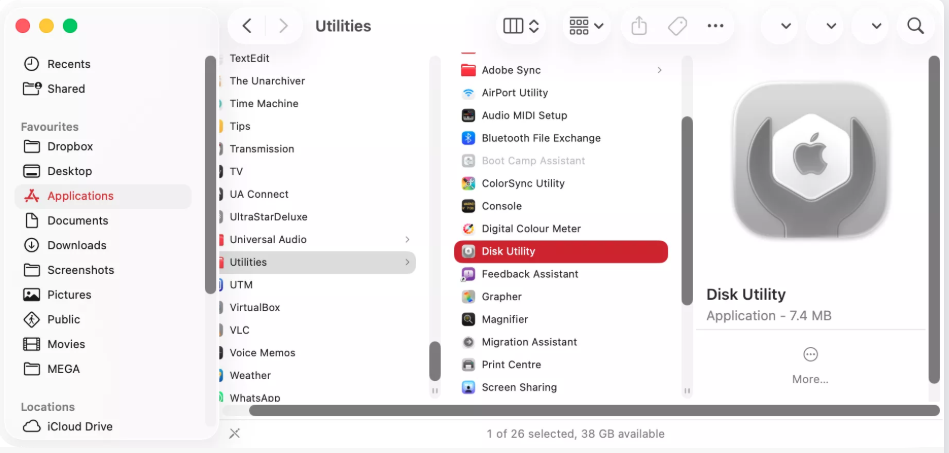
- Select the drive that failed to erase from the menu on the left and click First Aid at the top.
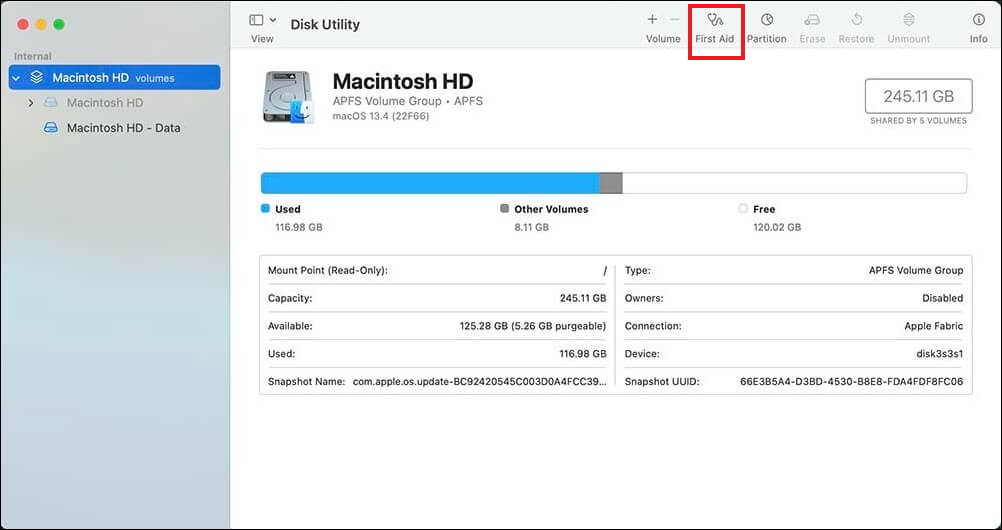
- Click Run when the pop-up dialog appears.

- Wait for First Aid to detect and repair any disk errors, then click Done.
Now, erase the drive again to see if the error message still shows up.
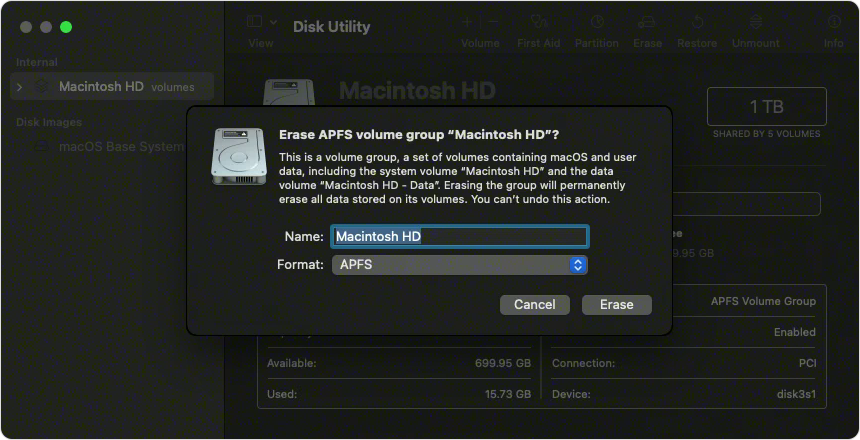
4. Delete the APFS Container First
Often, due to the corruption in metadata, allocation table, or volume group structure, erasing an APFS-formatted drive using the Disk Utility fails. So, just delete the APFS container that will not only destroy the entire container structure but also its volumes.
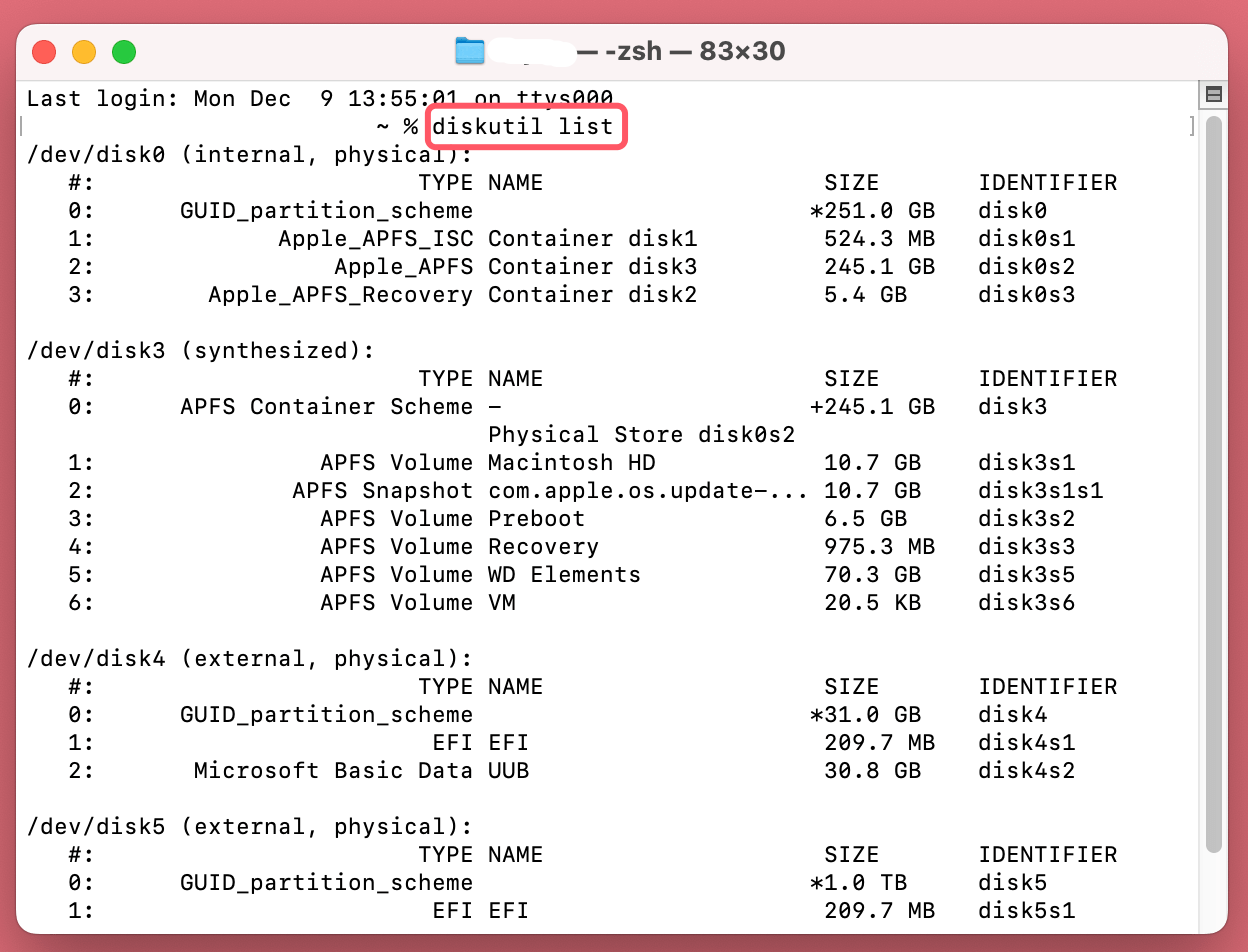
- Launch Terminal via Spotlight.
- Type the command diskutil list into the Terminal window to see each disk connected to your Mac and identify the APFS container.
- Type diskutil apfs deleteContainer disk2s3 to delete APFS container. Here, replace /disk2s3 with your actual disk path.
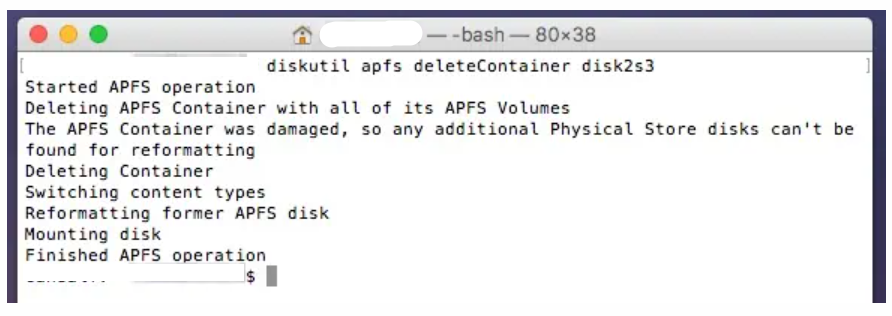
- Once the container is deleted, refer to the method 6 to successfully erase the drive.
5. Erase Using Terminal diskutil Command
Use diskutil directly from the Terminal command to erase the disk when Disk Utility’s graphical interface fails multiple times to erase the disk. This command-line utility provides more flexibility to perform disk operations.
- Launch Terminal via Spotlight.
- Type the command diskutil list into the Terminal to see connected disk of your Mac.
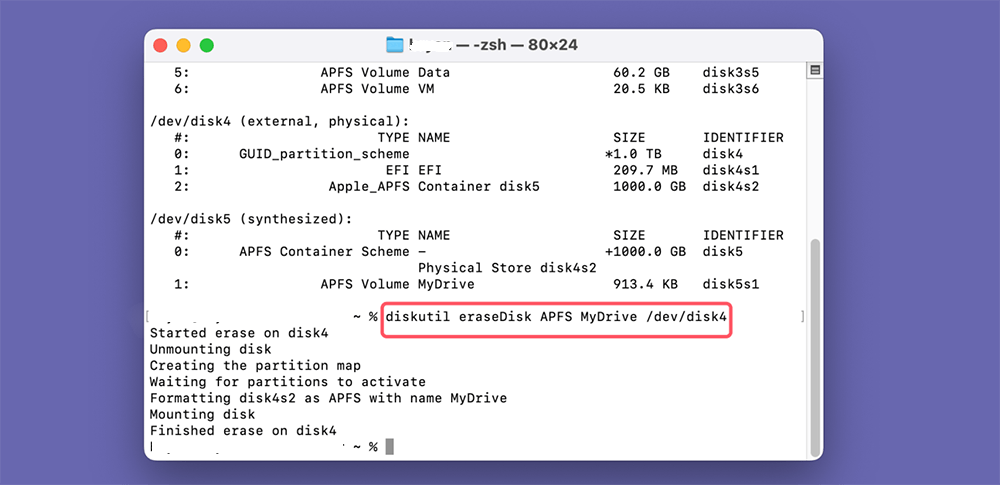
- Type diskutil eraseDisk APFS “MyDrive” /dev/disk4 to fully erase the drive. Here, replace APFS with the desired format and /dev/disk4 with the actual disk path.
- Wait for the command to complete and check for success or error messages.
Note: diskutil eraseDisk APFS MyDrive /dev/disk4permanently erases the entire disk
6. Disable FileVault
Often, FileVault prevents you from erasing a startup disk or an encrypted volume by throwing the error message. Moreover, it also arises if you don’t know the decryption password, or the volume is not unlocked in Recovery Mode.
In order to fix the erase failure message, you have to disable FileVault and then use Disk Utility to wipe it cleanly.
- Click on the Apple menu > System Settings.
For macOS Ventura/Sonoma
- Navigate to Privacy & Security → scroll down to FileVault.

For macOS Monterey and earlier:
- Go to Security & Privacy → FileVault tab.
- Click the lock icon in the bottom-left and enter your Mac password to unlock settings.
- Click on the Turn Off FileVault button.
- Restart your Mac.
Now, erase the required drive or volume, and once successfully erased, enable the FileVault.
7. Check Activation Lock
Often, Activation Locks prevents erasing or formatting of a second-hand or MDM-managed Mac, that leads to error message ‘Erase has failed on Mac’. Activation Lock is a security feature that connects your Mac to an Apple ID, that blocks the erase process on the Mac without the original owner’s credentials.
For checking if Activation Lock is enabled on your Mac or not,
- boot the Mac into Recovery Mode
- open Activation Lock from the Utilities menu.
- If Activation Lock is on, contact the previous device owner to sign out of their Apple ID, . In case of an MDM-managed device, contact the IT administrator to release the device.
8. Disable System Integrity Protection
This is a last-resort step and is rarely required. SIP only blocks erasing certain protected system volumes; it does not fix container corruption or other common disk errors. Only attempt this if you are specifically unable to erase a protected system volume and all other methods have failed.
When to use this: When the erase operations on certain system volumes that contain system files or are marked as protected fail, it happens due to SIP. Disabling it temporarily may allow you to erase the volume cleanly.
- Boot your Mac into Recovery Mode (see Method 5 for instructions).
- Click Utility from the menu bar and select Terminal.
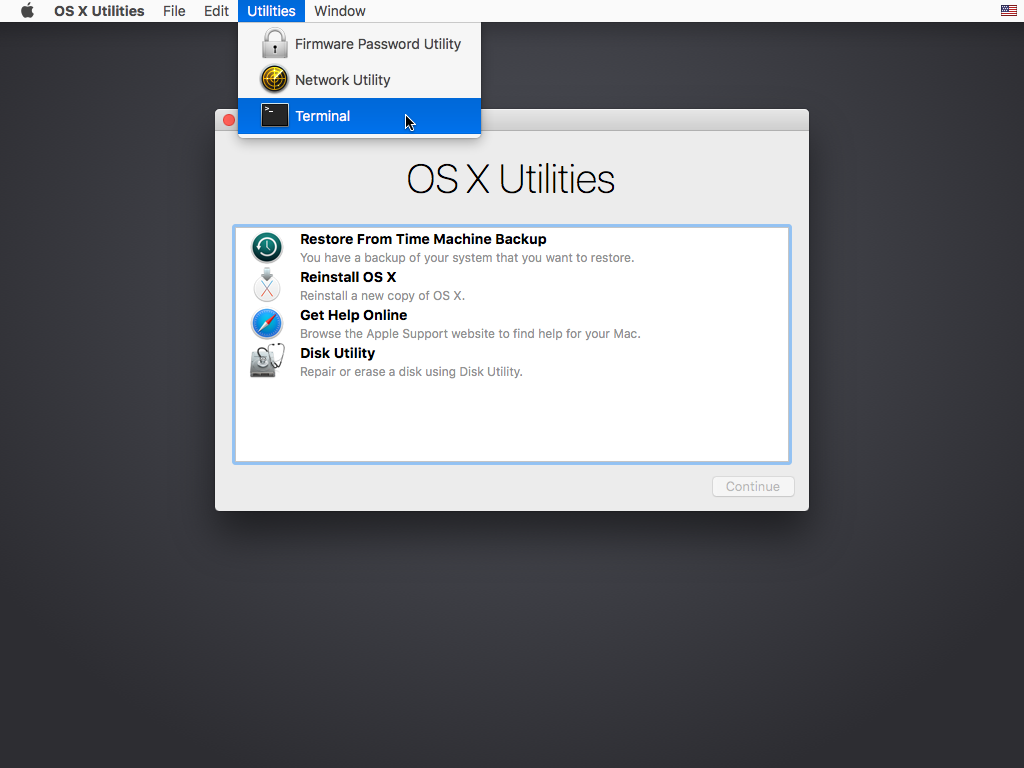
- Type the following command: csrutil disable and press Enter to disable SIP.
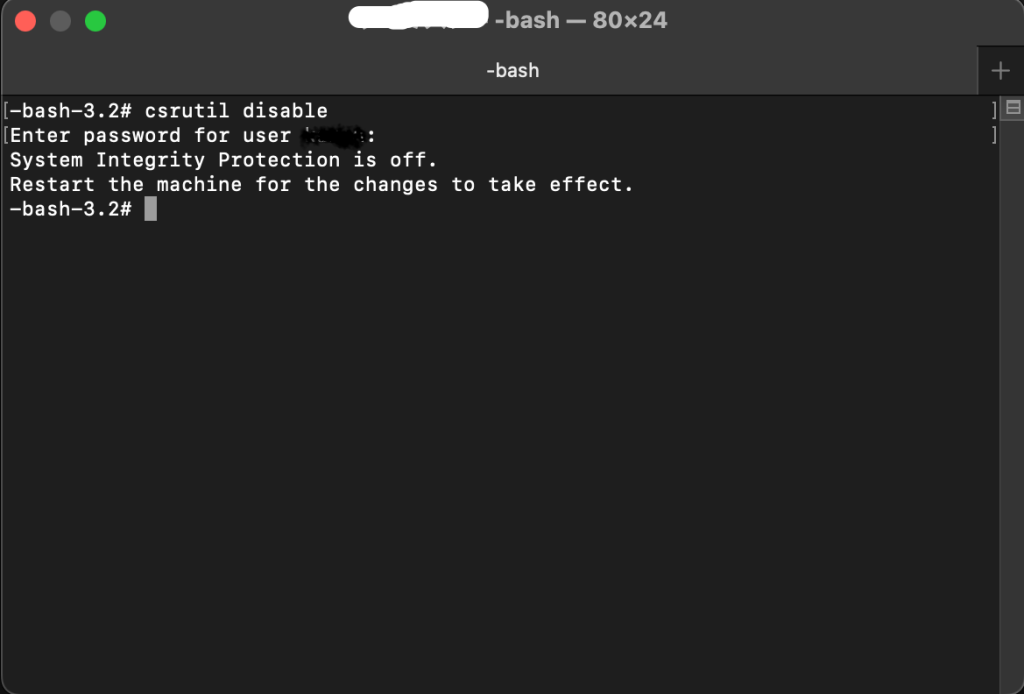
- Restart your Mac and try to erase the disk again.
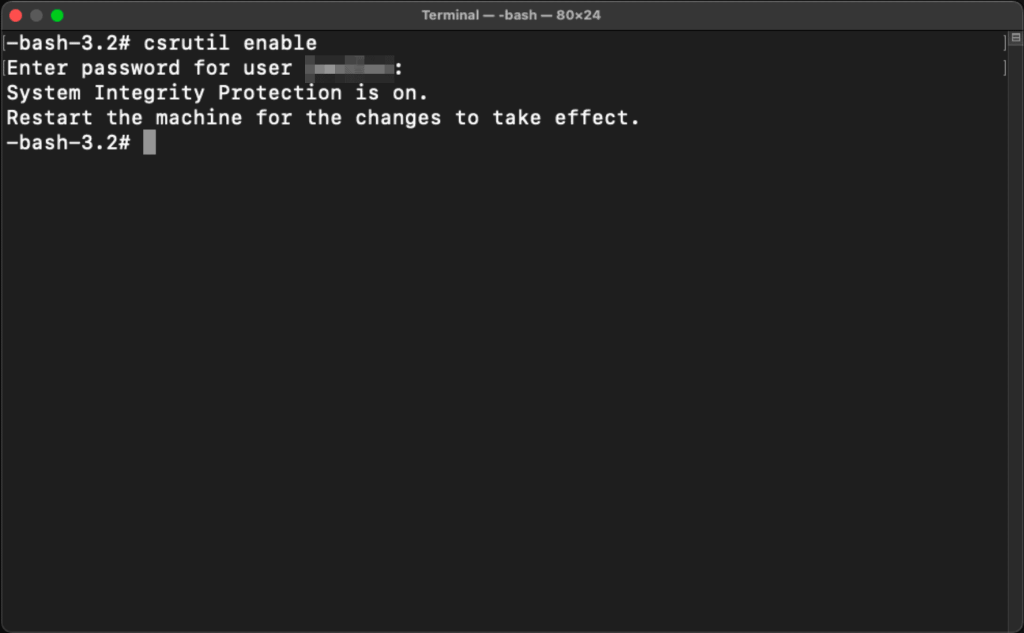
- Don’t forget to re-enable SIP by booting into Recovery Mode once the erase process is complete. Type the command: csrutil enable
Caution: We don’t recommend disabling SIP, as disabling it can cause instability and prevent macOS from booting.
9. Check for Physical Damage or Hardware Issues
- Check if there is any physical damage (such as cracks or dents) to your Mac.
- Or, was it exposed to liquids, as it could affect the storage controller.
- Check the Drive Health via SMART Status to see if it says Failing or Verified for the chosen drive to confirm it is physically degrading.
Note: SMART Status works reliably for internal SATA drives. It often does not show accurate data for Apple Silicon internal SSDs or external USB drives.
You can even use the built-in Mac utility Apple Diagnostics to verify if hardware issues are the root cause of the problem. Here’s how:
Prepare Your Mac
- Before running Apple Diagnostics, disconnect any external devices connected to the Mac.
For Intel Macs:
- Turn on your Mac, then immediately press and hold the D key as your Mac starts up.
- Release the key when you see a progress bar.
For Apple Silicon Macs (M1, M2, M3, M4):
- Press and hold the power button on your Mac until you see the startup options.
- Press Command + D on the keyboard.
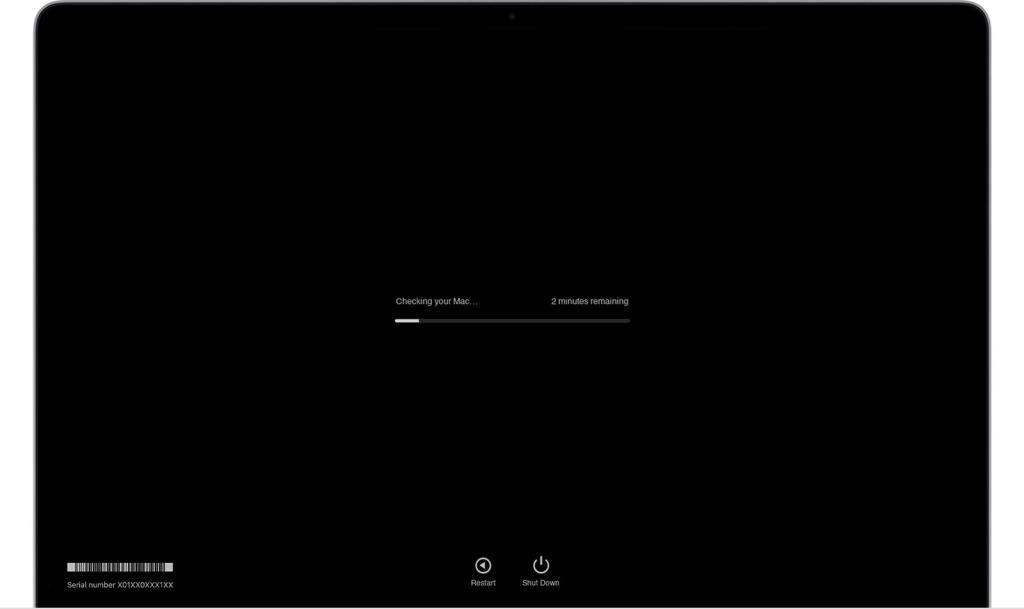
Run Apple Diagnostics Test and View its Result
- Apple Diagnostics will run a series of tests to check for hardware issues. Follow the on-screen instructions to complete the diagnostic process.
- Once testing is complete, Apple Diagnostics shows the results. Refer to the list of Apple Diagnostics reference codes to interpret the diagnostic results.
A hardware-level issue detected on your Mac might block the erase or format process. In such a situation, go to the authorized Apple Genius Bar right away and have your Mac repaired.
Wrapping Up
By following the solutions provided in this guide, you should be able to successfully fix the ‘Erase Process Has Failed’ issue on your Mac. We have provided a range of solutions to this problem that you can use. If you have lost your files when using any solutions, consider using Stellar Data Recovery Professional software. This tool enables you to recover various data types on your Mac effortlessly.