Did you have to replace your Mac hard drive with a new one due to low storage space or corruption issues recently? Do you wish to restore data from the affected drive to your new drive? We can help! But, first of all, let's see what makes you replace your Mac hard drive in the first place.
Need for Mac Hard Drive Replacement
- Low storage capacity
- System file corruption
- Mac running extremely slow
- Clicking or grinding noise coming from Mac hard drive
- Mac hard drive's SMART status failure
The next sections describe various methods to restore data after Mac hard drive replacement.
Restore All Your Files to the Revived Mac by Using Time Machine
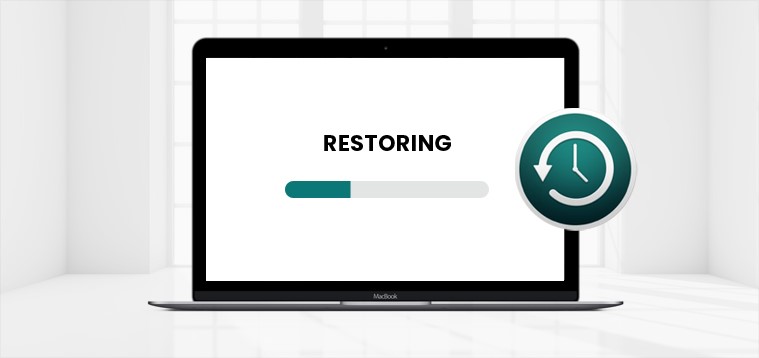
When you have an up-to-date Time Machine backup of your affected Mac hard drive, use the Time Machine backup drive to restore data to the revived Mac. Steps are as follows:
- Connect your Time Machine backup drive to your Mac.
- Go to Finder > Applications > Utilities > Migration Assistant.
- When prompted, select the Time Machine backup transfer option, then click Continue.
- Choose your Time Machine backup, then click Continue.
- Choose a backup from the list of backups, then click Continue.
- To initiate the transfer process, select the information, then click Continue.
- Once the transfer is over, restart your Mac. Also, check the restored data on your Mac.
Copy Files from the Replaced Hard Drive
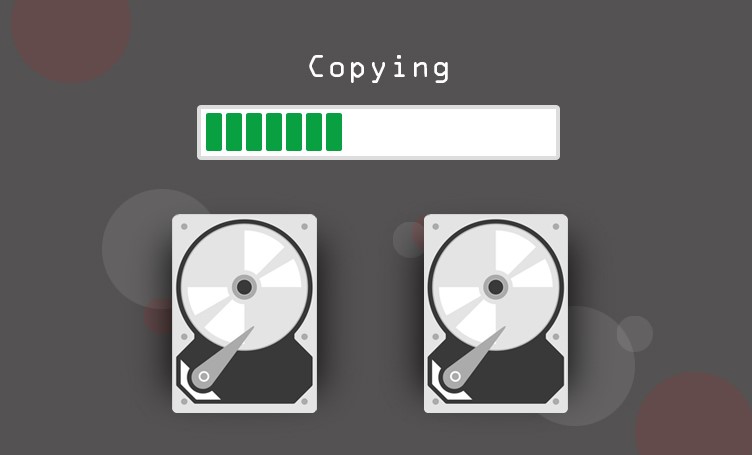
When you don't have a Time Machine backup, copy your files from the affected hard drive to the revived Mac. Steps are as follows:
- Insert the affected internal Mac hard drive to an enclosure.
- Connect the hard drive as an external device to your revived Mac using a connector cable.
- Power on your Mac then check whether the external hard drive is accessible.
- If you could access your drive through Desktop or Finder, copy all your files to the Mac.
Note: This method might not work if the hard drive is severely corrupt.
Mount or Repair the Replaced Hard Drive
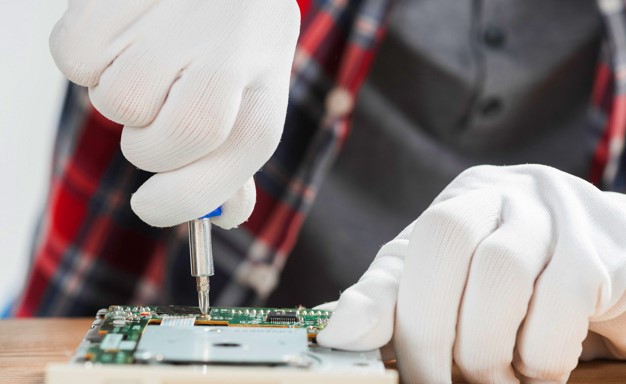
When the external hard drive is not visible in Desktop or Finder, check the drive in Disk Utility. In case the hard drive is greyed out in Disk Utility, do the following:
- Select the affected hard drive from the sidebar of Disk Utility, then click the Mount tab.
- If the drive doesn't mount, click the First Aid tab, then click Run to repair the drive.
- When the drive is repaired successfully, access your files and save them to your Mac.
Recover Data from the Replaced Mac Hard Drive
When Disk Utility fails to repair the replaced hard drive, recover your data from the drive by using a Mac data recovery software Steps are as follows:
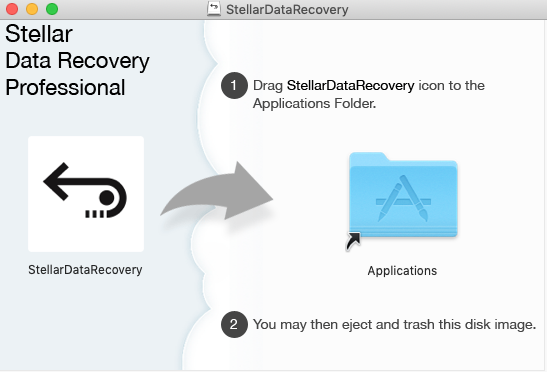
Step 1) Install the *trial version of Stellar Data Recovery Professional for Mac on your revived MacBook or iMac.
Step 2) Connect the replaced hard drive to your Mac. Launch the data recovery software
Step 3) In the Select What To Recover screen, either go with the default selection of Recover Everything or customize your scan by toggling respective switches. Click Next.

Step 4) In the 'Recover From' screen, select the external hard drive, then click Scan. Wait till the scan completes.

Step 5) Preview the scanned items, then select all those that are required and click Recover. Click Browse to specify the save destination, then click Save.

Step 6) Wait till the recovery process is through. Navigate to the save destination to view your recovered files.
*The trial version of Stellar Data Recovery Professional for Mac allows free drive scanning and free file preview. To save your recoverable files, activate the software.
Conclusion
At some point in time, you may need to replace your old Mac hard drive with a new one. Followed by the need of restoring your data from the old drive to the new. If you've already taken back up of your Mac using the Time Machine, you can easily restore data after Mac hard drive replacement.
But if there is no Time Machine backup, then you must connect the affected hard drive as an external device to the revived Mac containing the new drive. If the external hard drive is accessible from Desktop or Finder, then copy the files to the Mac. Else, check the drive in Disk Utility. In case the drive is greyed out, then mount the drive. If mounting fails as well, then try repairing the drive.
And if none of the above methods work, then use Stellar Data Recovery Professional for Mac to restore your data. You can try the free trial version of the software. And if you could see all your files in the scan result and preview them, then activate the software to save the recoverable files to your Mac.
Compare various editions of Stellar Data Recovery Professional for Mac.


Data recovery expert on Mac & Windows platforms, with 10-year experience in writing
 6 min read