Mac users generally prefer Apple's proprietary productivity applications. But still, a considerable number of people use industry-standard Microsoft Office suite applications on Mac, primarily due to their feature-set and user-friendliness.
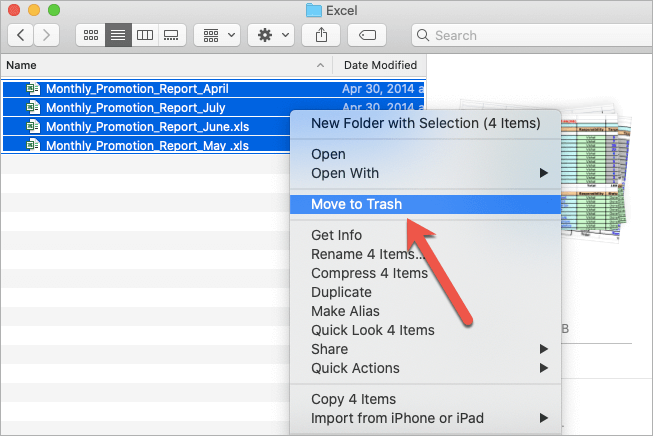
Since Excel files typically contain lots of tedious calculations, they can range from 10 MB to 2 GBs in size, which is a lot of data from disk space perspective. After a while, some of these Excels might not be relevant to you, so you might decide to clear up that space by deleting them. But deleting files in bulk can often lead to accidentally losing something valuable.
Before you panic and start from scratch, you should know that there's a good chance you can recover permanently deleted excel files on your Mac or MacBook. Read on to discover a few recovery tricks that are very easy to implement.
Path to Deleted Excel File Recovery on Mac
1. With Mac AutoRecover Tool
AutoRecover is a built-in feature in Mac that tries to recover Excel and other Office files automatically after an abrupt machine stoppage or software crash has taken place. Every 10 minutes, this feature saves a backup of the files currently being used in the background. If a mishap occurs, the Microsoft Excel program instantly launches the recovery file, allowing you to save the unsaved work through a prompt.
You can retrieve the AutoRecovered files by following the instructions below:
- From the Dock, select the Finder icon and choose Go > Go to Folder.
- Type the following path in the “Go to Folders” text field for the Excel app:
/Users/username/Library/Containers/com.microsoft.Excel/Data/Library/Application Support/Microsoft
To read in detail about Autorecovery of other Office applications, refer to the solutions mentioned for restoring unsaved Word, Excel and PowerPoint documents.
Note: On being prompted to save the file, if you choose the “Don't Save” option and close the file instead, the AutoRecovered file will be deleted right away.
2. With Stellar Data Recovery Free Edition for Mac
The best way to recover permanently deleted Excel files is through a free Mac data recovery tool. Stellar Data Recovery software is easy to use, and it is equipped with a rich feature set to help you battle data loss from various scenarios and a range of storage devices.
Using Stellar software, you can restore deleted, or lost Excel files from crashed Mac, hard drives having bad sectors, lost partitions, USB-C portable SSDs, external hard drives, flash media, and more. It works smoothly with file systems like APFS, APFS Encrypted, ex-FAT, HFS+, and NTFS.
This free edition lets you recover upto 1 GB of data without needing an activation key.
Here are the steps you can follow to use the software:
- Download Stellar Mac Data Recovery Free from the official website and install it with the help of the intuitive Setup Wizard. Once it is installed, launch the program.
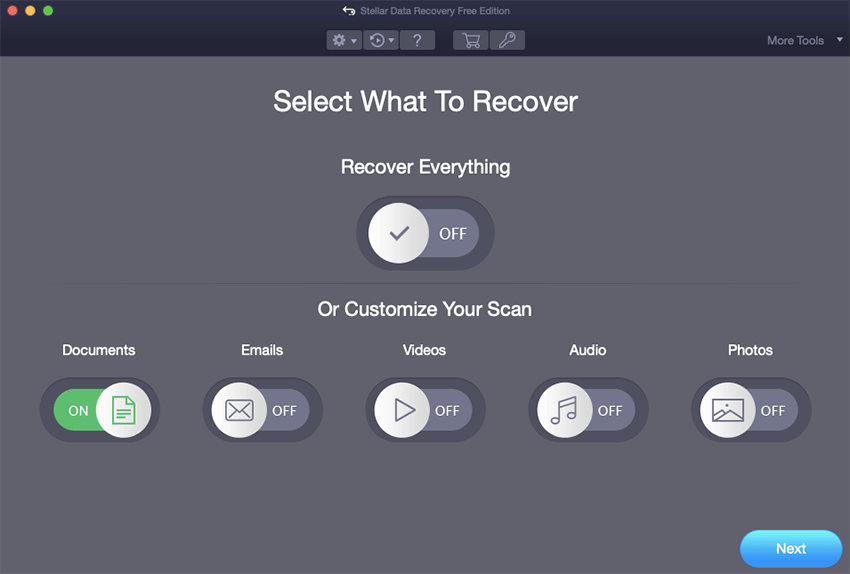
- On the software’s home screen, you will see options to select different file types. Since you wish to recover Excel files, toggle the “Document” button to “On” state, and then click on the “Next” button. To recover more file types, toggle respective buttons. To recover all file types, toggle “RecoverEverything”.
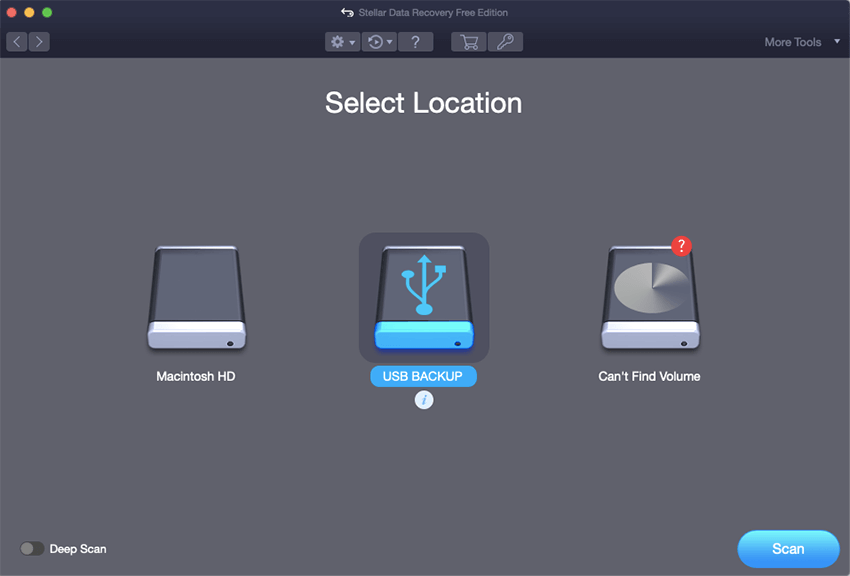
- Now choose the drive from which you want to restore permanently deleted excel files. After selecting the recovery drive, click on “Scan”.
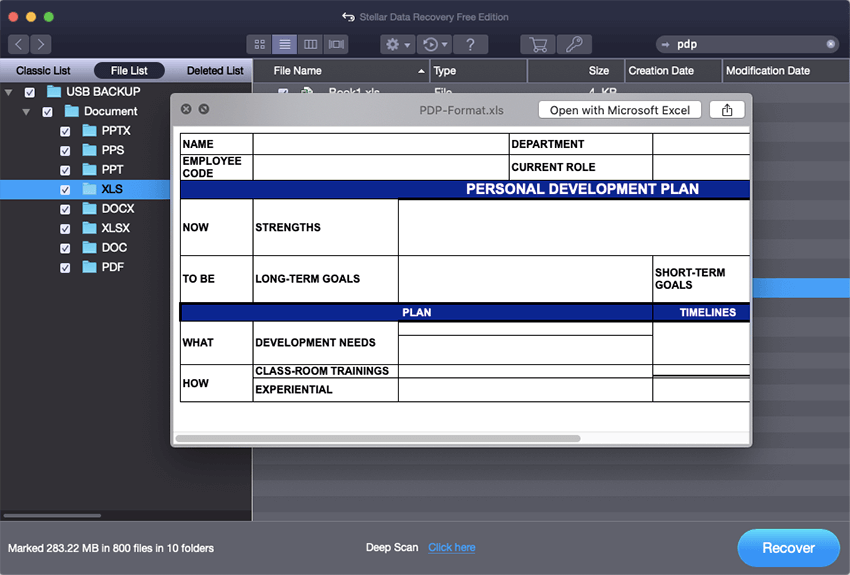
- Once the scan completes, all recoverable files will display in a tree-view in the left-hand panel of the software interface. Click on any file to preview it in the right-hand panel. Select the files you wish to recover and click on the “Recover” button. Remember, you can save only up to 1 GB of files with the free version.
Once these steps are done, your deleted Excel files will be saved at the destination folder that you selected while saving.
Note: To prevent overwriting, save the retrievable files to a different drive, not the one from which the Excel files were originally deleted.
People also ask
- How can I recover data from an unsaved Excel document
- How to recover deleted Excel files not in Trash Bin?
- How to recover permanently deleted files on a Mac?
3. Has the Excel File Really Been Deleted? Search with Spotlight
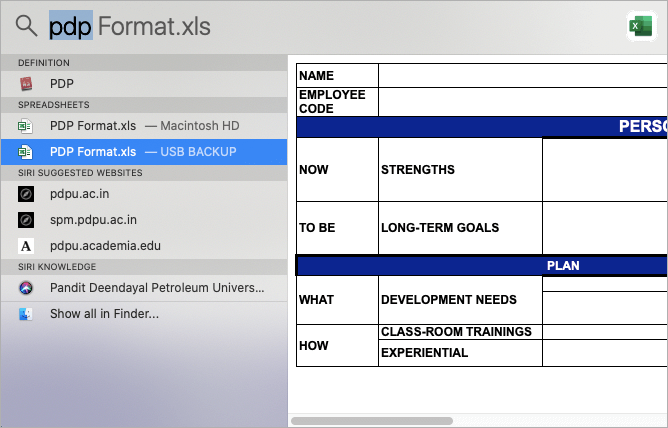
Are you sure the Excel files are actually deleted and not just “moved” to a different location? To double-check, use macOS Spotlight to search for the files.
Here's how you use Spotlight on your MacBook:
- In the main menu bar, select the Spotlight button, which resembles a magnifier. Alternatively, you can use the keyboard shortcut “Command + Space.” In the center of the screen, the Spotlight search box will appear.

- In the search box that appears, enter the name of the files you’re looking for. You can also write “.xls” to list all Excel files. If they aren’t deleted, you will be able to find them easily in the results that Spotlight returns.
If Spotlight results aren't helping you find what you are looking for, you can use different preferences and search results to locate exactly what you're looking for.
4. Search for Deleted Excel Files in Trash
When you delete files from your MacBook or iMac, they end up in the Trash folder (unless you’ve used “Command + Option + Delete”). They stay in the Trash for a specific period before getting removed permanently. You can make use of this period to search for discarded and deleted excel files and drag them back to their original location.
Simply open macOS Trash folder and search for the files using the search box on the top-right. Type the extension or file name into the search field, and the trash will display a list of the relevant files.

If you find the files you’re looking for, right-click on them and select the “Put Back” option to restore them to their original location.
5. Restore from Time Machine backup
If you accidentally or intentionally erase any Excel files from your Mac permanently, you can restore them from the relevant Time Machine backup. This works best if you've created a backup drive with Time Machine and selected the option to "Back Up Automatically." Provided you have a backup drive attached to your Mac, either physically or through the cloud, the incremental backup can be performed by your Mac at different intervals – hourly, daily, and weekly.
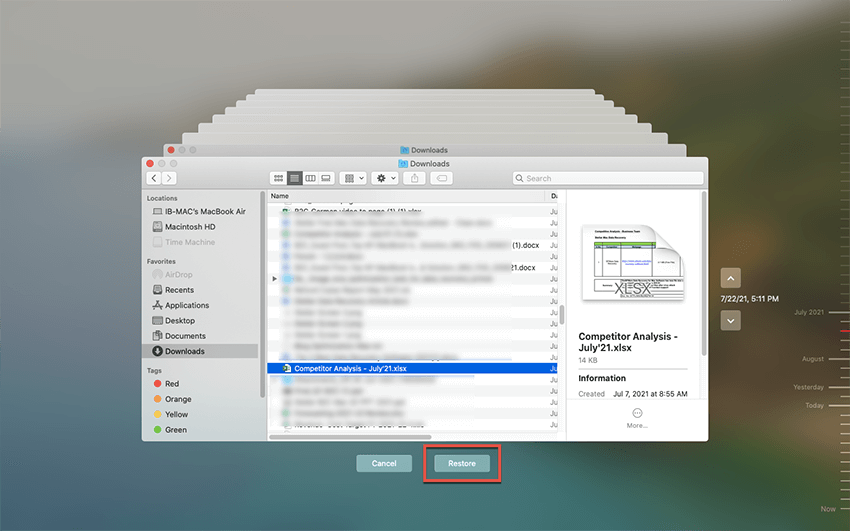
You can retrieve the deleted ‘Excel files for Mac' data using the Time Machine backup drive. The procedure is as follows:
- Make sure that your Time Machine backup drive is plugged in.
- Go to the Apple menu bar and select Time Machine.
- Using the Up and Down arrows, identify the deleted Excel files.
- Choose all of the files that have been lost and then click on ‘Restore’.
Conclusion
To avoid any unintended data loss, it’s a smart option to save all of your files and backup your Mac using Time Machine on a regular basis. Also, make sure the AutoRecover option in Excel is turned on. If you still face data loss somehow, remember that there are plenty of manual solutions to restore the files, but probably the easiest and most fool-proof trick to recover permanently deleted Excel files in MacBook is using Stellar Data Recovery Free Edition.


 6 min read