Step 1: When you launch the software, you will see the Select Backup Type window. Select the type of Exchange database backup file from the list. Then, click on Next to proceed.
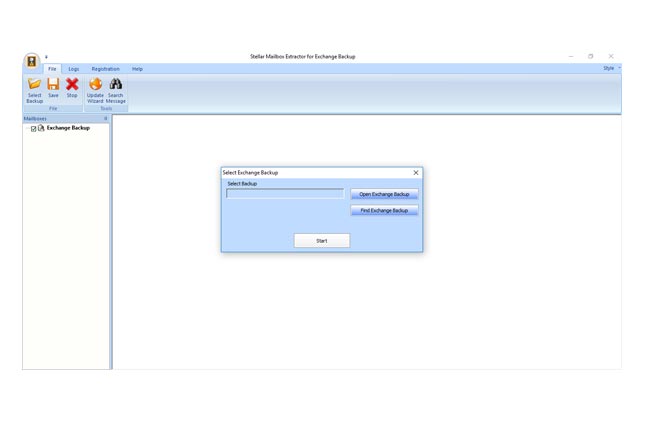
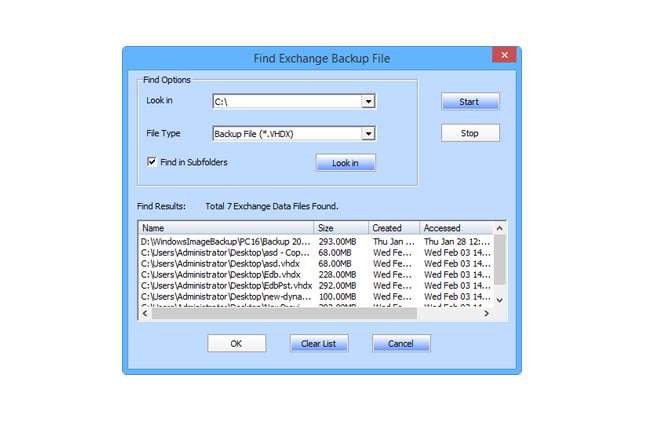
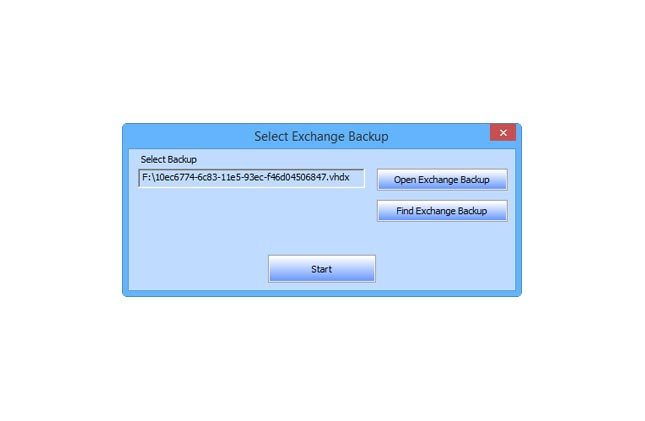
Step 2: On the Select File dialog box, click Browse to select the backup file you want to repair and then click Next.
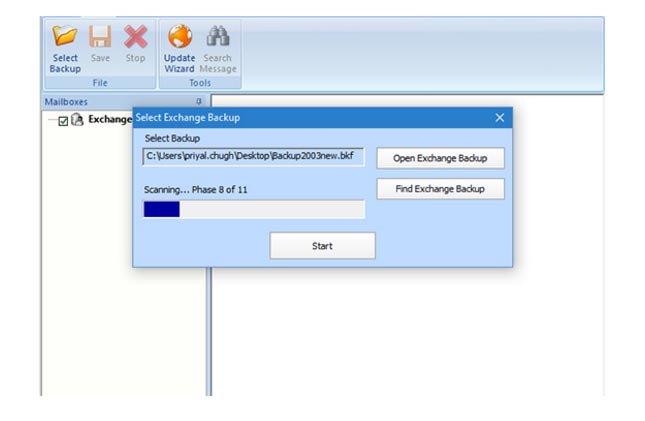
Step 3: The Select Scan Mode dialog box will appear with two scanning options – Quick Scan (scan the backup file fast) and Extensive Scan (detailed scan for better results). Select the appropriate scan mode and click OK. The software will start scanning the selected backup file.
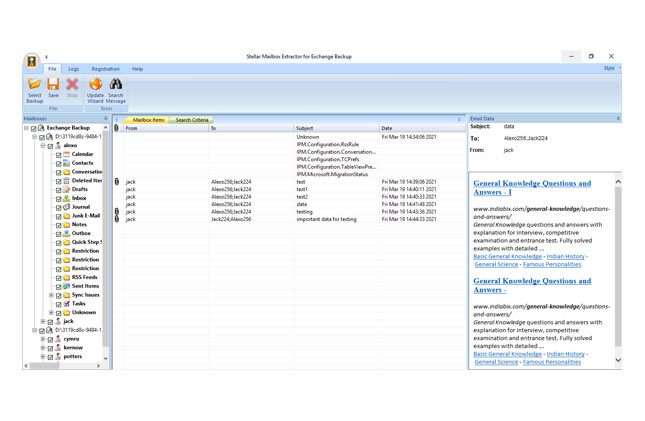
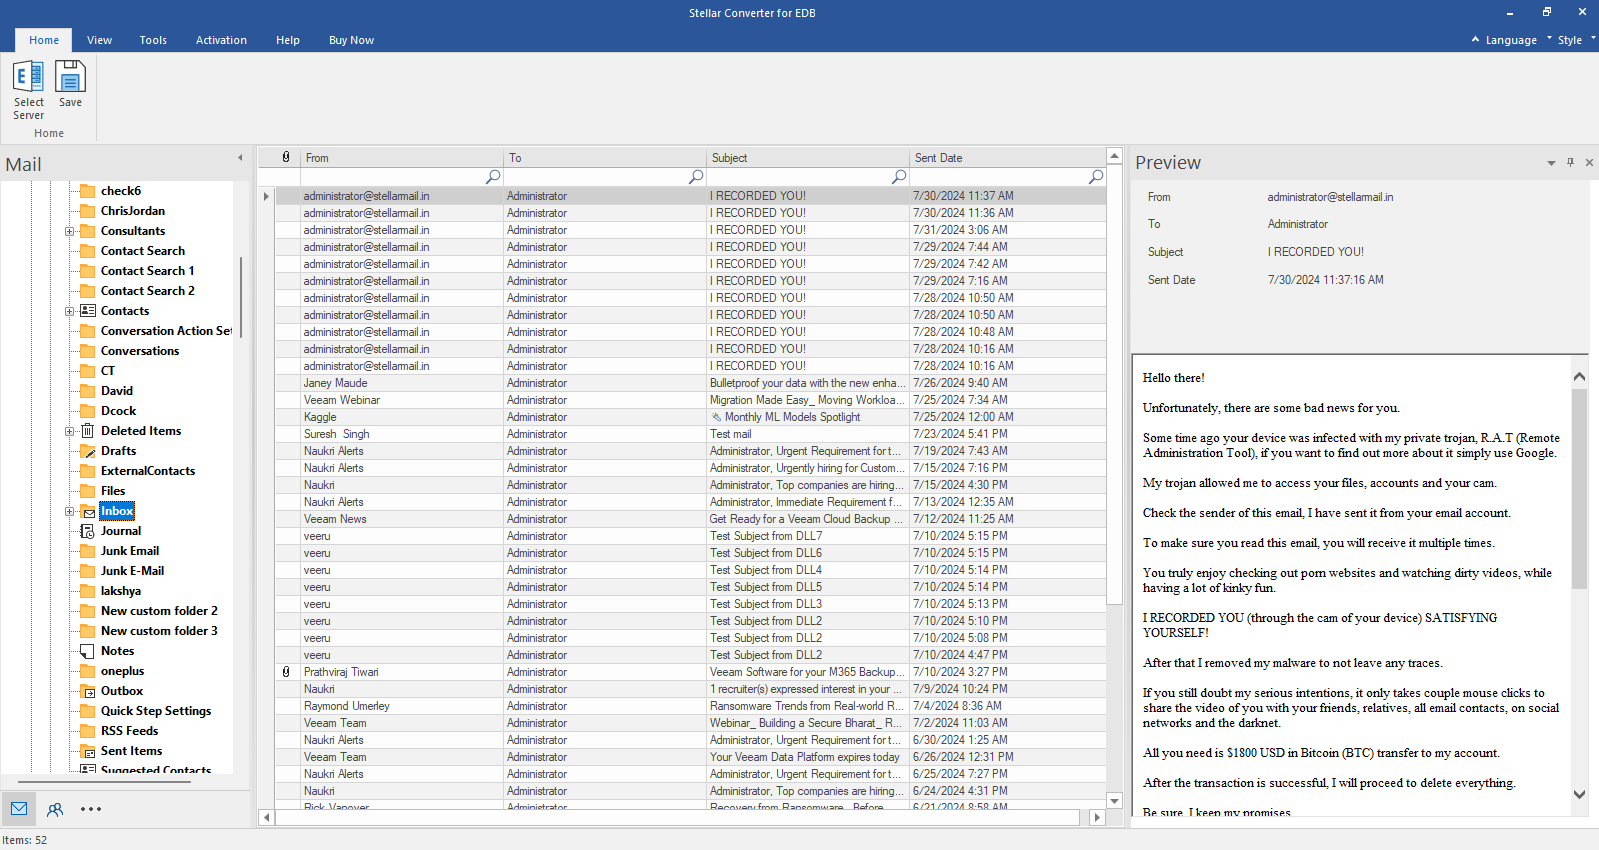
Step 4: After the scan is complete, the software will list all the backup file items. You can click on any item to see its enhanced preview. Now, click on the Save option under Home to save the backup file items.
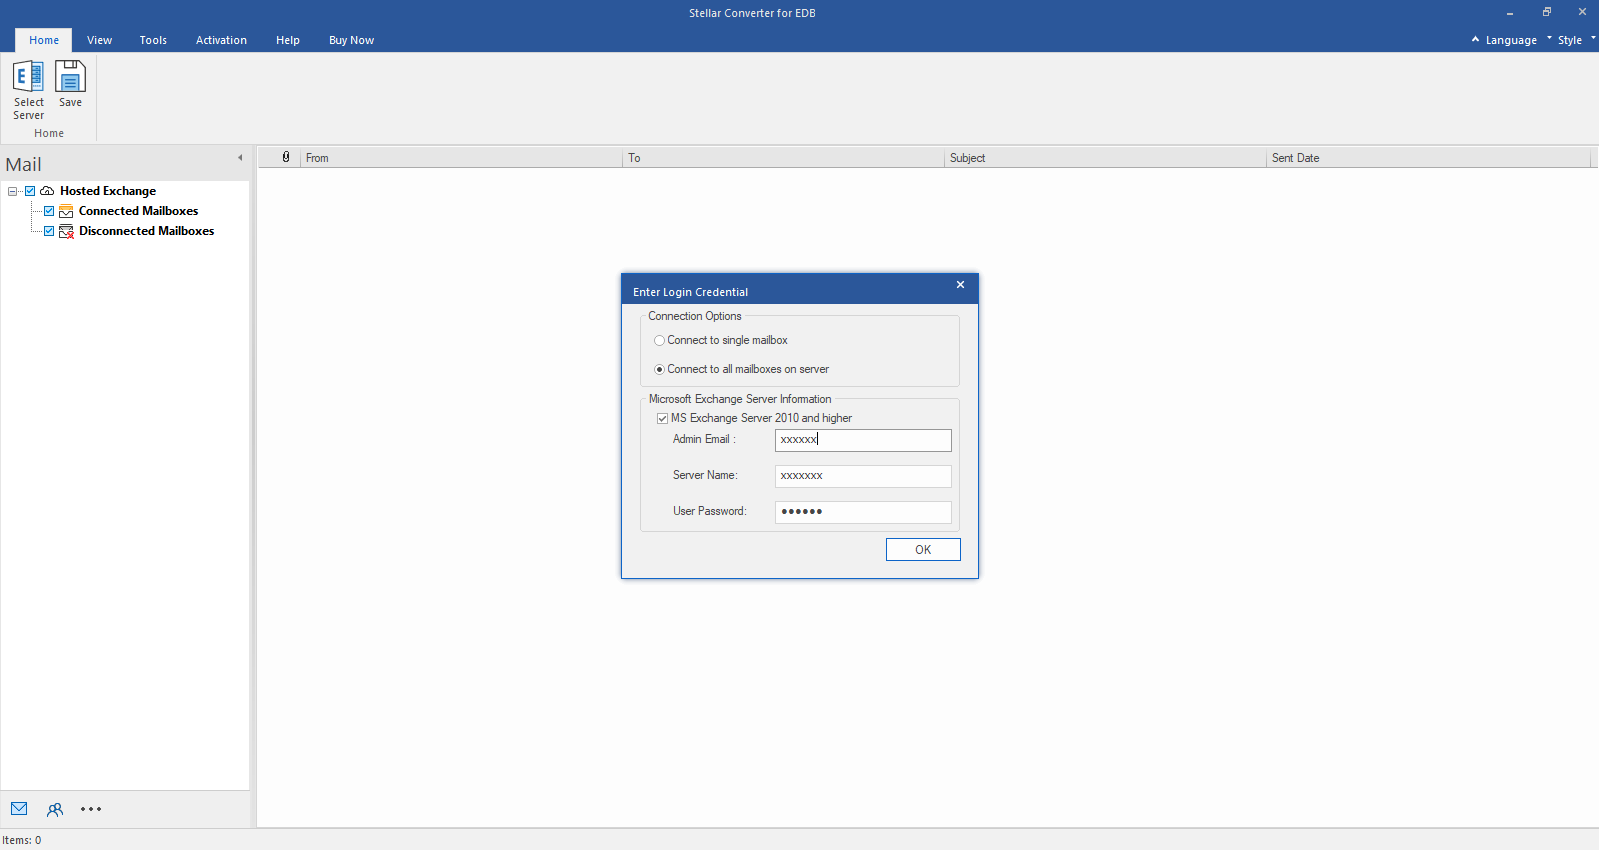
Step 5: : On the Save As window, select the Export to Live Exchange option to export the mailboxes directly to mailboxes on a live Exchange Server and click Next. Enter the Login Credentials to connect to the Live Exchange Server and then click OK. Upload the CSV file containing the list of mailboxes and click OK. The software automatically maps the mailboxes from source (backup file) to the destination (Exchange Server). You can also modify the mapping or set the priority order of the mailboxes. When done, click on Export to start exporting the mailboxes to live Exchange Server.
Step 6: To export the mailboxes directly to Microsoft 365 (Office 365), select the Export to Microsoft 365 option on the Save As window and click Next. On Microsoft 365 Login Credentials window, enter Email Address, Application (Client) ID, Directory (Tenant) ID and Client Secret Value, and click Next. Upload the CSV file containing the list of mailboxes and click OK. The software automatically maps the mailboxes from source (backup file) to the destination (Microsoft 365). You can also modify the mapping or set the priority order of the mailboxes. When done, click on Export to start exporting the mailboxes to Microsoft 365.
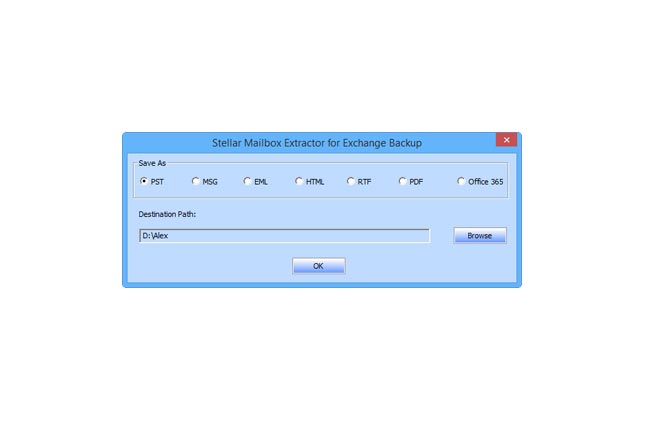
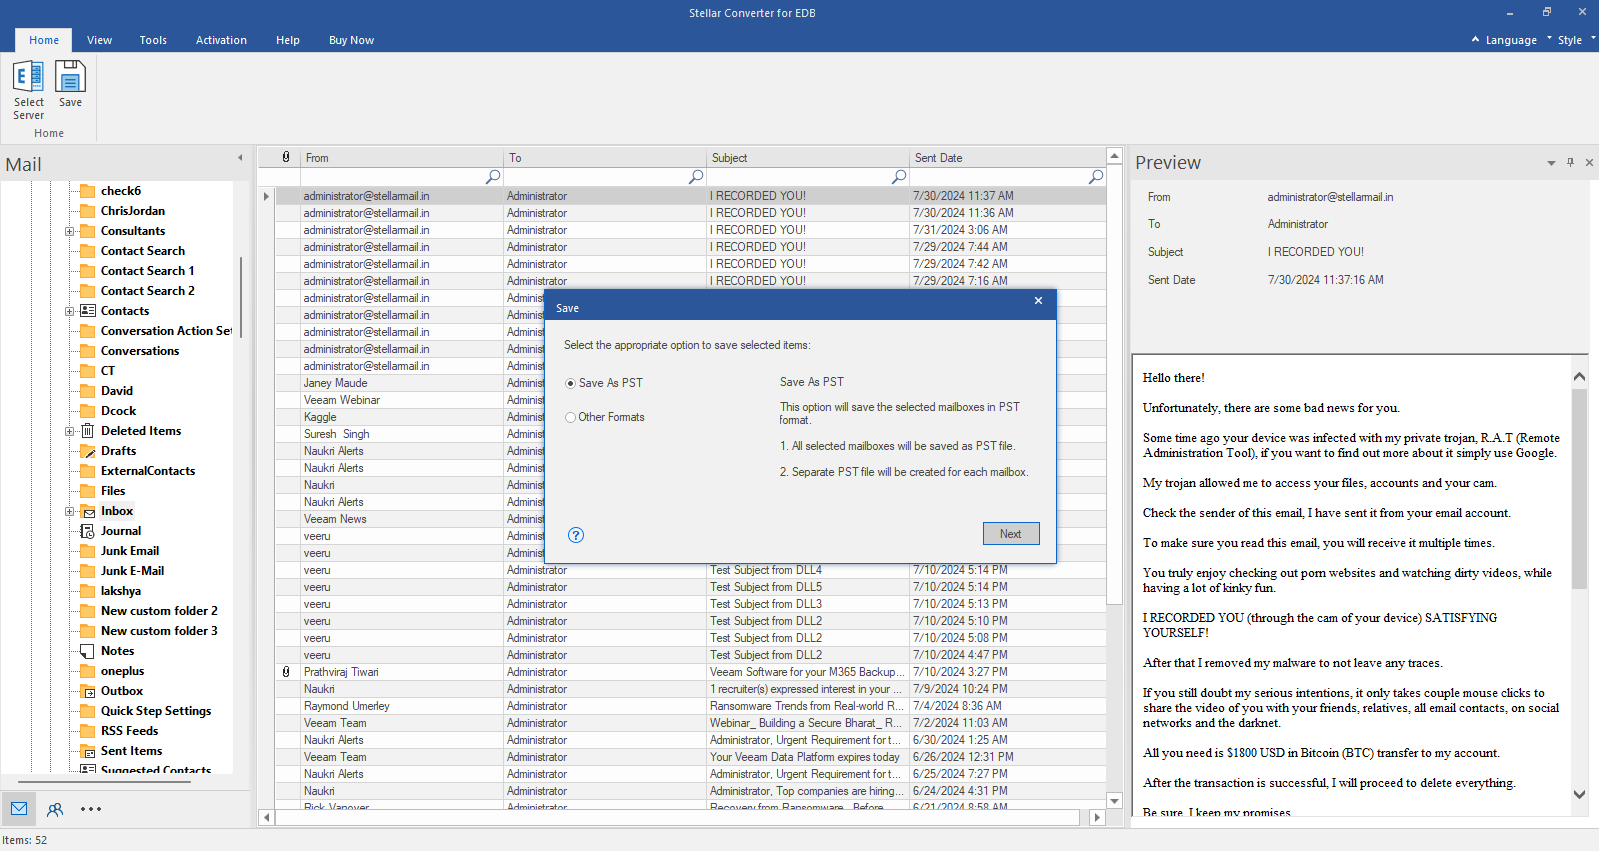
Step 7: To save the repaired backup file items to PST format, select the Save as PST option on the Save As window and then click Next. You can select the Other Formats option, if you want to save the items in MSG, EML, RTF, PDF, or HTML format. On the Select Destination dialog box, click Browse to select the location where you want to save the file and click OK.
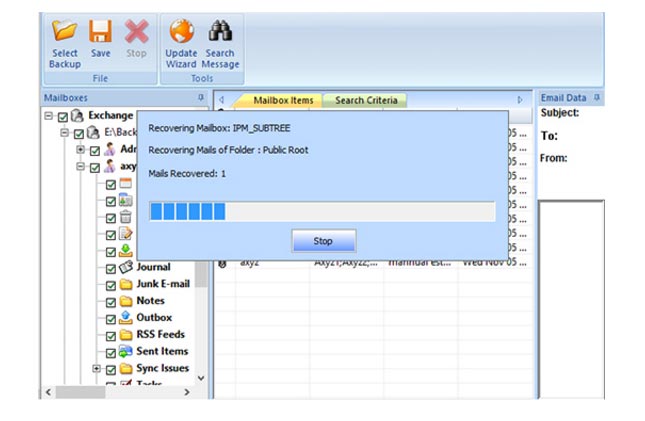
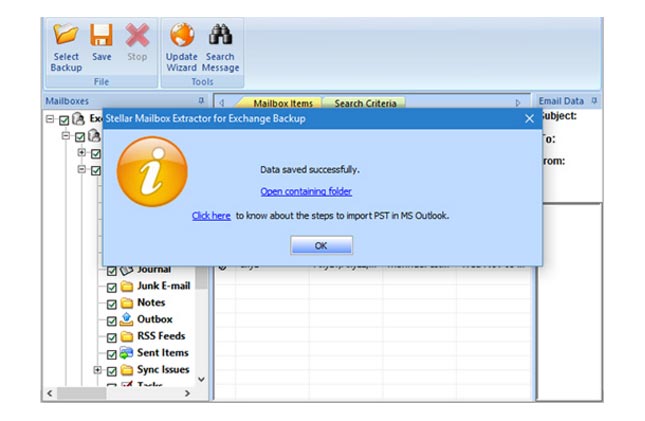
Step 8: The software will start saving the mailboxes. When the process is complete, it will show the Data saved successfully message.
 For IndividualsBack to main menu
 Data Recovery
 File Repair
 Data Erasure
  For BusinessBack to main menu
 Email Repair
 Email Converter
 Email Migration
 File & Database Repair
  Toolkit
 Forensic
 Lab Services
  Our Partners
  About
About Resources
 Support
  Contact us
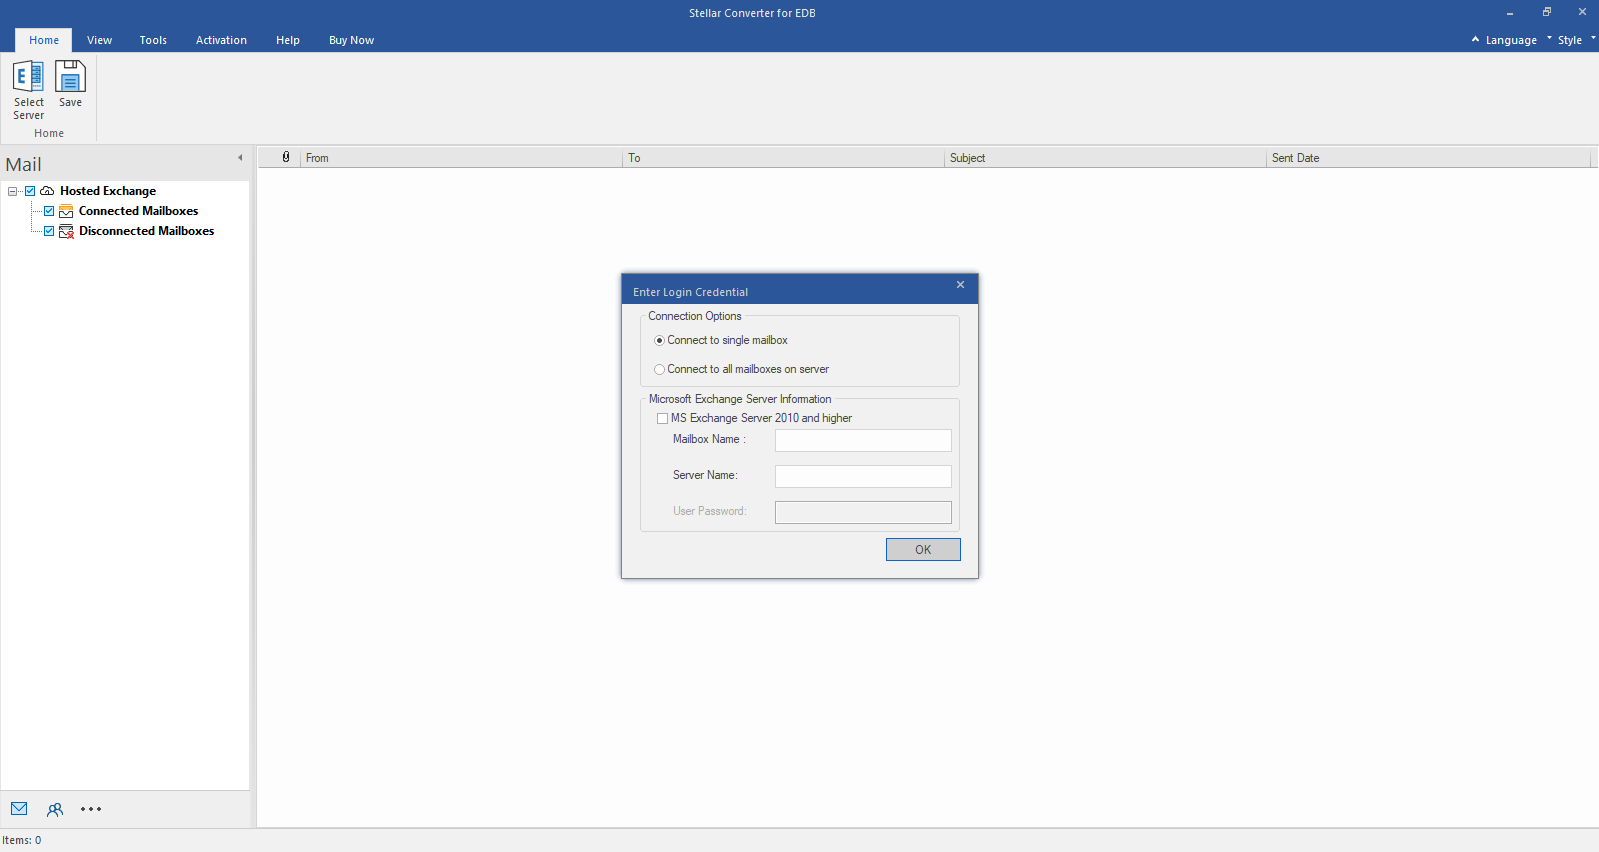
 Free Download
  Installation