Step 1: Launch Stellar Migrator for Outlook. On the Create migration job window, enter a name for migration in the Job Name field. Next, select whether you want to migrate multiple mailboxes or a single mailbox. You can also choose the option to migrate mailboxes using a CSV with the already mapped source and target mailboxes. Then, click Next.

Step 2: On the next screen, you’ll be asked to select the source. Click on Select Files and then choose the OST or PST files you want to migrate. You can select both OST and PST files together. After that, you will see the selected files listed with their names, paths, and size in KBs. Click Next.

Step 3: On the next window, you need to choose the target environment where you want to migrate mailboxes from the selected OST/PST files. You will see three options: Exchange Server, Microsoft 365, and PST. Select the option based on your requirements and click Next to go to the target.

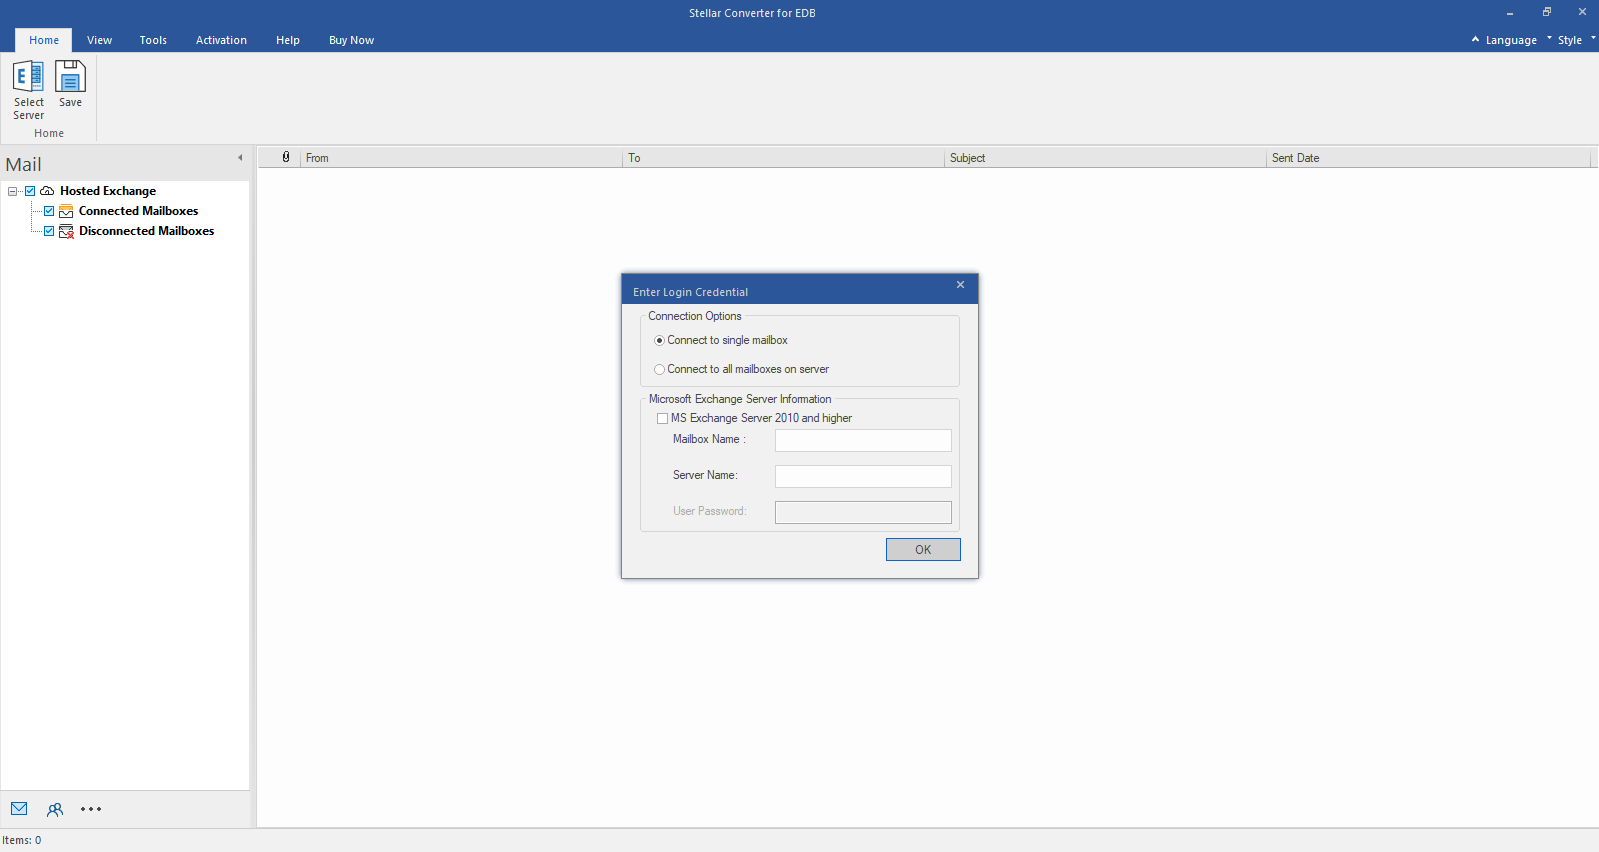
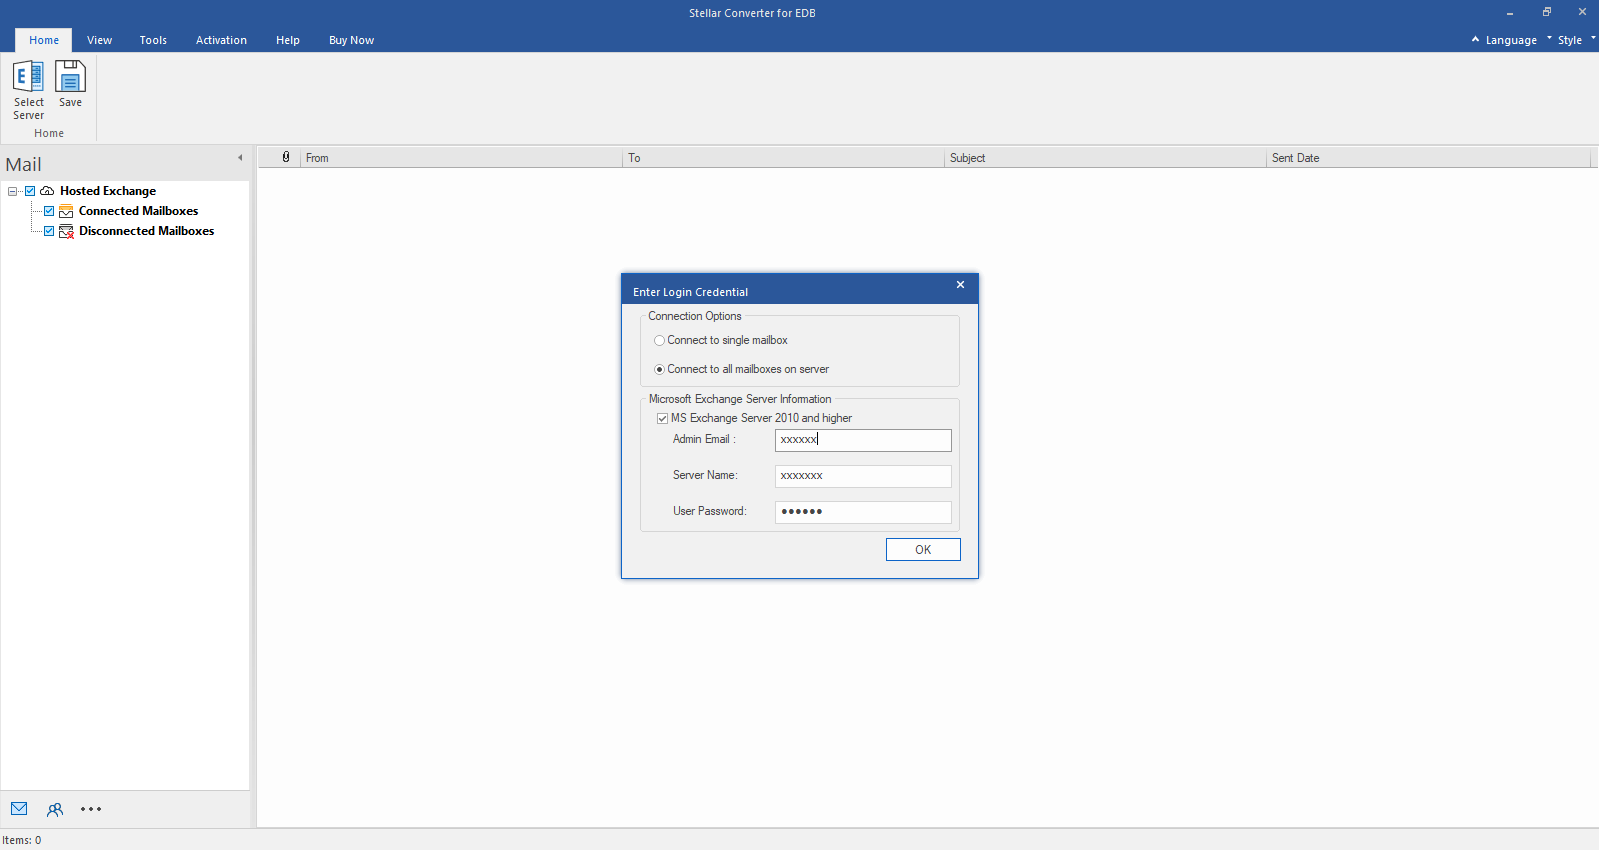
Step 4: If you want to migrate to the Exchange Server, you need to connect to the server. For this, there are two options: Use Autodiscover Email or enter the credentials of administrator (with impersonation rights) manually. After validating the credentials, click Next to proceed.

Step 5: If you want to migrate to Microsoft 365, you need to connect to the server. For this, there are two options: Auto Registration and Manual Registration. The Auto Registration option allows you to automatically connect to Microsoft 365 by using the global admin credentials. Selecting the Manual Registration option requires you to manually enter the details, such as Email Address, Application (Client) ID, Directory (Tenant) ID, and Client Secret Value. After validating the credentials, click on Next to proceed.

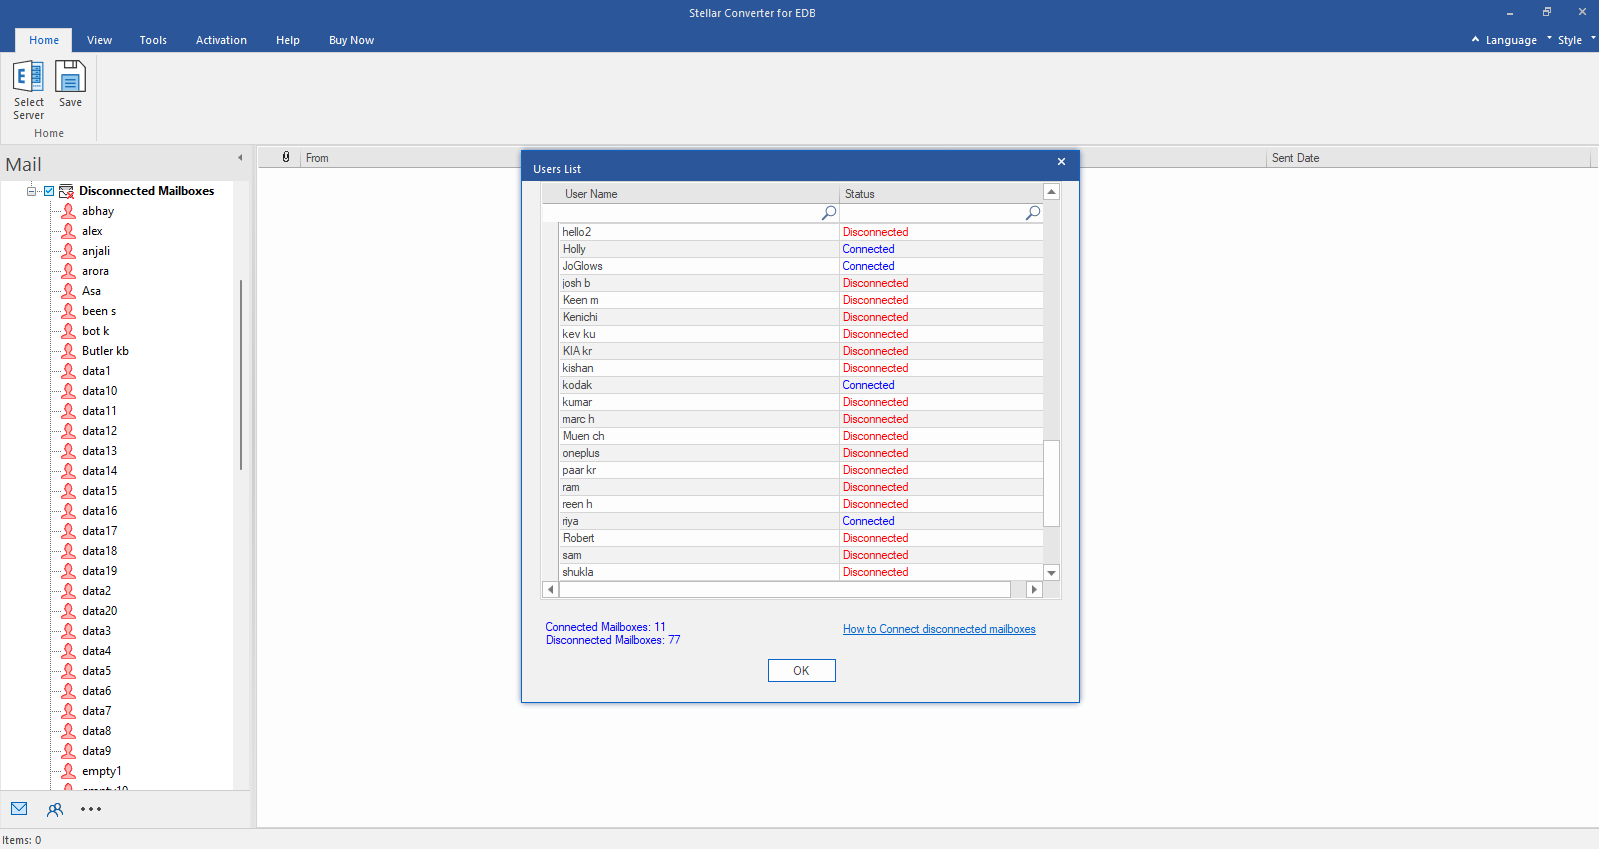
Step 6: On the next screen, you will see a list of mailboxes found on the target server. In case, there are additional mailboxes, you can choose the Load Mailboxes Using CSV option to upload a CSV file containing all the mailboxes. This allows you to preview the mailboxes from the target server (Exchange Server or Microsoft 365) before proceeding with the migration. Click Next to proceed.

Step 7: The software will automatically map the mailboxes from the source (OST/PST) to the target (Exchange Server or Microsoft 365). You can click on the Edit button to change the mapping. Moreover, in the Priority column, you can change the priority order (which mailbox will be migrated first). For moving the OST/PST data in a specific mailbox folder, you can tap the Click to Specify option. When done, click on Next.

Step 8: You can use date filter to select items for migration based on date. You can choose to migrate all items, migrate items older/not older than a particular date, or migrate only items within a specific date range. After selecting the required option click Next.

Step 9: You can migrate the data based on specific folder types. You can include or exclude data from folders, such as Emails, Contacts, Tasks, Calendars, Journals, and Notes. You can also exclude or include Drafts, Deleted Items, and Junk Email folders. After the selection, click on Next.

Step 10: On the next screen, choose the number of mailboxes to be migrated simultaneously. The maximum limit is 10 mailboxes. This allows you to balance the migration speed with the available system resources. After setting the limit, click Next to proceed.

Step 11: You will see a summary window with complete details of the migration job. Review the information and confirm all the details before proceeding with the migration. This is a crucial step to ensure that your migration settings are accurate and aligned with your goals. Once you're satisfied, click Finish. A Job Created dialog box will appear. Click OK.

Step 12: After reviewing the information, click the Start button in the Job ribbon. This will start the migration process. You can view the overall Job Progress or individual Mailbox Progress. If you want to pause or stop the migration process, you can do so from the Pause button in the Job ribbon, but it is not advisable.

Step 13: Once the migration starts, you cannot edit the source and target server connections for the given job. However, it is possible to edit details, like date filter, folder type filter, max concurrency value, and credentials for Microsoft 365 and Exchange Server (if expired).

Step 14: If you have chosen to export OST/PST files data to PST, the Connect Target and Target Mailboxes steps will be skipped automatically. On the Map mailboxes screen, you can browse and select the Destination File Path where the PST files will be stored. In case, you haven’t specified a path, the files will be stored in the source location path. You can also rename the PST in the target. To create folder in the resultant PST, enter a name under the Name column. To delete the PST/OST row from the list, choose the Remove option. If you want to split the resultant PST file, select the Auto Split Output PST checkbox. Click Next and follow the prompts to complete the process.

 For IndividualsBack to main menu
 Data Recovery
 File Repair
 Data Erasure
  For BusinessBack to main menu
 Email Repair
 Email Converter
 Email Migration
 File & Database Repair
  Toolkit
 Forensic
 Lab Services
  Our Partners
  About
About Resources
 Support
  Contact us