“I have deleted all the data off of my SD card. However, when I try to use the card in our action camera, it still says “card full”. How can I fix this problem?” - SanDisk Forum
Many users have encountered a similar situation where their camera or smartphone SD card falsely indicates it is full. Additionally, when they plug the card into a computer, only a handful of the stored files are accessible. If you're experiencing the ‘SD card says full but nothing on it’ issue, you’re not alone. We'll delve into the solutions to this problem in this article, but first, let's go over some fundamentals.
SD cards are compact storage devices that are popular for their small size and affordability. Yet, they're not without flaws. It's common for users to face storage issues with their SD cards, memory cards, and flash drives, which hinder access to the device's full storage capacity. Fortunately, these problems are easy to fix. Stay with us as we examine how to tackle these errors, beginning with understanding the root causes.
Reasons for SD Card Saying Full When Empty
There can be many reasons why this happens on some SD cards. Here, I’ll highlight the most prominent ones:
- The SD card might not be correctly connected to your device, which can prevent file access.
- The files could be set to invisible or hidden status.
- Incorrect formatting of the SD card.
- A virus infection on the SD card can hide or delete files.
- File system errors or corruption within the SD card itself.
- Issues in device preventing you to read the card properly.
How to Fix SD Card Says Full but Nothing on It
Let’s look at some fixes in detail and see which works best for you.
Solution 1: Connect the Camera/Phone to the PC
By directly connecting your camera or phone, which contains the SD card, to your computer, you might automatically fix the problem. In doing so, your device acts as an impromptu card reader, granting you access to all the files stored on the card. This simple step could be the quick solution you need to access and modify your data.
- Connect your camera or phone to your computer.
- Use the USB cable that you received with your camera or phone, or a one that is highly compatible.
- Turn on your camera or phone if it doesn't turn on automatically.
- On your computer, wait a few moments for the device to be recognized.
- Now open “File Explorer” (Windows) or “Finder” (Mac) on your computer.
- Look for your device name, such as Removable Disk, My Camera, etc., under “This PC” in Windows or “Locations” in Mac.

- You can check for photos and videos that are usually in the DCIM folder.
- Copy, move, and then delete the files.
If this method works in your favor, it will help you to remove the files that were earlier not visible and device was showing full. This method is straightforward and doesn't involve a complex series of steps, making file recovery a swift and simple task.
Solution 2: Unhide Hidden Files and Folders
If the above method doesn’t work, you can try to look for hidden files. When a virus attacks your device or memory card, it often executes commands that hide your files, making the card seem full. To unhide these files, follow these active steps:
- Connect your SD card to the computer directly.
- Use File Explorer to open the SD card.
- Navigate to the View at the top.

- Under the View tab, find and check the box next to Hidden Items.

- Now, the hidden folders and files on your SD card should be visible.
Should these steps fail, you might need an antivirus or your SD card may have a deeper problem, and formatting it could help.
Solution 3: Scan the SD Card with Antivirus
Apart from hiding files, virus or malware can also create hidden malicious files, causing system errors. You can use an antivirus software to scan the card to detect and remove harmful programs, unhide files, and fix other system errors. Scanning the SD card is effective in fixing storage issues caused by viruses.
Steps to scan your SD card with antivirus:
- Connect your SD card to the computer.
- Open your antivirus software such as Windows Defender, McAfee, Avast, or any other installed software.
- Select your SD card from the list of scannable drives.
- Start the scan and wait for it to complete.
- If the antivirus detects malware or threats, follow the prompts to quarantine or remove them.
- After the scan is completed, safely eject the SD card and reconnect it to check if the issue is resolved.
This scanning process can help repair minor file system problems caused by malware infection. However, if this method does not work, try formatting your card.
Solution 4: Reformat the SD Card on Windows PC
Incorrect formatting can sometimes trigger the error message "SD card is full" when it isn't. Reformatting the SD card is a reliable solution to resolve this error. However, it's crucial to back up your data beforehand, as formatting will delete all files, including the hidden ones from the card.
Follow these steps to format your SD card:
- Connect the SD card to a computer.
- Open Windows File Explorer and locate your SD card.
- Next, right-click on the SD card and select.
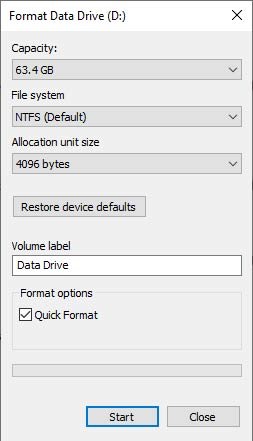
- In the dialog box, set up the File System format as NTFS, set a Volume Label and check the box next to Quick Format.
- Lastly, click Start, and Windows will start the formatting process for your SD card.
By now, your SD card should ideally be restored to its original settings, allowing you to access its entire storage capacity. However, if you still face issues, there's no cause for concern; we have a couple of reliable methods ready for you to attempt.
Solution 5: Re-Format SD Card Files using Mac
If you used a Mac device to delete or format your files from an SD Card, you can face on a Mac device. When SD card files are deleted using a Mac, just moving them to the Trash doesn’t free up space on the card because Macs keep deleted files in the Trash folder until you empty it, so if the SD card is disconnected without emptying the Trash, the files remain on the card taking up space, while they remain inaccessible.
To make sure your SD card is completely cleared and has free space, you must empty the Trash while the card is still connected to the Mac.
Simple steps to delete files completely from an SD card on Mac:
- Connect your SD card to the same Mac device and wait for it to appear on the desktop.
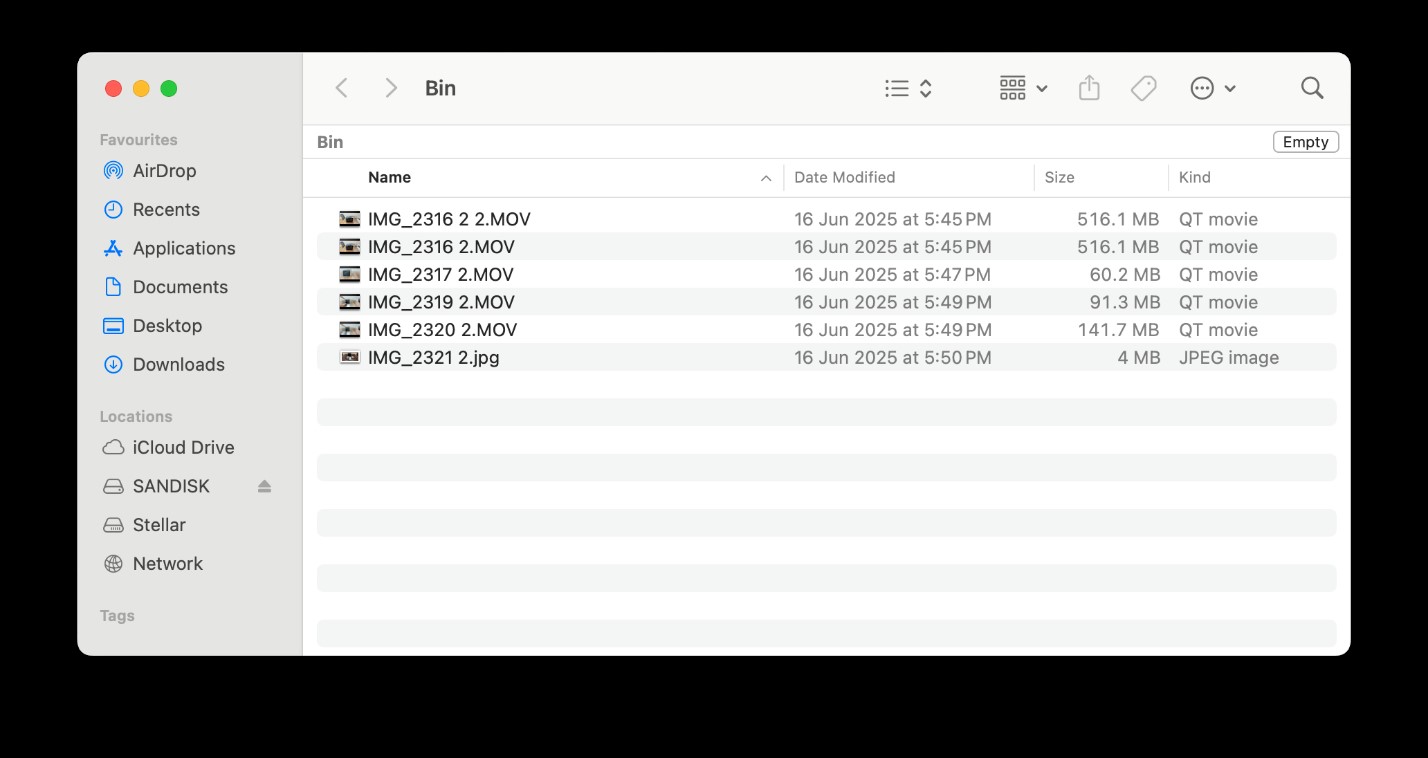
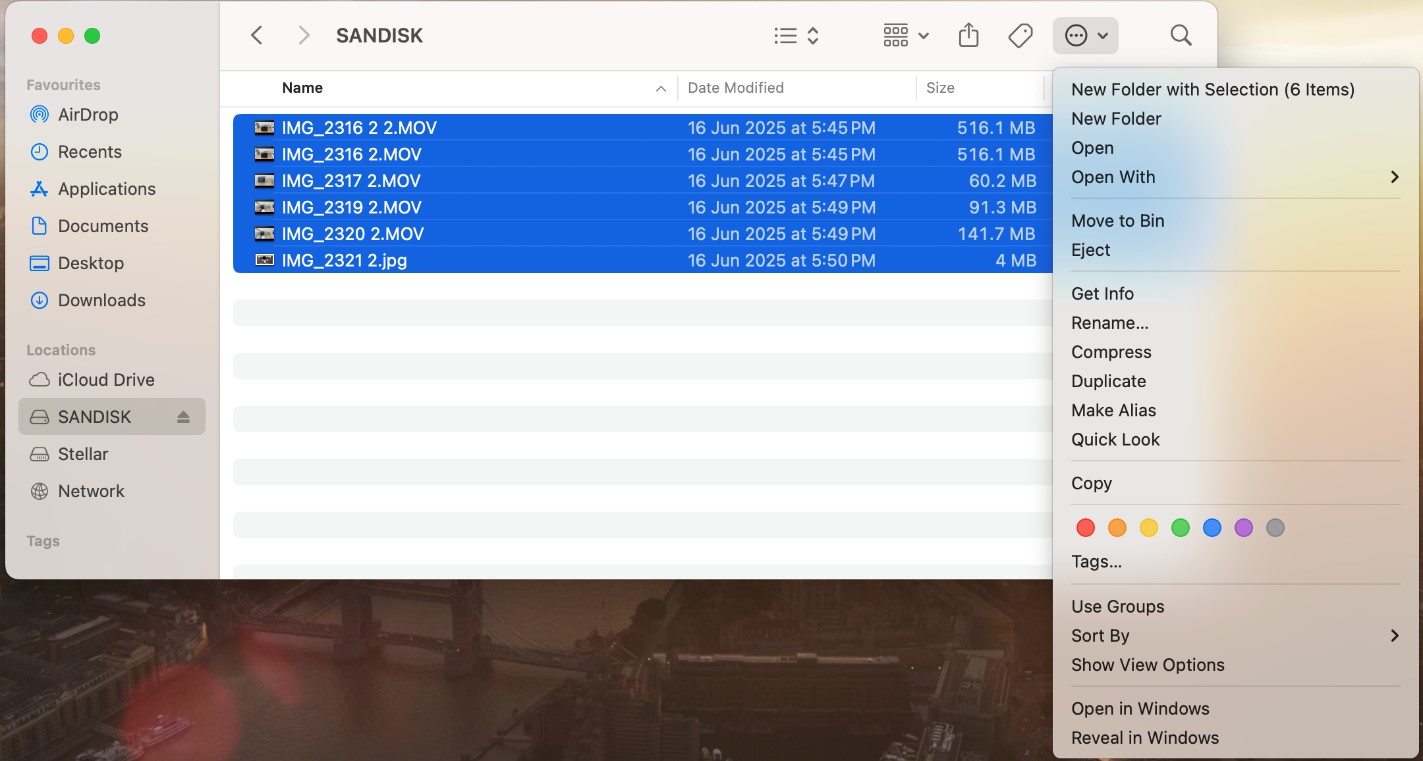
- When the SD card is connected, check for any files, select and delete them by clicking on Move to Bin.
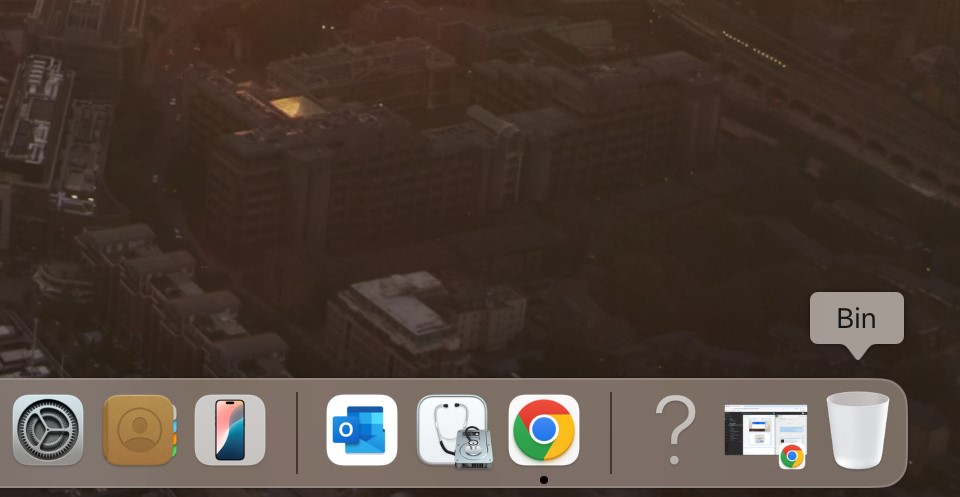
- Now go to the Trash/Bin icon in the bottom Menu bar.
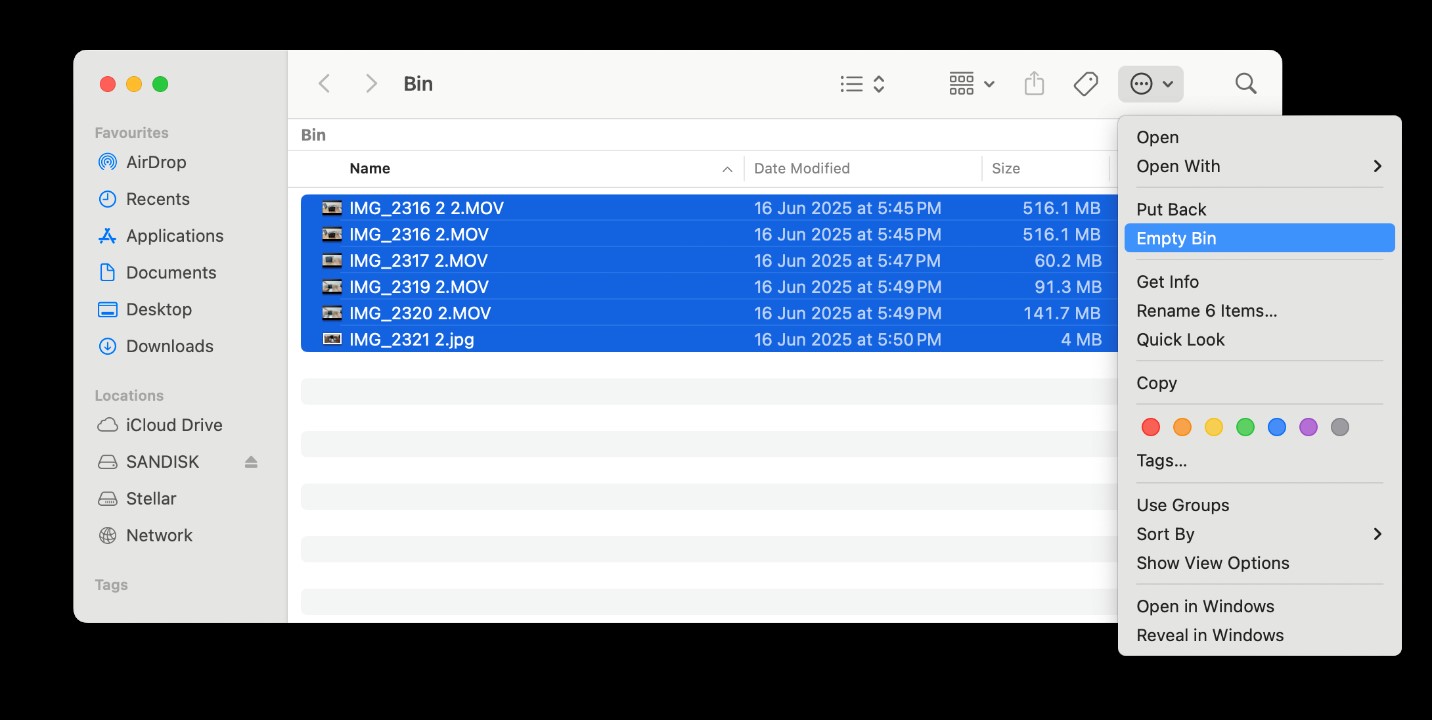
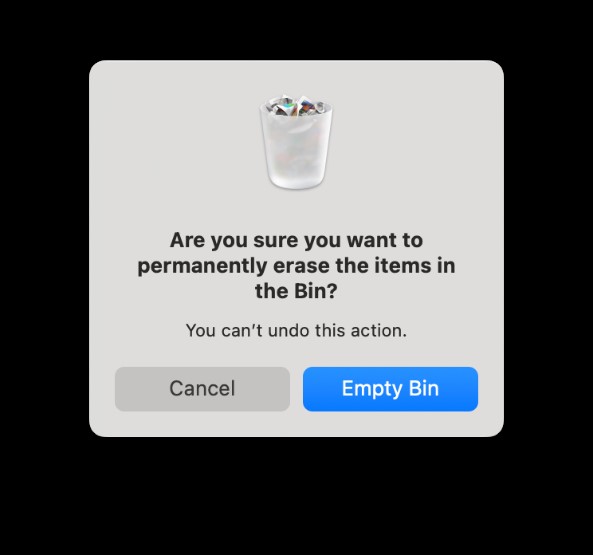
- Look for the files that were deleted from the SD card, select them all, and simply hit “Empty” to permanently delete the files from the Trash.
- Only after emptying the Trash, eject your SD card safely.
Now your files are completely deleted from the SD card, after this, the card will not show as full because of undeleted or hidden files in the Trash.
Suggested Read - How To Format SD Card on Different Devices
Solution 6: Check and Fix File System Errors Using CHKDSK
If your SD card shows as "full" when it's empty, the reason behind this can also be due to file system errors that can lead to the system or your device misreading the actual space available on the card.
CHKDSK can sometimes repair the file system errors. It is designed to check and repair inconsistencies in the file system or bad sectors in the storage device. It can detect and fix minor file system corruption, such as file allocation table errors, directory issues, etc. Running CHKDSK process, may show the correct free space again.
- Plug the SD card into your computer and note the drive letter assigned (e.g., E: or F:).
- Open Command Prompt as Administrator.
- Run the command: CHKDSK E/F or whatever is assigned drive letter : /f (this command fixes file system errors).
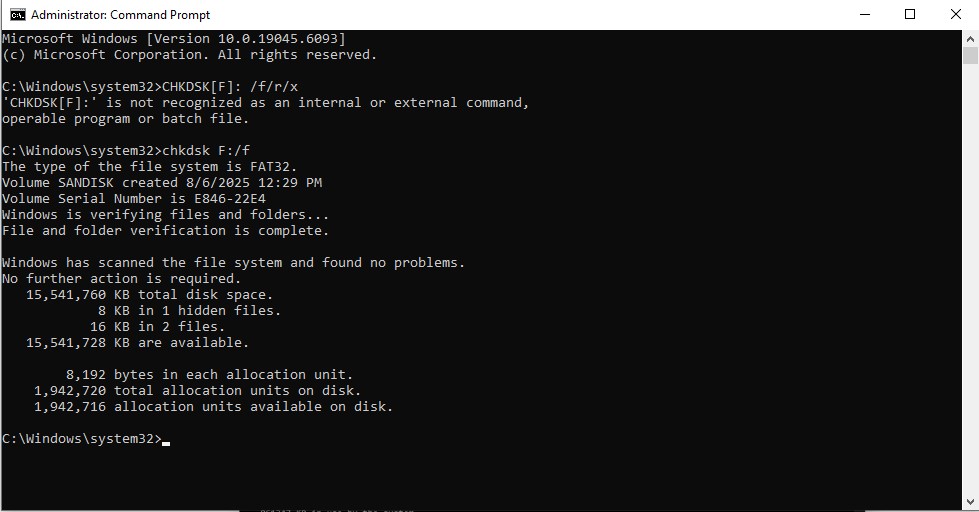
- Then Run the command: CHKDSK E/F or whatever is assigned drive letter : /r (this command detects and resolves bad sectors).

- At last Run the command: CHKDSK E/F or whatever is assigned drive letter : /x (this command forces the drive to dismount before repair)
This may fix errors causing the card to report incorrect capacity and resolve the problem.
Solution 7: Use Attrib Command Prompt
The attrib command in Windows Command Prompt is used to change or view the attributes of files and folders, stored in an SD card. This can set or remove special attributes. These parameters like [-h -r –s/s/d] removes the hidden, read-only, and system attributes from files and folders, and makes them modifiable.
This helps access and modify the files that earlier "disappeared" due to attribute changes, which is a common cause of the "SD card showing full when empty" problem.
You can fix many seemingly challenging issues, such as the SD card full error, with the help of Windows command prompt. Follow these steps below:
- Click the Windows button, type “CMD” in the search bar, and hit Enter.
- In the command prompt window, enter the following command: attrib –h –r –s /s /d g:*.*
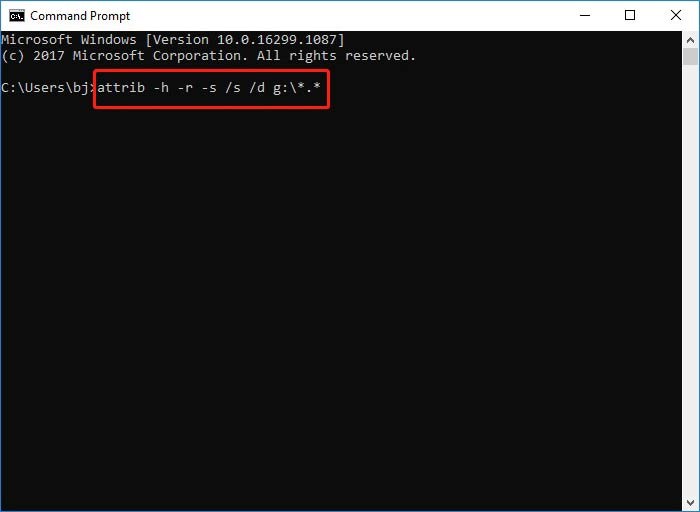
- After you run this command, go back to File Explorer to view your SD card's files.
Solution 8: Restore the SD Card with Command Prompt
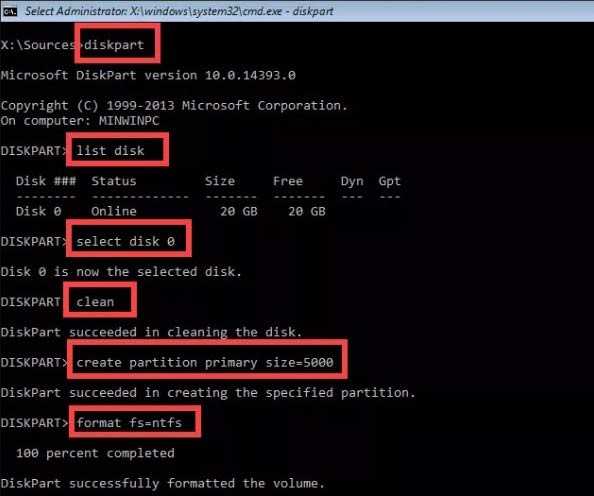
You can utilize the Windows command prompt to reset your SD card to its original capacity. Here’s how:
- Start by clicking the Windows button, searching for CMD, and pressing Enter.
- Once the command prompt opens, enter 'diskpart' and hit Enter.
- Then, input 'list disk' to see all connected disks, including your SD card.
- Select your SD card by typing 'select disk #' and confirm with Enter.
- Clear the card with the 'clean' command, which removes all data.
- Create a new partition with 'create partition primary', and format it to FAT32 using 'format fs=fat32 quick'.
- Check the SD card in Windows Explorer to ensure it is back to full capacity.
The above provided methods can help you to fix SD Card saying full when empty error.
Accidentally Deleted Photos & Videos From SD Card - Try Photo Recovery
However, if files or important photos from your SD card is mistakenly deleted during the above process, you can try recovering them with the help of a photo recovery tool. I recommend using a powerful photo recovery software, such as Stellar Photo Recovery. It can efficiently retrieve deleted files from an SD card.
This software tool can recover various multimedia files, including videos, photos, and music tracks, irrespective of their format. It supports a wide range of file types, such as JPEG, PNG, DNG, CR2, CR3, HEIC, HEVC, MOV, MP4, and AVI.
Here’s a step-by-step method to recover photos using Stellar Photo Recovery:
- Start by inserting your SD card into the computer.
- Next, visit the official webpage of Stellar Photo Recovery and download the setup file for the software.
- After downloading, proceed to install the software with the provided setup wizard.
- Once installed, run the tool.
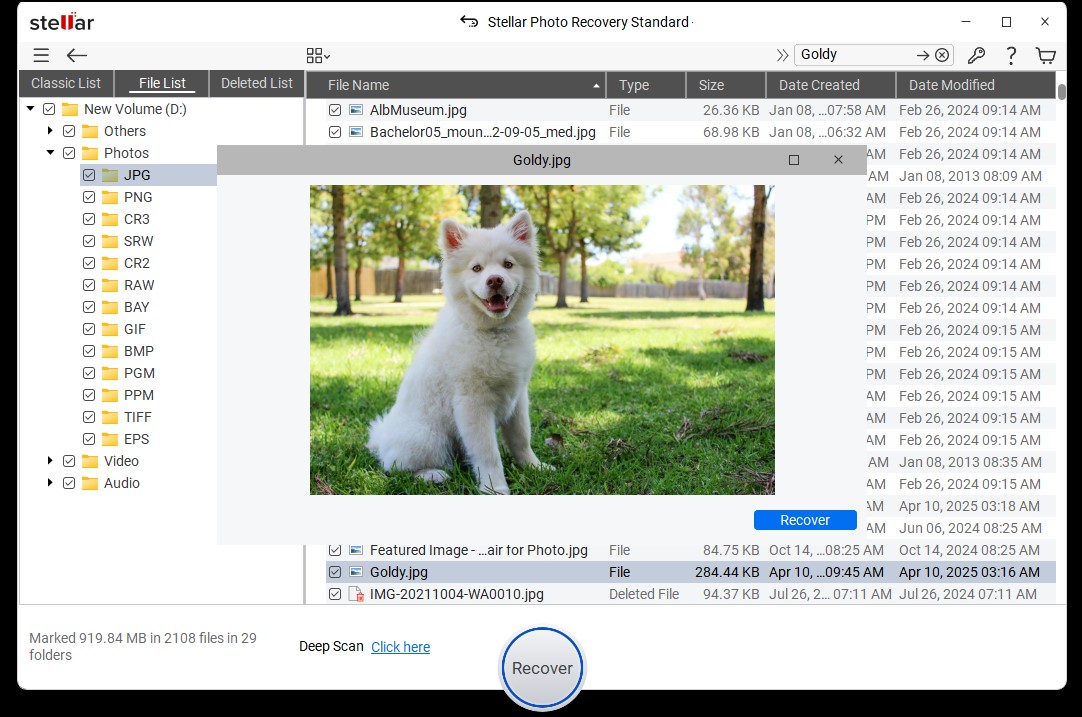
- Choose the file type you'd like to recover, then the interface will show all connected drives, including your SD card; select it.
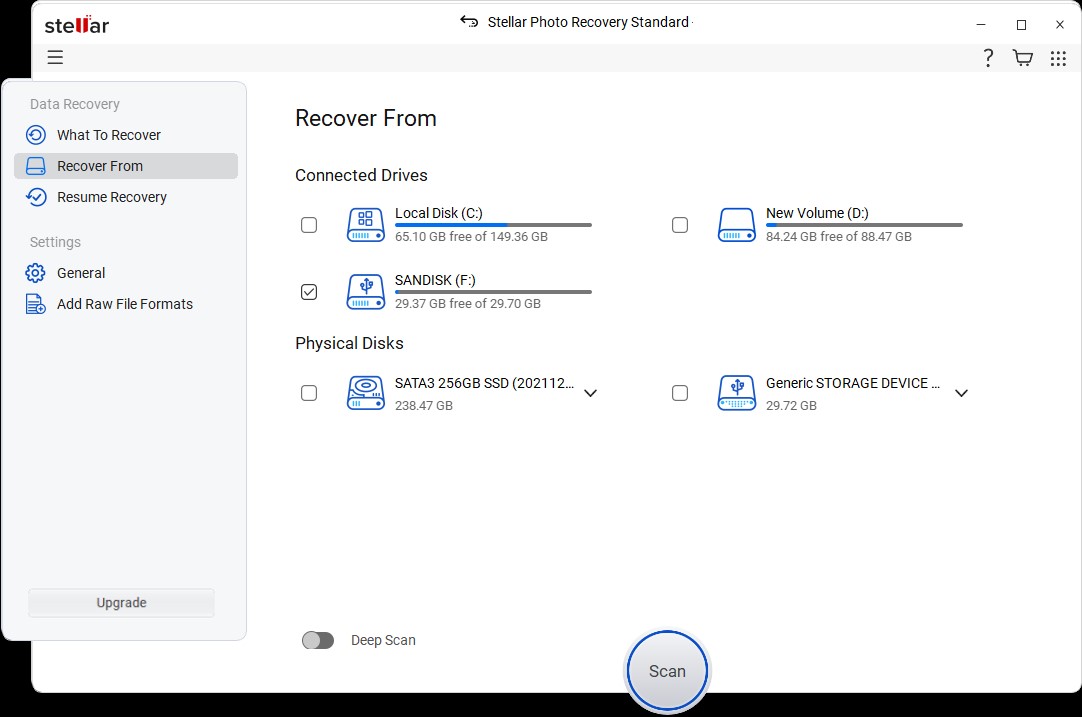
- Enable Deep Scan toggle button from the bottom-left and click Scan.
- When the scan completes, you can preview and choose photos, videos, and audio files to recover.
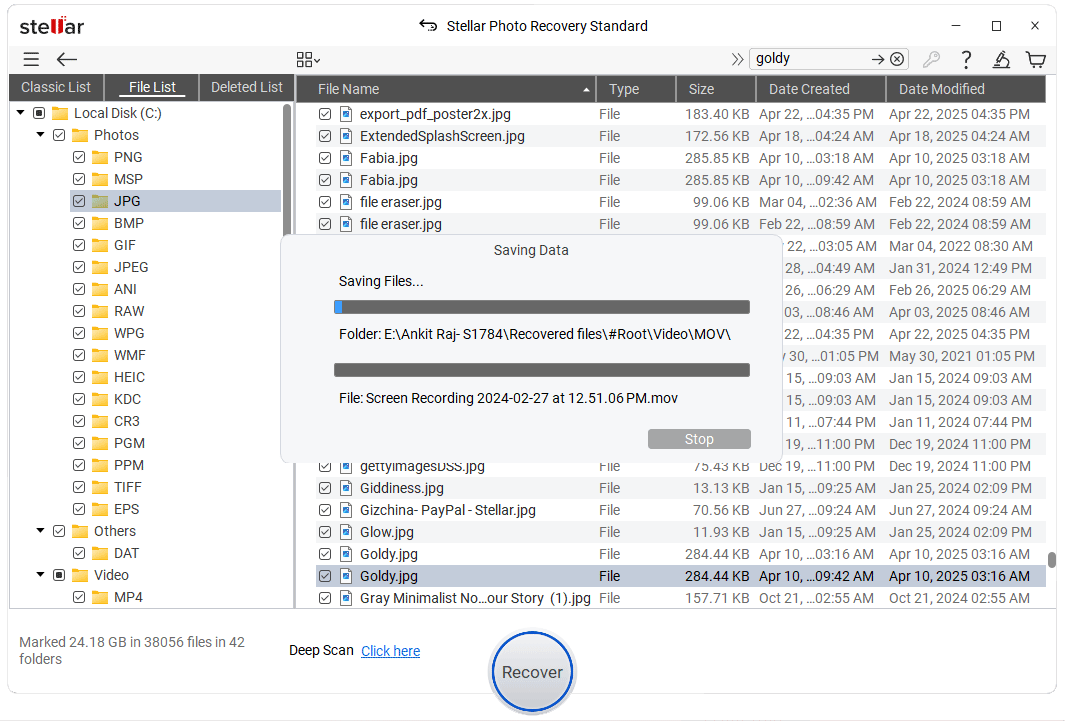
- Next, click Browse to choose a preferred location for the files you want to save.
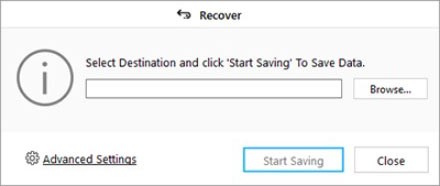
- Click on Start Saving to finally save them.
Summing Up
If your SD Card appears full despite having no files, you now have the knowledge to tackle this problem. Various methods exist to address this issue swiftly. Given the multitude of approaches to resolve the "SD card says full but no files" error, it's important to select the one that fits your needs. For a secure and fast recovery of invisible files on your SD card, consider using Stellar Photo Recovery as your go-to solution.


Rishabh is a senior content specialist at Stellar Information Technology, where he writes about comprehensive data care solutions.

 9 min read