For a photographer, nothing is as demeaning as facing criticism over a wonderful picture spoiled due to low exposure. Perhaps you took the photograph on a high ISO that allowed less light and resulted in a much darker image. Or you used a slow shutter speed that allowed an extremely small amount of light to enter your camera. If there isn’t enough light to capture the subject, an error in exposure will surely happen. Evidently, you failed to anticipate how much light would be required to take the shot.
Different Types of Exposure
- Underexposure: When an image capture is exposed to an extremely small amount of light, due to which, a photograph is not formed properly.
- Overexposure: It’s the exact opposite of underexposure. Too much light can also ruin your perfect photograph and leave you with an image that looks washed out.
- Correct Exposure: Photography is an art, and experts can adjust the exposure, demonstrating their creativity. By aiming for neutral exposure, you can achieve the right amount of natural light and capture stunning photos.
How do you know if your photos are underexposed?
Underexposed photos sometimes do look good, and some consider them an art form. However, for most people, such photos are too dark and have few details in their shadows that appear murky. A photograph needs to be neutrally exposed to look perfect.
This article provides all possible ways to fix underexposed photographs. If you are taking photos in RAW format, then you have the liberty to fix underexposure in photos. However, improving dark photos in the post-production stage is a bit tricky. You will need professional tools to fix them, but before that, learn to avoid Common Photo Editing Mistakes while editing an underexposed photograph. You must also refer to these ingenious Tips to Fix Bad Quality Photos.
Fix Underexposed Photos in Photoshop
Adobe Photoshop is known for its great photo editing options and outcomes. The tool is not only efficient in improving underexposed images but for transforming your image quality. The tool is slightly expensive but worth investing money as it can adjust light, color, spot heal, customize the background, add or remove blurs, and do much more. Follow instructions to edit an underexposed photograph:
- Install and set up Adobe Photoshop on your laptop or computer.
- Import the underexposed image by clicking on File in the top-left corner and select Open from the drop-down.
- Browse the folder where you have saved the underexposed photo. Double-click on the image to open it in Photoshop.
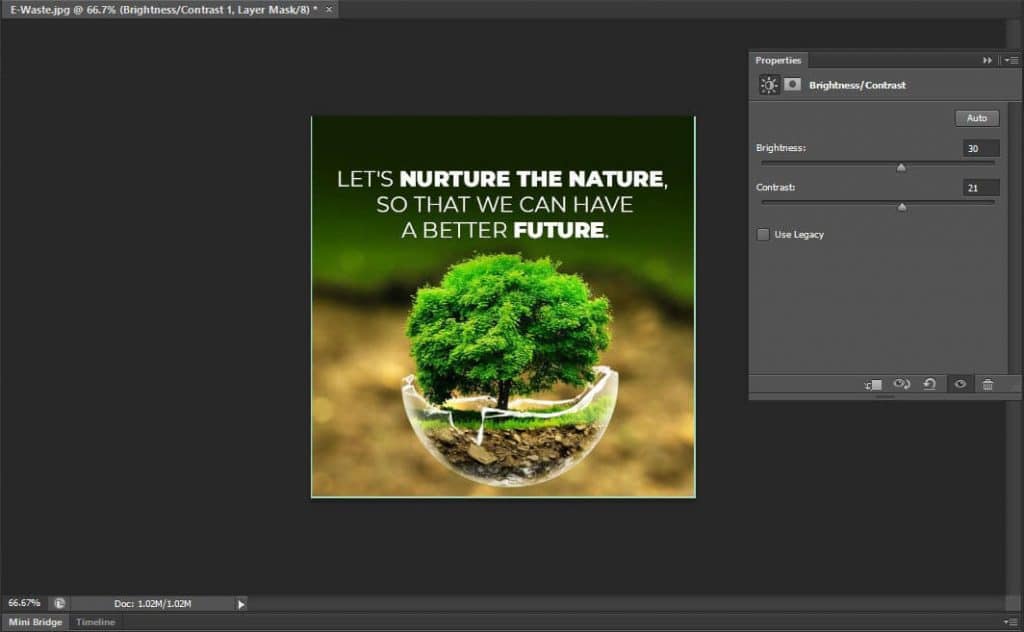
- In the right panel, go to the Adjustment Layer and choose Brightness/Contrast. Adjust both sliders till you get the desired quality of photo.
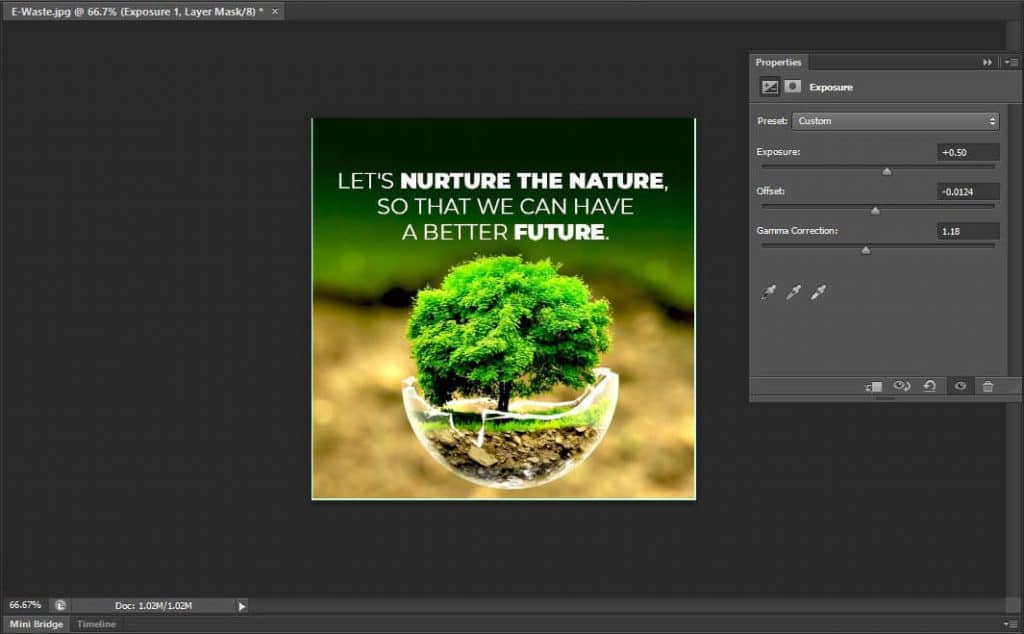
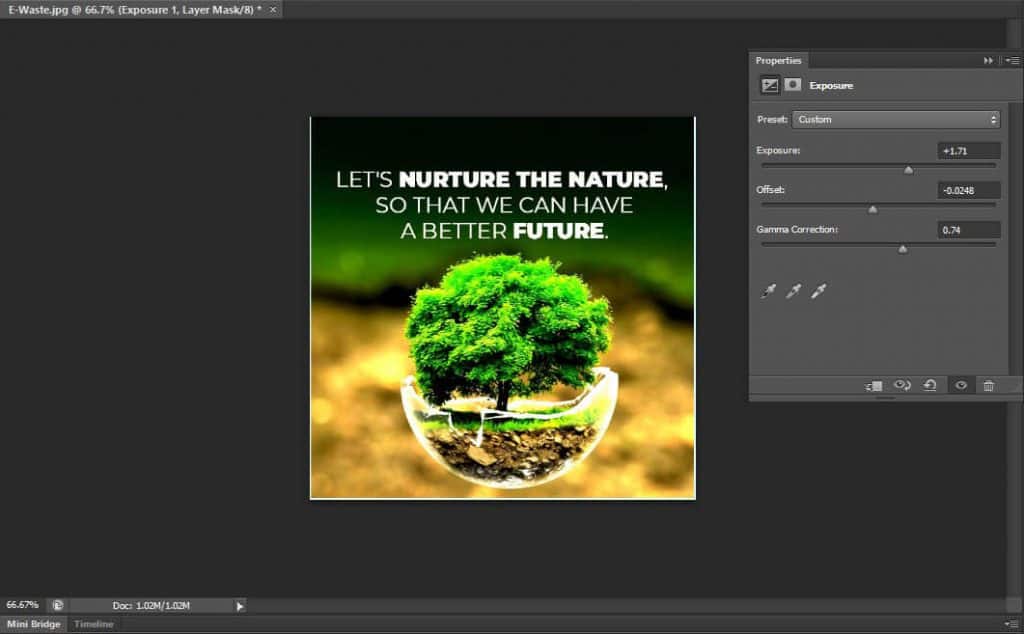
- You can directly choose the Exposure option to find the perfect adjustment. Simply play around with the sliders.
- Otherwise, try Shadows/Highlights and eventually move the sliders to adjust the sharpness of your photos.
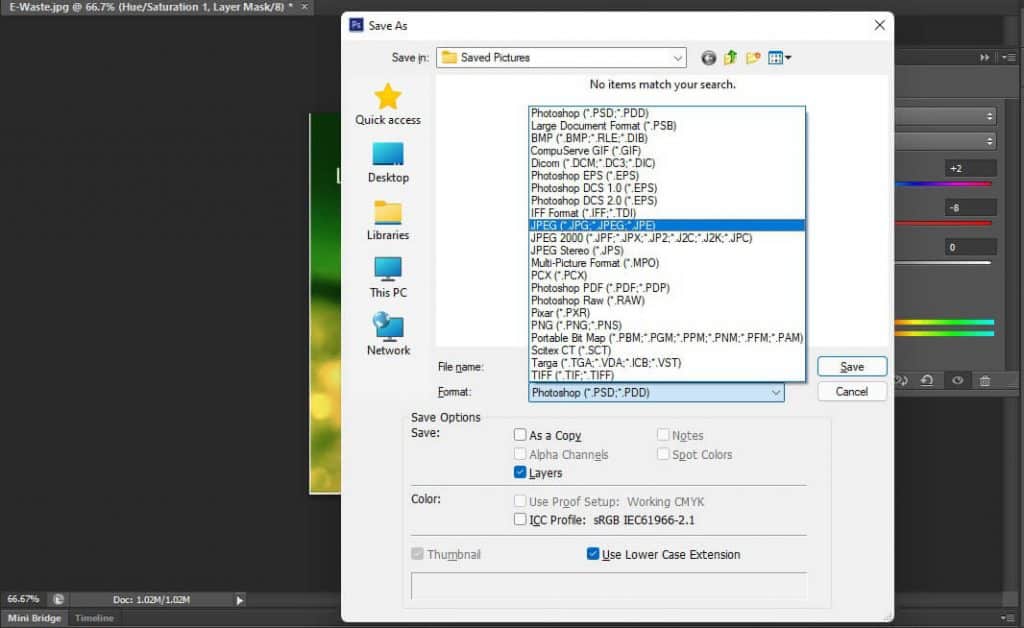
- As your underexposed image is perfectly adjusted, click on File > Save As > Choose a desired file format to save the improved image.
Fix Underexposed Photos in Lightroom
Adobe Lightroom is a great tool that helps you manage and edit photos simultaneously. With this tool, you can import, organize, and manage all your digital photographs from a single dashboard, but don’t confuse it with Adobe Photoshop. Lightroom offers a free app for mobile and tablets to perform basic photo editing of images stored in the device. Photoshop, on the other hand, is a versatile editing tool that does not offer any cost-efficient plan. You need to buy expensive monthly or yearly subscriptions of the tool. Further, its interface is so complex that you must invest several hours to get acquainted with it.
Lightroom can swiftly improve lighting in your dark image. If you aim to increase the brightness of the whole picture, simply drag the exposure slider to its right and make a universal brightness adjustment of the photograph. Otherwise, if the background is fine, but the subject appears dark, follow the steps to fix such underexposed photos in Lightroom:
- Follow the instructions to Download Adobe Lightroom and sign in to install the app.
Note: If you are installing the Adobe Creative Cloud app for the first time, you’ll need to install its Cloud desktop app as well.
- Once done, open the application and export your underexposed image in it.
- Carefully use the Exposure slider to add just the right amount of exposure to your photograph.
- Slowly pull it up till you get the desired brightness and details in your picture. Don’t overdo this effect; otherwise, you’ll completely ruin your image.
- After that, recover the Shadows slider and move it to the extreme right. It will only fix the dark areas to bring back lost details.
- Finally, adjust the Blacks by pulling them towards the right side. This is the final step to eliminate underexposed elements in the photograph.
Lightroom isn’t absolutely flawless, despite being renowned for fixing underexposed photographs. It can corrupt your RAW image during the process of importing and saving it to the hard drive. Learn how to fix Lightroom corrupting RAW images on Copy and Import. Lightroom editing may also affect JPEG photo quality. So, here is a blog that covers options to improve picture quality.
While using either of the photo editing tools, if your JPEG turns corrupt, use Stellar Repair for Photo to fix it. This smart tool can efficiently repair corrupt photos in JPG and JPEG format stored on a memory card, hard drive, USB flash drive, or any other data storage medium. It comprehensively scans a storage drive to repair corrupt photos. Follow the steps below for photo repair using Stellar Repair for Photo:
- Download the trial version of Stellar Repair for Photo on your laptop or computer.
- From the key interface, ‘Add File’ you wish to repair. The tool can fix multiple corrupt photographs at once and swiftly load them all.
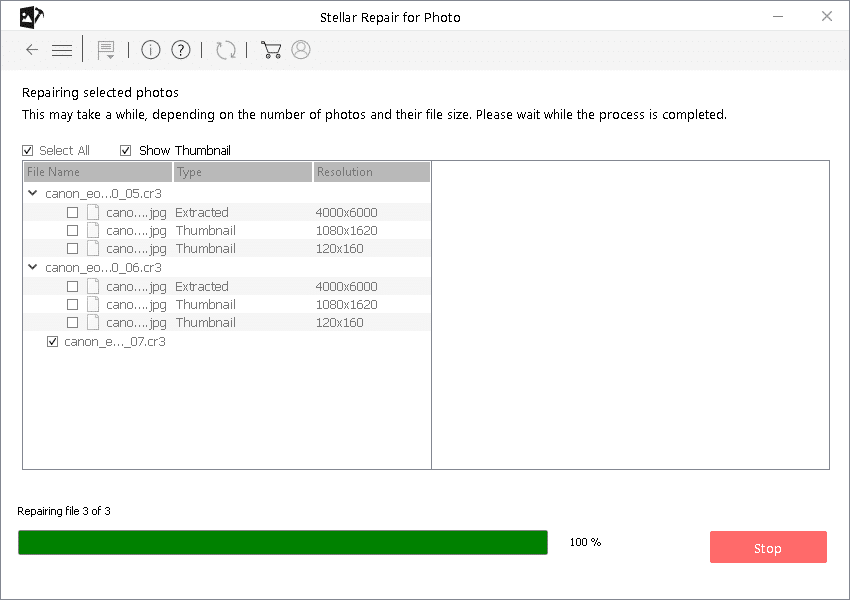
- You can select multiple JPEG images at this stage by marking the tick box beside all the images. Click on the Repair button at the bottom to commence the repair process.
- You can see the progress of the files repairing at the bottom.
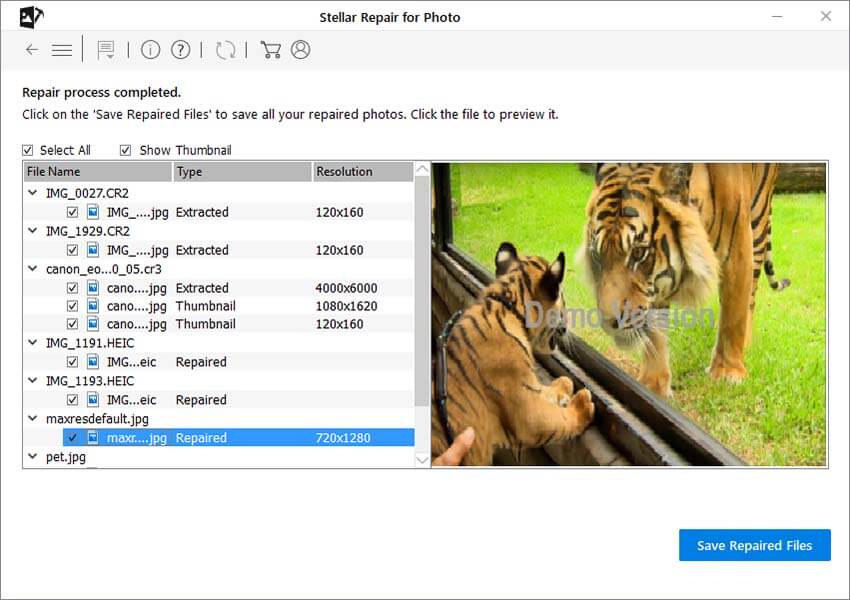
- Once done, you can preview the repaired images. If the tool cannot repair a photo due to a bad sector or unforeseen corruption, you will get a notification of the same.
- Click Advanced Repair button to address the issue. Click Save and navigate to the location/ folder on your computer to store the repaired JPEG photo.
Pro Tip: Use the trial version of Stellar Repair for Photo to understand the whole process of photo repair, and then buy the advanced version of the software for more lucrative options.
Conclusion:
If you do have an underexposed photograph, a reliable post-production tool like Photoshop can fix it. However, it will only be salvageable to a certain degree. Professional photographers keep such tools handy for the worst possible circumstances. They prefer avoiding underexposed shots in the first place by devising a method to control the ISO. Nonetheless, if you are a professional photographer who can handle underexposed images but cannot fix corrupt photos, you can use a reliable photo repair tool, such as Stellar Repair for Photo. Others can simply follow instructions given in this article to overcome the underexposed photo problem. Read this blog if your Digital Camera is taking Dark/Black Pictures.


An avid writer, creating technology content for over 8 years to educate the tech novices.

 6 min read