There are two types of Windows Recovery Media - System Repair Disk and Recovery Disk. These two may seem similar at first glance, but they are quite different. These tools are used to restore or repair windows 10/11 in case of no boot sequence or system file errors causing unexpected crashes. You can create a Windows Recovery Media in form of either CDs/DVDs or flash drives.
Windows users sometimes face booting errors or system file errors that cause the system to not boot or act differently. In such cases, a Windows system repair disk or recovery disk is used to get the machine online and the work back on track. Differentiating between the system repair disk and recovery disk can sometimes puzzle users; hence, this article is for everyone looking for key differences between the two.
What are the Differences Between Recovery Disk and System Repair Disk?
As mentioned before, the Recovery Disk and the System Repair Disk look similar on the surface but have totally different usage and purpose. These powerful tools can be used in various scenarios like system crashes, no boot sequences, booting errors, disk errors, etc. Let’s dive further to learn more about these two disks.
What is a System Repair Disk?
The System Repair disk is a user-created drive used to repair and restore missing/damaged system files. It is created on a CD or a DVD. This drive provides various system repair utilities alongside troubleshooting tools like Startup repair, system image recovery, windows memory diagnostics, and the Command prompt. When a user uses the System Repair Disk, the system is restored to the state when this disk was created using a system image file. However, it doesn’t allow the user to restore lost data.
What is a Recovery Disk and What Does It Do?
The recovery disk or recovery drive seems similar to the system repair disk, but, it isn’t. It is used when the system doesn’t boot up and malfunctions. The Recovery Disk offers all the utilities of the system repair disk and thus can also be used to repair system errors. It also packs a backup copy of Windows 10/11 along with the environment needed to restore the system to its factory settings. It removes the old installed OS and reinstalls the OS with factory settings. The user data and files, if not backed up, can get lost in the process.
A Recovery Disk is created in the form of USB flash drives or discs. But due to its large space requirement, it is mostly created on a USB drive.
A summary of all the information discussed above is tabulated for easy understanding.
System Repair Disk | Recovery Disk |
Used for repairing/restoring missing or damaged system files and fixing serious errors; Can also restore the previous backup using a system image file | Used in case the system fails to boot up; To reinstall the OS with factory settings without any user data and applications |
Repairs and restores the system settings and files | Reinstalls Windows and repairs the firmware with factory settings |
Requires a CD/DVD to create | Can be created in a USB or CD/DVD-RW |
Requires less space | Requires a lot of space, at least 16 GB |
Now that we have clarity about the basic distinction between System Repair Disk and Recovery Disk, let’s look at how to create them.
How to Create System Repair Disk or Recovery Disk?
System Repair Disk Creation Process –
System repair disk can help you repair your Windows OS and system files in case you encounter some serious errors. To create this, you’ll need a blank CD/DVD-RW. Insert the disk into your computer and make sure that it gets detected. Follow the below-mentioned steps afterward –
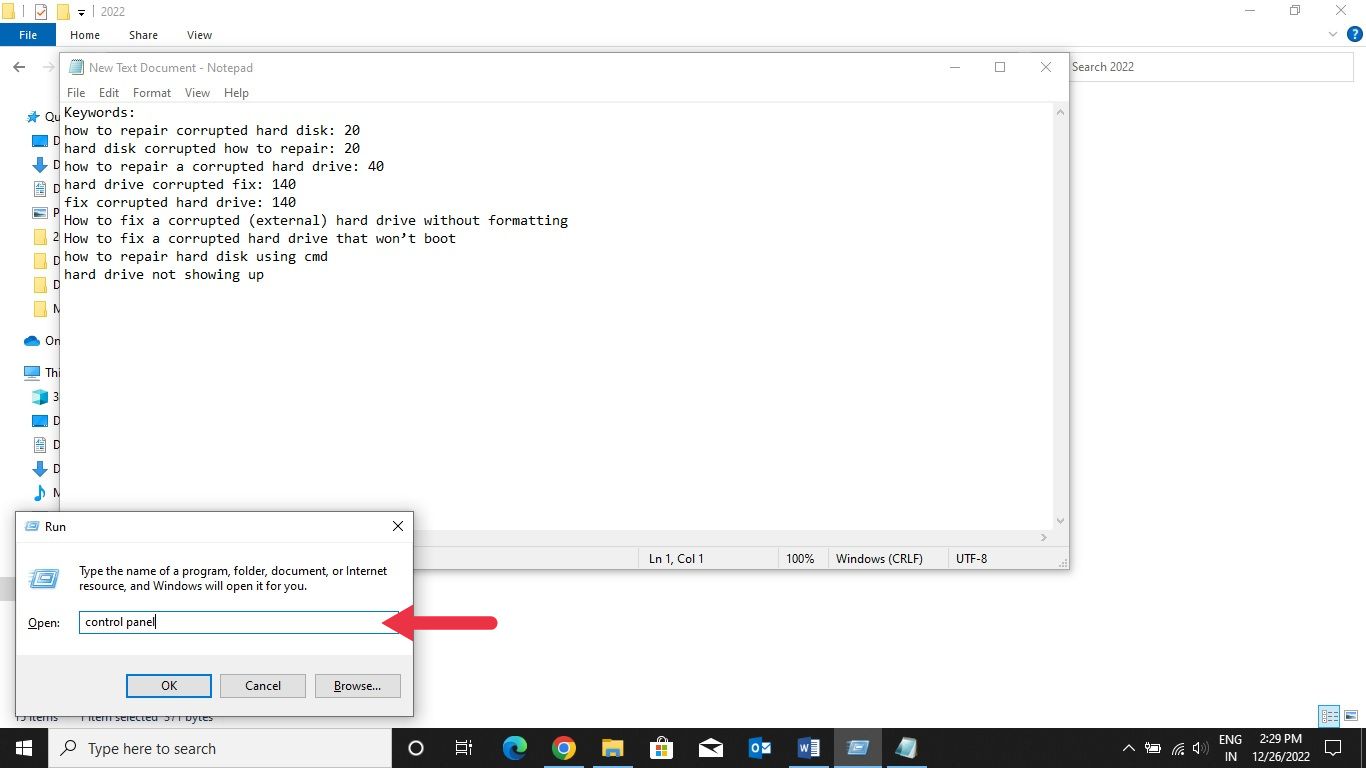
- Press WIN+R to launch Run.
- Type Control Panel and hit Enter
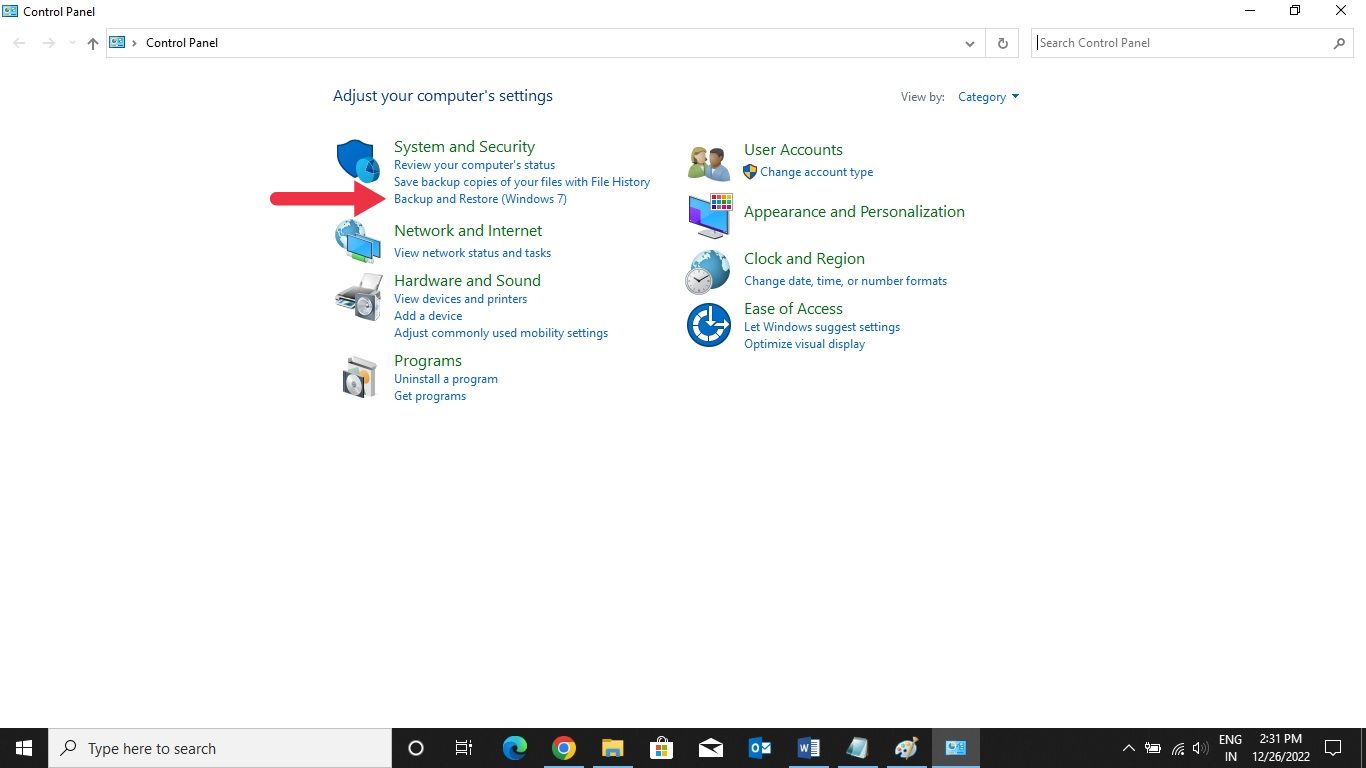
- Click System and Security and then Backup and Restore (Windows 7).
- Click Create a system repair disc.

- Let the system detect CD/DVD automatically. You can also select the disc manually. Once detected, click on Create disc.
- Once the process is complete, it will ask you to label your repair disc. Then, click on Close, remove and store the disk safely.
Recovery Disk Creation Process –
The process is straightforward when creating the Recovery disk for any Windows version starting with 7 and up. Follow the steps to create your own Recovery disk –
- Connect an empty USB drive of at least 16 GB to your system.
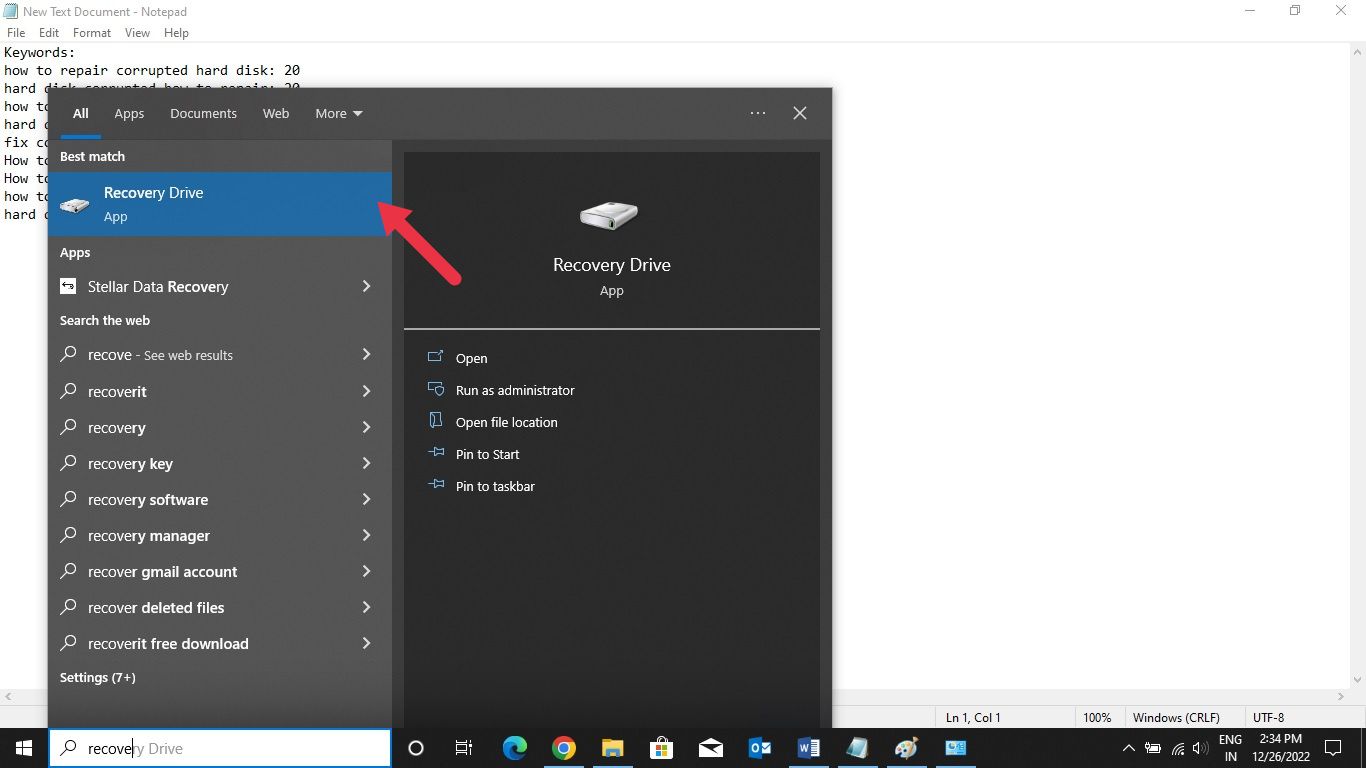
- Search for “Recovery drive” in the search bar and select the relevant result to launch the wizard. The system will prompt you to log in with admin credentials to proceed further.
- This will launch the recovery drive creation wizard. You can enable the Backup system files to the recovery drive to take a backup of system files onto the recovery drive. This will take some time. Click Next after making your selection.
- On the next screen, select the USB onto which you wish to create the recovery disk, listed under Available drive(s) Click on Next after that. The selected USB will be formatted and the wizard will show a warning message prior to that.
- Click Create and wait for some time.
- Once the process is complete, the wizard will show The recovery drive is ready Click on Finish.
You can safely disconnect the USB and use it in the future to boot your system if your Windows malfunctions.
Pro Tip
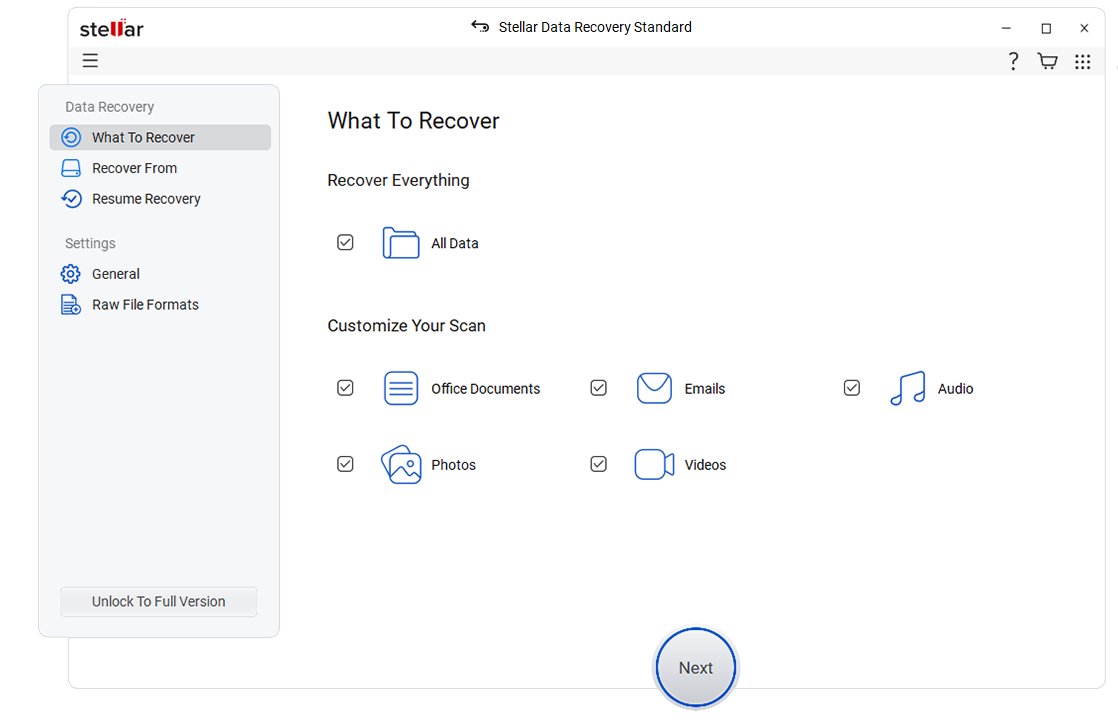
While you can never expect a system crash to knock on the door before happening, you can keep your system repair disk or recovery disk handy to get yourself out of trouble. Also, keeping a good Windows data software like Stellar Data Recovery handy could help you recover your precious data in scenarios like data loss, system crash, accidental deletion, and many more.
Conclusion
Windows is a versatile and user-friendly OS that provides a slew of pre-loaded tools and utilities to the users. System Repair Disk and Recovery Disk are the tools the users can create and use in their respective scenarios.
While these two tools might look similar, they are completely different, and that’s what we discussed in the article. We shed some light on the points that make them stand out, their use case scenarios, and methods to create them.


A passionate writer driven by his interest in everything tech, Keshav Katyal has always been captivated by the latest gadgets since childhood. His interest in technology grew when he got his first gaming console, the Nintendo Game Boy Advanced.

 27 min read