Apple Mail (also called Mac Mail or simply Mail) is the default email client for macOS. It stores all the mailbox data in an MBOX file format. However, the MBOX file is not supported by Microsoft Outlook. Thus, if you want to migrate from Apple Mail to Outlook, you need to convert the MBOX file to PST file that can be easily imported into Outlook. In this article, we will see how to convert or migrate Apple Mail to Outlook.
Stepwise Process to Convert Apple Mail to Outlook
As you cannot directly migrate Apple Mail mailbox data to Outlook, you need to first convert mailbox data (MBOX file) to Outlook importable PST format and then import the PST file into Outlook. Here’s the step-by-step process to convert Apple Mail to Outlook.
Step 1: Export Apple Mail Mailbox Items to MBOX File
First, you need to export your Apple Mail mailbox items to MBOX file format. To do this,
- Launch Apple Mail (Mail) on your Mac system.
- Select all the folders that you want to export to Outlook. Then, click on Mailbox > Export Mailbox.

- Select a location to save the MBOX file. You can also select an external/USB drive to save the MBOX file.
- Click Choose to begin the export. The selected mailbox items will be saved in the MBOX file.
Step 2: Use MBOX to PST Converter Tool to Convert MBOX File to PST
To convert MBOX file to PST, you need to use a reliable MBOX to PST converter tool. One such tool is Stellar Converter for MBOX. It is a powerful tool that can convert MBOX file without any file size limitations to PST with 100% integrity and precision. Besides PST format, this advanced MBOX to PST tool offers options to save the MBOX file items in various other file formats, such as MSG, EML, RTF, HTML, and PDF.
It also provides preview of all the converted MBOX file items before saving them. This tool supports MBOX files of more than 17 prominent email clients, including Apple Mail. It has an intuitive user interface that allows users to convert the MBOX file in just a few simple steps. Let’s see how to convert Apple Mail MBOX file to PST using the Stellar Converter for MBOX tool.
- Transfer the Apple Mail MBOX file to Windows system.
- Download and install Stellar Converter for MBOX on the Windows system. Launch it.
- Click on Select Mail Client.
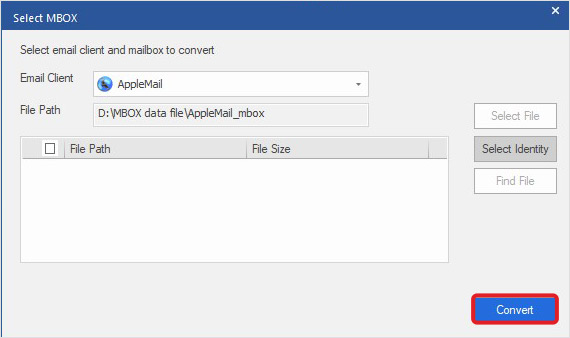
- Select Apple Mail from the Email Client dropdown menu.

- Select the Apple Mail MBOX file you want to convert.
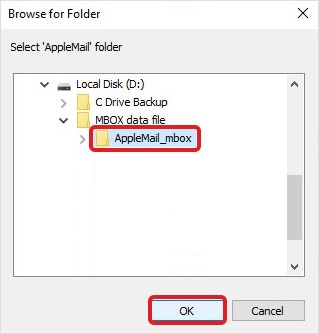
- Then, click Convert.
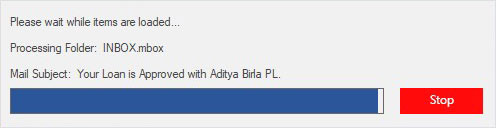
- The tool will start scanning the selected MBOX file. Once the process is complete, it will display all the MBOX file items in a preview window. You can click on any item to see its enhanced preview.
- Select the items you want to save to PST and click on Save Converted File.
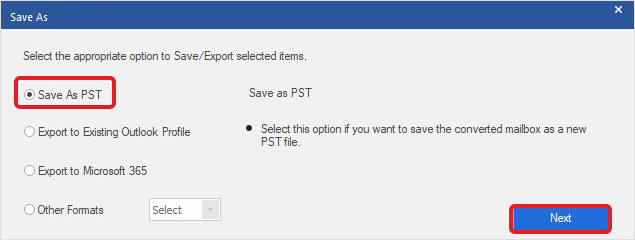
- In the Save As window, select the Save as PST option and click Next.
- Click on Browse to select the destination folder to save the converted PST file and click Save. The selected MBOX file items will be saved in PST file format at the selected destination.
Step 3: Import the Converted PST File into Outlook
After converting the Apple Mail MBOX file into PST file, you can import the file into Outlook by using the Import and Export wizard. Follow the below steps:
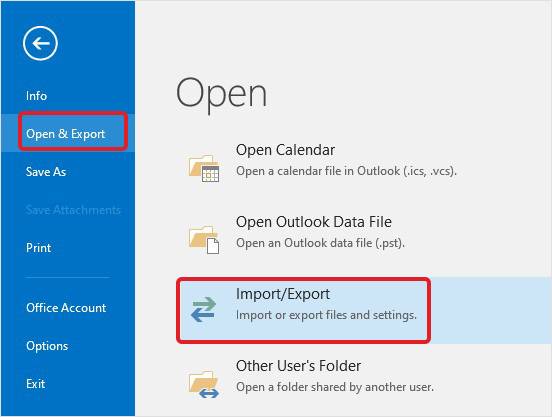
- Launch the Outlook application and click on File.
- Click on Open & Export > Import/Export.
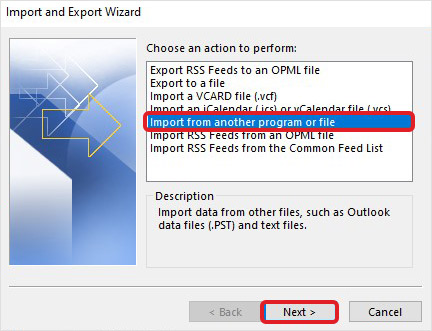
- In the Import and Export wizard, select the Import from another program or file option and click Next.
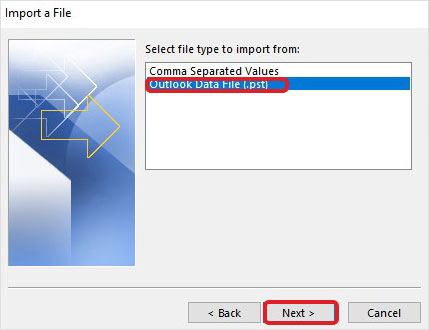
- Choose the Outlook Data File (.pst) option and click Next.
- Select the PST file (converted MBOX file) and click Next.

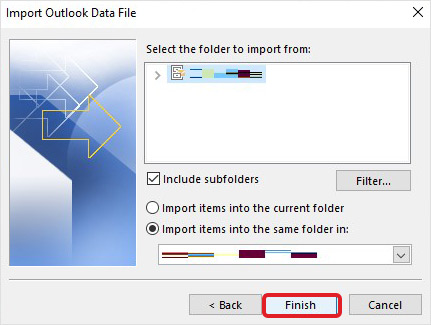
- Select the desired import items option and click Finish. Wait for the process to complete.
Once the process is complete, you will see the Apple Mail mailbox items in Outlook.
Also Read – How to Convert MBOX to Office 365 using Stellar Converter for MBOX?
Conclusion
There is no direct way to convert Apple Mail to Outlook. As a workaround, you can save Apple Mail emails to EML files, transfer them to Windows system where Outlook is installed, and then drag and drop the EML files into Outlook. However, this method is feasible when you need to transfer only a few emails. The best way is to convert the entire Apple Mail mailbox data (MBOX file) to PST using Stellar Converter for MBOX and then import PST into Outlook.


An experienced Senior Content Developer with a deep interest in technology.
-1753.jpg)
 5 min read