We live in an age where we’re all spoiled with options, especially desktop Windows users. However, the same cannot be said for Mac users, as they have limited connectivity options and have to put up with the intricacies of Apple Mail.
That being said, it’s no surprise to see a huge chunk of Mac users opting for Outlook, as it is one of the most popular mail clients that offer much better features and a classier interface.
And the cherry on the cake is the IMAP Support that allows you to access your email messages from multiple devices, such as a computer, smartphone, or tablet, and keep all of your messages in sync. However, you’ll have to enable this functionality and since it is a straightforward process, you can wrap it up in a couple of minutes if done meticulously.
Follow the below-mentioned steps to set up an IMAP account in Outlook for Mac:
Requirements:
- An email address that has already been set up.
- Your email account’s login details like the email address and password
Here, I’ll be sharing two step-by-step guides for:
Guide 1 is for users who’re using Outlook for Mac for the first time
AND
Guide 2 is for users who previously had set up an Outlook for Mac account and now want to set up an additional IMAP account
Guide 1: Initial Setup of Outlook for Mac (IMAP)
Step 1: Open Outlook for Microsoft 365.
Step 2: When you open Outlook for Microsoft 365 for the first time, the ‘Add Account’ window appears. Enter your email address and click Continue.
Step 3: A new window appears. Have a glance and click on Continue. If you do not see this window, proceed to the next step.
Step 4: You’ll come across a new window where you’re asked to choose the provider for [YOUR EMAIL ADDRESS]. Disable the ‘Synchronize with Microsoft Cloud’ option and click on ‘IMAP’.
Step 5: In this step, you’ll need to add your IMAP Account details.
Once done, enable the “Show Advanced Settings” option.
Step 6: In the “IMAP Incoming Server” & “SMTP Outgoing Server” enter the incoming and outgoing mail server information for your email provider. Use the format: mail.yourdomain.com.
Say, for example, you’re using a Gmail account. In this case, the incoming mail server will be "imap.gmail.com" and the outgoing mail server will be "smtp.gmail.com."
Step 7: For IMAP Incoming Server, set the port option to ‘993’ and select the ‘Use SSL to connect (recommended)’ option.
For SMTP Outgoing Server, set the port option to ‘587’ and select the ‘Use SSL to connect (recommended)’ option.
Step 8: In the ‘SMTP Username’ and ‘SMTP Password’ fields, type in your email address and the password, respectively.
Step 9: Once done, click ‘Add Account.’
You’ll see a ‘Microsoft Respects Your Privacy’ window in case you haven't set up an email account in Outlook for Mac. Follow the below-mentioned steps.
If you had an email account that was set up and then deleted, an ‘IMAP account has been added’ window appears. Click ‘Done’ to finish the setup.
Step 10: Click ‘Continue.’ A new window titled ‘Getting Better Together’ appears.
Step 11: Select if you want to send optional Office data to Microsoft and then, click ‘Accept.’
Step 12: Your account is now added. Close the ‘Add Account’ window.
Guide 2: Setting Up an Additional IMAP Account in Outlook for Mac
This guide explains how to set up an additional IMAP account in Outlook for Mac given that you have an existing account.
Step 1: Open Outlook for Mac.
Step 2: From the menu bar, click Tools > Accounts.
Step 3: In the Accounts window, click on the plus icon at the bottom-left corner.
Step 4: Select the New Account option.
Step 5: Type in your email address and click Continue.
Step 6: You’ll come across a new window where you’re asked to choose the provider for [YOUR EMAIL ADDRESS]. Disable the ‘Synchronize with Microsoft Cloud’ option and click on ‘IMAP’.
Step 7: Enter your email address password in the IMAP Password field.
Step 8: Click on the Show advanced settings option.
Step 9: In the ‘IMAP Incoming Server’ & ‘SMTP Outgoing Server,’ enter the incoming and outgoing mail server information for your email provider. Use the format: mail.yourdomain.com.
Say, for example, you’re using a Gmail account. In this case, the incoming mail server will be "imap.gmail.com" and the outgoing mail server will be "smtp.gmail.com."
Step 10: For IMAP Incoming Server, set the port option to ‘993’ and select the ‘Use SSL to connect (recommended)’ option.
For SMTP Outgoing Server, set the port option to ‘587’ and select the ‘Use SSL to connect (recommended)’ option.
Step 11: In the ‘SMTP Username’ and ‘SMTP Password’ fields, type in your email address and the password respectively.
Step 12: Once done, click ‘Add Account.’
And you’re done. Your account has been set up. Remember to customize your account settings to suit your needs and you are ready to go.
Step 13: Click Done to finish up the process.
Conclusion
I’ve mentioned two simple ways for users looking to set up IMAP support for their Outlook for Mac account. Once fully set up, you can use your account to access Outlook on multiple systems.
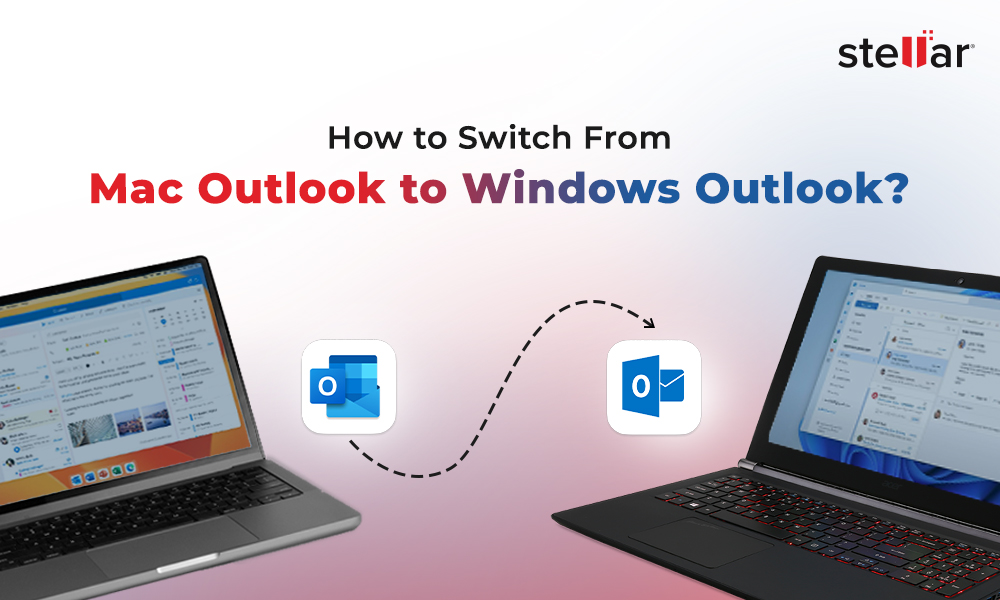
Meanwhile, if you’re thinking of trying out other email clients, such as Windows Outlook, you’ll need to transfer your current Mac Outlook data to the respective Windows Outlook. To ensure a seamless data transfer, I’d suggest using a premium converter tool like the Stellar Converter for OLM.
Further, you may also convert and save the OLM file to other formats or export the OLM mailbox data directly to Microsoft 365.


 5 min read