YouTube has dominated the world of entertainment for a long time now. But today, with high-end video-making capabilities equipped into most modern smartphones, people don’t need to put in days to edit raw footage and sync video and audio together. The arrival of user-friendly video editing software like Final Cut Pro has further simplified the video editing process. Thanks to such tools, a crisp video with professional audio can be put together in hours instead of days. And just in case your raw footage gets damaged while editing, there are many ways to recover the lost data on Mac, the easiest of which is Stellar Repair for Video.
Podcasts are a rage right now. YouTubers are making millions out of them. But what are podcasts?
Simply put, a podcast is a fancy word for an informal meeting where people from different backgrounds talk about different topics and post it on social media. If you analyze podcasts from a technical aspect, there are at least 4-5 people speaking at the same time. Hence, it’s very important to sync their video and audio perfectly to ensure that the quality finally uploaded on social media is flawless.
When you’re starting out, you have got to do everything on your own, from video recording to audio syncing. But with time, you might discover dedicated software, which can assist with the entire process and make it bug-free. One such software is Final Cut Pro X. Synching audio and video in Final Cut Pro X is as simple as it gets. It is a premium video editing program for Mac, which is generally quite easy to use for professionals as well as amateurs.
How to sync Video and Audio in Final Cut Pro X?
Before we get started, you should know that Final Cut Pro X needs to match waveform patterns for the audio-video syncing to work. Hence, make sure that you record an audio scratch track — no matter how bad — straight in your camera's built-in audio channel. FCPX will not be able to sync your files without the camera-captured placeholder audio.
Without any further ado, let's get started with the steps:
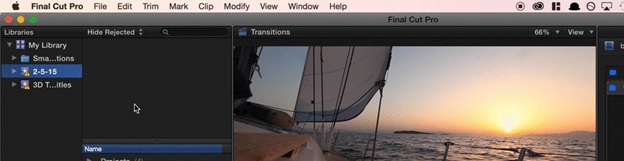
- Download the application from the App Store and launch it.
- Once you see the user interface, navigate to File > Import > Media and select all the audio and video files that you want to sync.
- When the media is imported into the software interface, simultaneously select any one pair of audio and video clip.
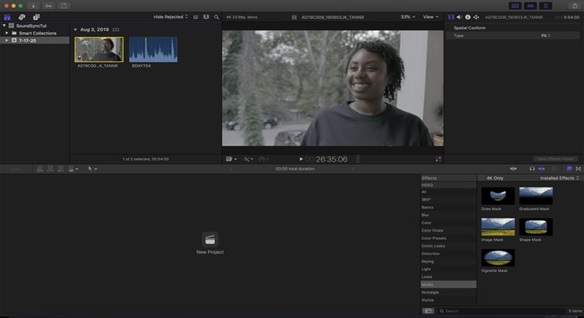
- Right-click after selecting the clips, and from the drop-down menu, select the “Synchronize Clips” option. Alternatively, you can use the Option + Command + G shortcut.
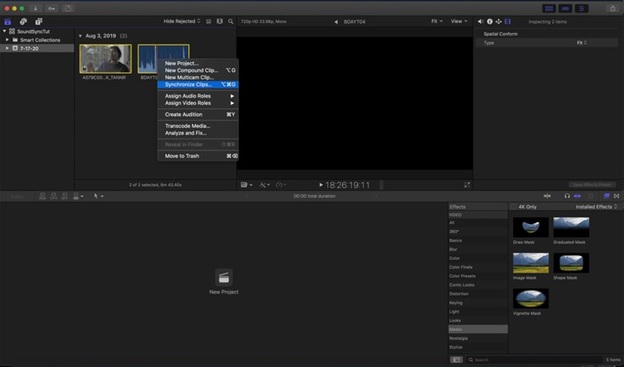
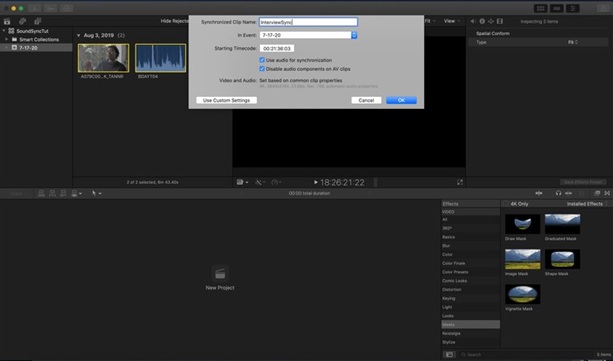
- A window will pop up, and this is where you can set up the sync. Pro Tip: Always name your clip depending on the size of your project. You might think this is unnecessary, but do keep in mind that things can quickly get messy if a lot of clips are involved.
- FCPX will produce a new synchronized clip after analyzing the original clips by determining the exact sync points.
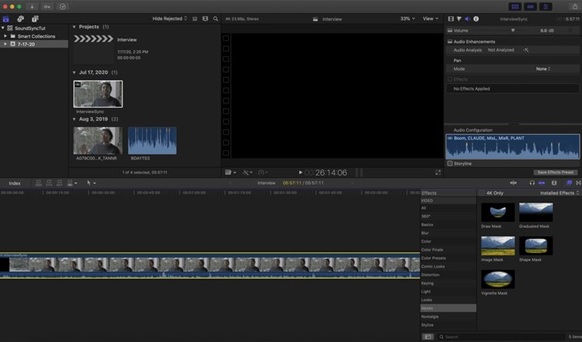
- Now drag this newly created clip into the timeline or the bottom half of the application window. Then open your “Audio Inspector” window, identify the main audio track, and click to isolate the channel. Once isolated, play the audio to see if it is properly synced with the video and sounds perfect.
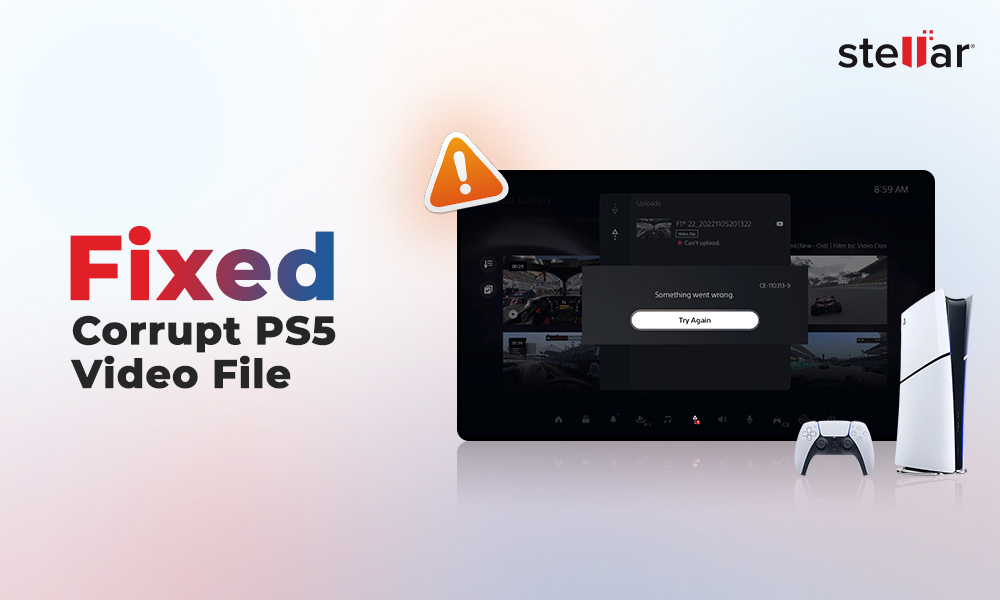
We agree that the process described above may seem to be a little tricky. But you don’t need to worry. 99% of the times, it executes perfectly. However, it’s better if we’re realistic and factor in that there might be situations where the final clip has audio or video delays. If this happens, you should know that one or more of the video clips you used for syncing were damaged or corrupted.
Video editors frequently complain about having to deal with corrupted and damaged video files. The good news is that there is a feasible option for repairing corrupted video files on Mac. Let's take a look at it.
Fix corrupted video files with Stellar Repair for Video
Stellar Repair for Video is a unique application that can help you retrieve lost or destroyed video files from your computer. It's a tool that can fix video data from any device and in various formats, including MP4, MOV, AVI, MKV, and AVCHD. Available to both Windows and Mac users, it provides a complete video file recovery solution. It can simultaneously fix several videos and store the corrected files to the right spot.


It comes in three different versions: Standard, Professional and Premium. The Professional edition is used for image restoration and repair, while the Standard software can be used to fix corrupted videos. Premium edition, on the other hand, is used by businesses and agencies that repairs and recover both photos and videos.
Here’s how to fix corrupted video files with Stellar Repair for Video:
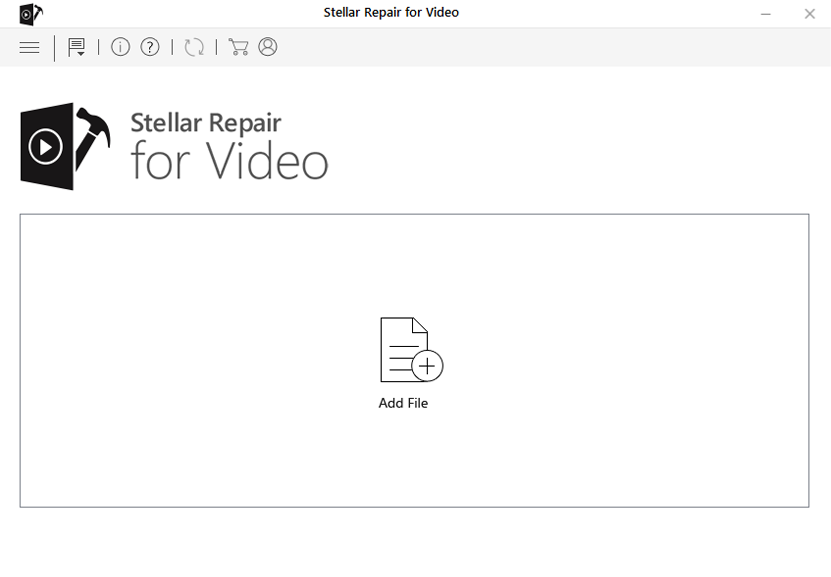
- Stellar Repair for Video can be downloaded from their official website. Install the application after downloading it.
- Launch the application to see an intuitive interface. Here, click on the “Add” button, to choose the video files for repair.
- Once the files are added, the video repairing process will begin. It can take several minutes, depending on the computing power of your Mac.
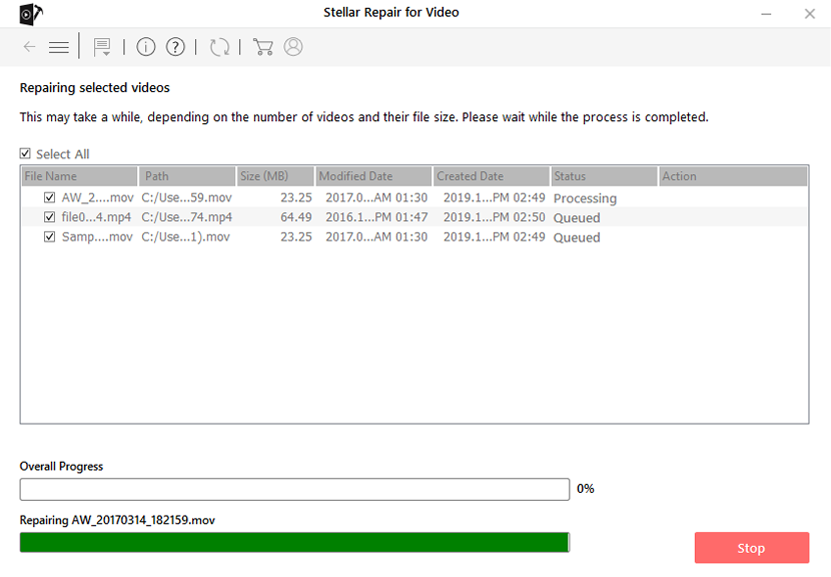
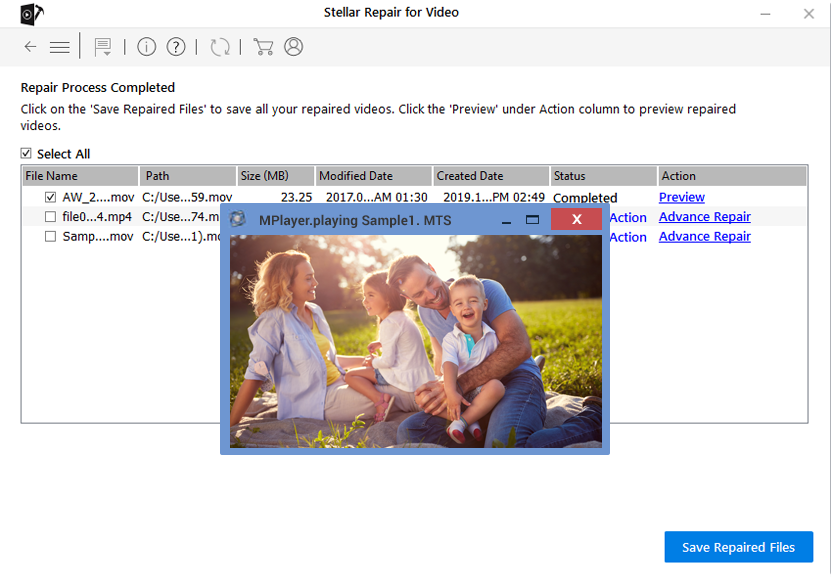
- The repaired files will be shown in the software’s interface. You can browse the repaired files, click them to preview, and then select the ones you want to save.
- Finally, click on “Save Repaired Files” in the bottom-right corner.
To Conclude
Final Cut Pro X is a feature-rich video editing application. But sometimes, it may prove to be a difficult upgrade from iMovie for Mac users. For most professionals, it's a very useful and powerful tool, which provides a range of features from audio-video sync to color grading and much more. The benefits of Final Cut Pro exceed the drawbacks. Nevertheless, one of its drawbacks is that it does not create appropriate backups of project files. As such, if the final synced clip has issues and you happen to delete the original files by mistake, you might land up in trouble. In such scenarios, we recommend using free video recovery software, such as Stellar Repair for Video to fix erroneous video clips.


 9 min read