

How to Fix “Unable to Add Exchange Server to DAG” Error?
June 27, 2025| 6 min read


Our content follows trusted Editorial Standards - accurate & unbiased.
Summary: The Data Loss Prevention (DLP) option is available in EAC that administrators can use to define mail flow policies for data protection, prevent sensitive information leakage, and meet the regulatory compliances or data protection laws. DLP can also detect malicious threats and safeguard mailboxes, databases, and servers. Read on to know how to create, import, and edit DLP policies in Exchange.
Free Download 100% SecureEmails are a reliable medium for business communication used by all kinds of organizations, irrespective of their size. However, they often contain sensitive or confidential data or information you don't want to leak outside the organization. Thus, it's important to define mail flow policies to ensure fair usage of the organization's messaging system and protect sensitive information that can severely affect business and reputation.
Data Loss Prevention (DLP) policies in Exchange Server are collections of mail flow rules that help Exchange or IT administrators filter email messages and protect sensitive information. DLP policies contain specific conditions, exceptions, and actions to detect and filter email messages, attachments, or other mail items based on the content. This helps avoid data leakage outside the organization or corporate network and protects the Exchange database from malicious emails or attachments that can cause Exchange database corruption or result in a ransomware attack.
DLP is an inbuilt premium feature in on-premises Exchange Server 2013 and later versions, available only with Exchange Enterprise Client Access License (CAL). Before Exchange 2013, there were transport rules to detect and filter incoming and outgoing messages. However, they were meant for simple searches and weren't reliable.
DLP continuously monitors (checks & scans) incoming and outgoing email contents based on keywords, regular expressions, or dictionaries to identify whether the message contains sensitive or non-sensitive information and early signs of ransomware.
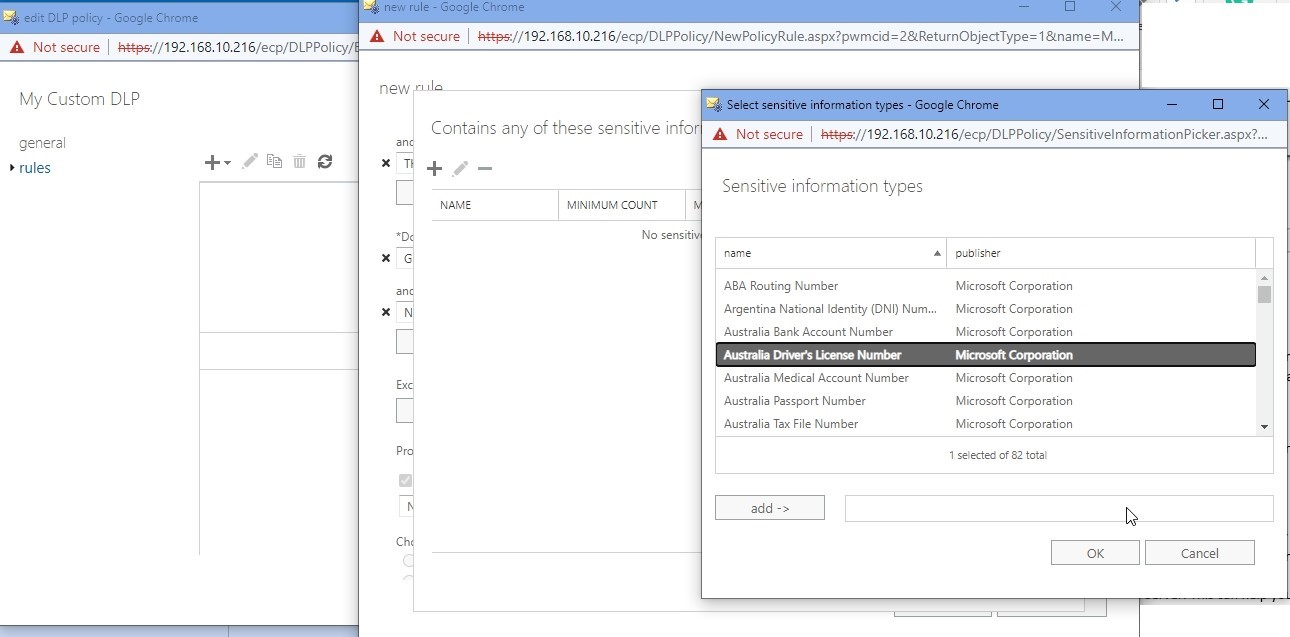
You may also use the document fingerprinting feature to define or create DLP policies for detecting sensitive information or malicious emails/ransomware in emails or attachments with unique patterns or file extensions.
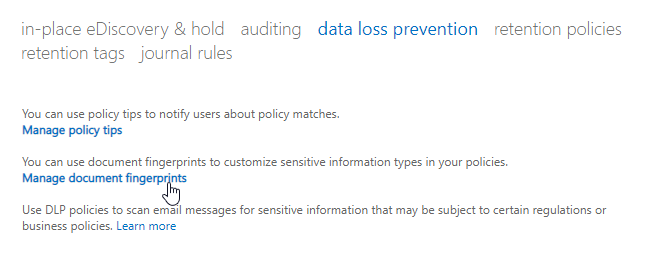
One of the best features of DLP is that once defined, it detects and displays 'Policy Tips' to the user that they might be violating the policy before sending the email containing sensitive information. By enforcing DLP policies, you also ensure that your organization meets the required local, national, or international data security and regulatory compliances.
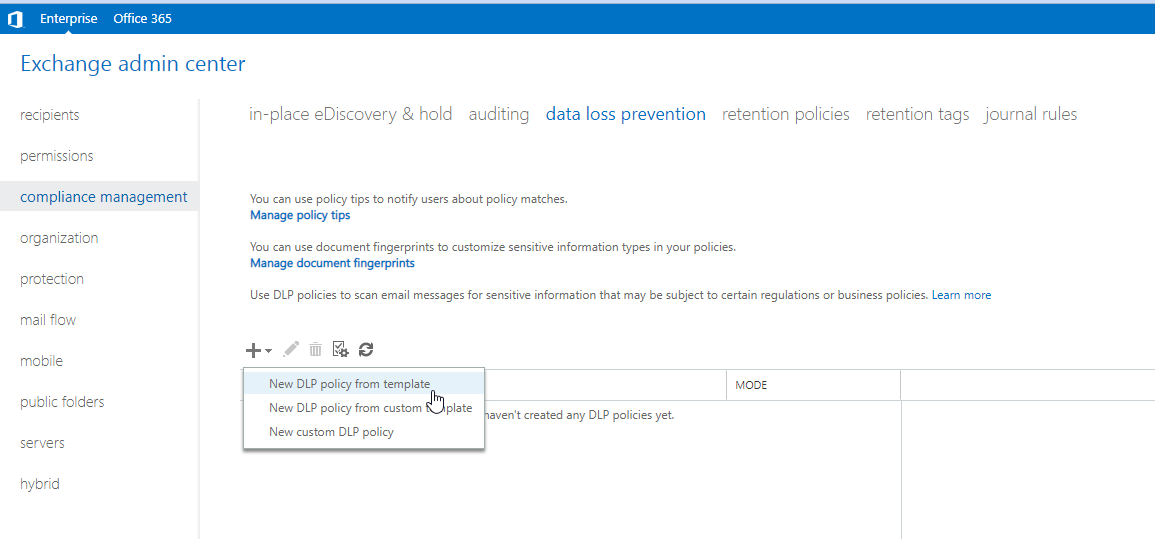
There are three ways to define or create Exchange DLP policies using the Exchange Admin Center (EAC). You can also use the Exchange Management Shell (EMS) to enable or disable the DLP policies.
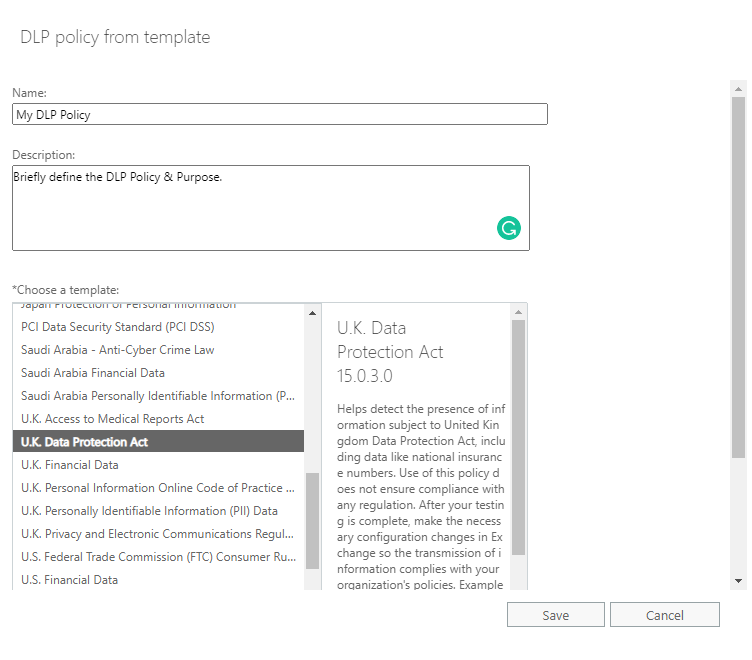
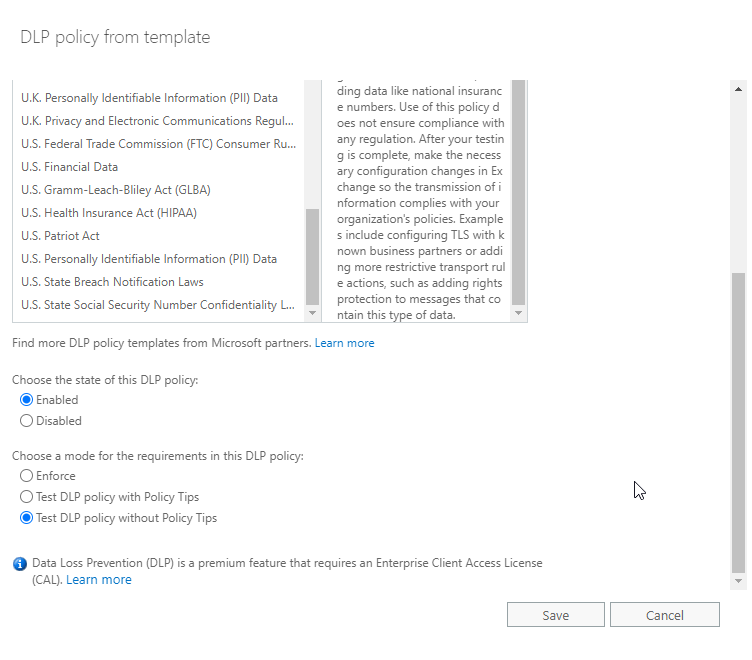
Microsoft provides default policy templates in Exchange Server that you can choose and enforce. You may also edit these policies as per your organization's requirements before deploying. There are 40 different policy templates you can choose from. This is the fastest way to enable DLP in your organization.
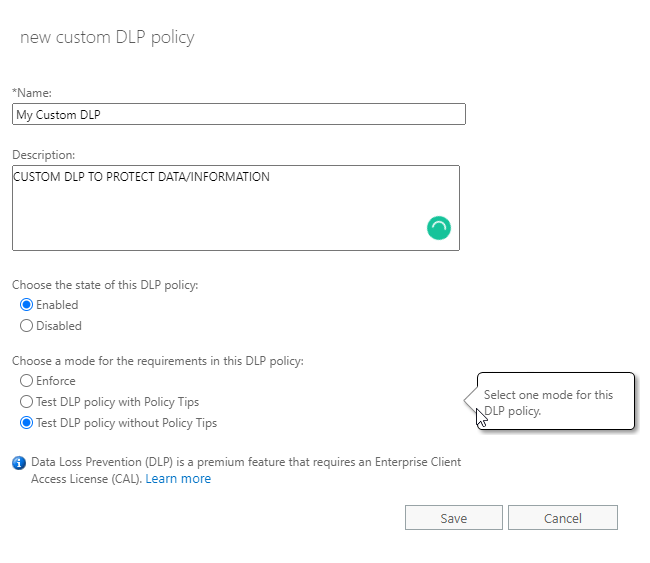
You may create new DLP policies if you don't find the predefined Policy Templates that meet your organization's requirements or needs.
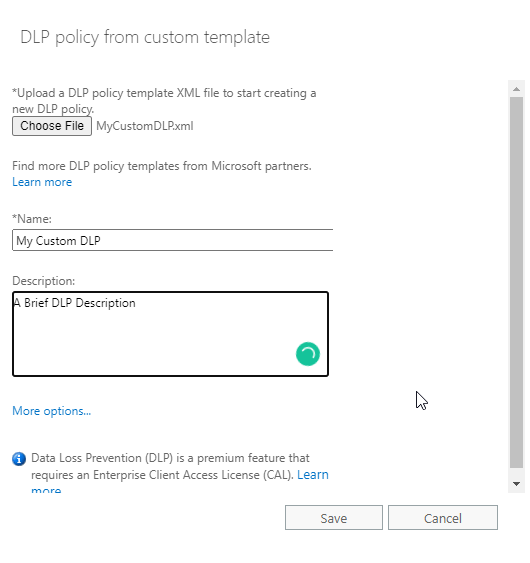
These are also 'readymade' DLP policies you can get from third-party vendors or Microsoft partners and import into the Exchange Server.
Below are the steps you can follow to choose, import, and edit or create Data Loss Prevention policies using the Exchange Admin Center (EAC).
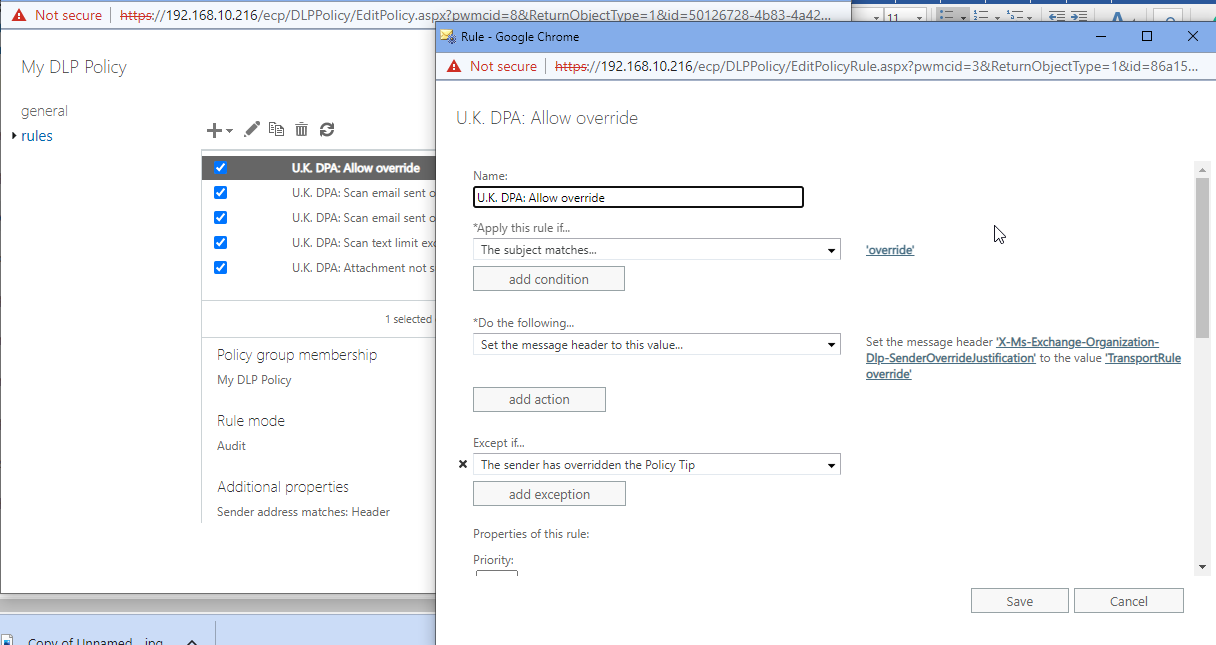
You may also add the Policy Tips for all DLP policies.
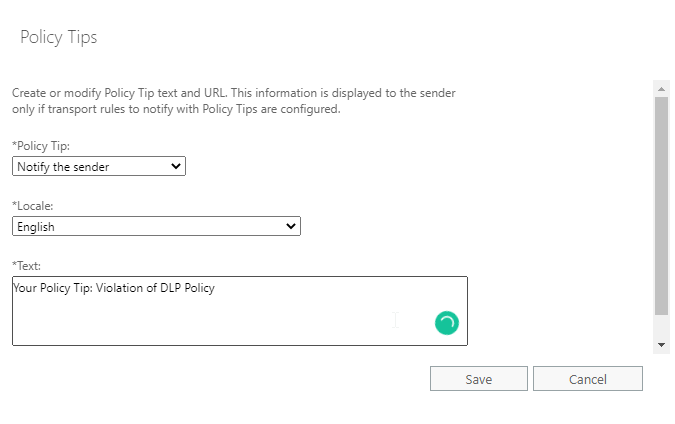
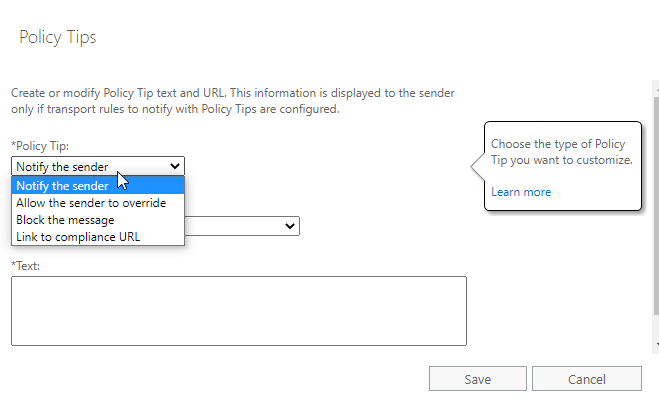
You can choose one of the four options in the Policy Tip:
A notification is displayed to the user in the compose window if the DLP detects or policy matches the sensitive information in the email being composed. This helps users fix the message by removing the info and sending emails without any sensitive information.
The Policy Tip appears to block the email with an option to override and send the message.
The message is blocked and not sent. There is no override or any other option available to the user.
If you choose this Policy Tip, you only have to add a link to your compliance policy for the user to read, understand, and then compose the email.
Once the Exchange DLP policies are defined or created, you can test them and enforce them when satisfied. Otherwise, you can edit and make necessary changes to the policy, test it again, and enforce it.
Data Loss Prevention (DLP) policies are an important part of Exchange Server deployment to prevent data leakage and ensure your messaging environment is not being misused by users or employees. It can also help detect unusual activities. Using the document fingerprinting feature, you can further enhance the DLP policy to detect sensitive or hidden information based on patterns.
However, if the malicious or infected email or attachment bypasses the mail flow policies, you may end up with a broken server. In such cases, you should immediately remove the server from the network and use an Exchange recovery tool, such as Stellar Repair for Exchange, to recover mailboxes from the database and restore them to a newly setup Exchange Server. This can help restore the email services quickly with no missing mailboxes or items.
Senior Content Writer
This article was written by Ravi Singh, a Content Writer at Stellar Data Recovery.
Curious about our content creation process? Take a look at our Editor Guidelines.
June 27, 2025| 6 min read
May 23, 2025| 6 min read
April 30, 2025| 6 min read


 6 min read
