How to Create a New Mailbox in Exchange Server?

A part of the daily management and support activities of an Exchange Server Administrator is to create and manage mailboxes. In this article, we will be discussing different ways to create a new mailbox in Exchange Server.

How to Create New Mailboxes in Exchange Server?

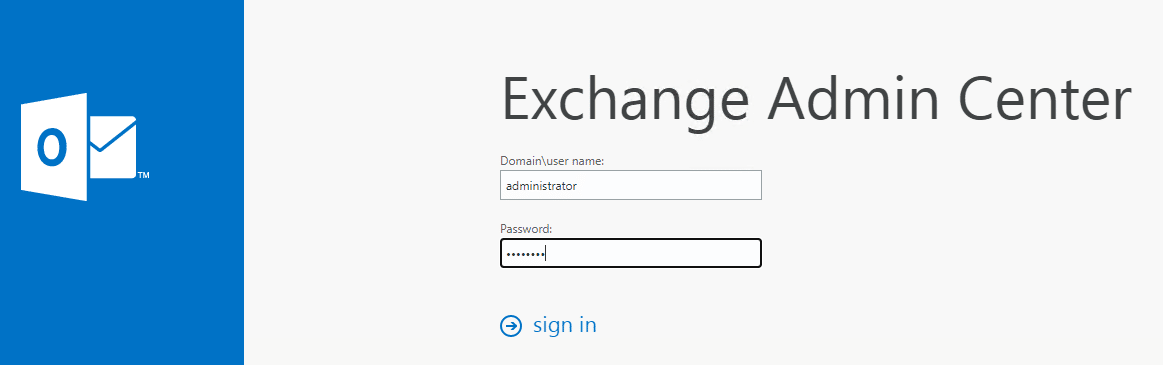
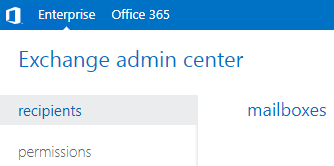
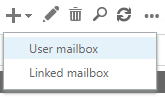
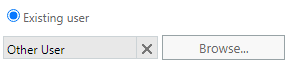
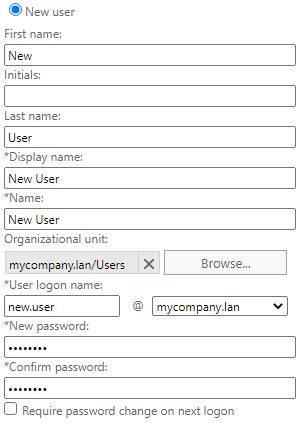
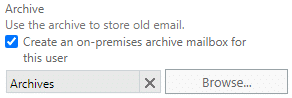
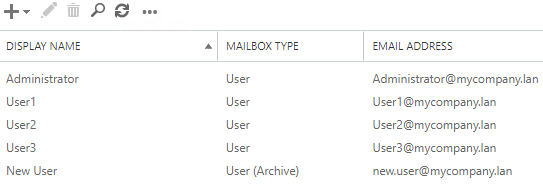
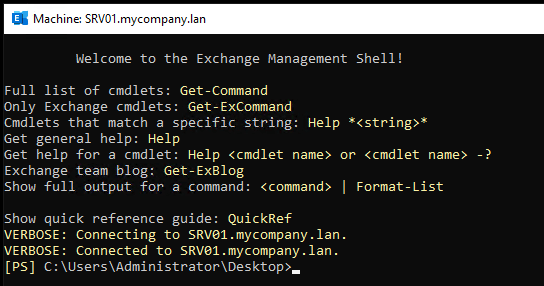
You can create a new mailbox in Exchange Server by using the Exchange Admin Center (EAC) or Exchange Management Shell (EMS). Here’s how:

Create New Mailbox using Exchange Admin Center

  • Open a browser and browse to the URL of your Exchange Admin Center (EAC). Usually, the URL would be like: https://servername/eac.
  • Once the page opens, log in with your credentials or the administrator’s account who has the right permissions.

Create New Mailbox using Exchange Admin Center

  • Once logged in, click on recipients and then click on mailboxes.

EAC recipients

  • On the main screen, click on the plus button and click on User mailbox.

EAC User mailbox

  • In the new pop-up window, enter the details for the user. First, you need to enter the alias for the user. This is the first part of the email address before the ‘@’ sign.

User alias

  • Next, check whether the user already exists in the Active Directory or you need to create a new one. Through Exchange Server, you will be able to also create an Active Directory user from the New Mailbox interface. If the user already exists in the Active Directory, tick Existing User and click on Browse to locate and select the user.

EAC Existing User

  • If you are creating the user from the interface, you need to click on New user. Here, you need to enter the details of the user and select the Organizational Unit (OU) where the user will be saved. Enter the login name, password, and email address suffix. You can also select the option to change the password on next login.

Add New user in EAC

  • Once ready, click on More Options to select the mailbox database and the Archive database.
  • You need to select the Mailbox database where the mailbox will reside (if you have more than one database). Just click on the Browse button and select the database.

select the Mailbox database where the mailbox will reside

  • If your company utilizes the archiving and an on-premises archive mailbox is needed, then click on Create an on-premises archive mailbox for this user and click on the Browse button to select the mailbox database that will host the archive mailbox of the user.

Create an on-premises archive mailbox for this

  • When ready, click on the Save button.

Save

  • This should create the mailbox. You can see it in the mailboxes section under recipients. If the archive was selected, the mailbox type will be shown as User (Archive).

mailbox type will be shown as User (Archive)

Create New Mailbox using Exchange Management Shell

You can also use the Exchange Management Shell (EMS), which is the PowerShell equivalent of using the web interface, to create mailbox.

  • Open the Exchange Management Shell (EMS).

Exchange Management Shell

  • This will open a PowerShell window with the modules for Exchange Server.

open a PowerShell window with the modules for Exchange Server

  • For this process, you need to use the New-Mailbox PowerShell command.
New-Mailbox -UserPrincipalName "email address=""" -Alias alias here="" -Database "mailbox database="" -Archive -ArchiveDatabase "archive database="" -Name user name="" -OrganizationalUnit ou -FirstName first name="" -LastName last name="" -DisplayName "display name="" -ResetPasswordOnNextLogon $true /display /last /first /ou /user /archive /mailbox /alias /email 
  • The above command is the example of creating a new user with archive set, along with the change of password on next logon. You can also remove the option of the password change or the archive.

new user with archive set

  • Once you execute the command, you will be asked to enter the password for the account.

enter the password for the account

  • Once ready, the mailbox will show as created (see below).

mailbox will show as created

  • The above command will create a mailbox for a new user.
  • To create a mailbox for an existing user in the Active Directory, you need to use the Enable-Mailbox command as given below.

Enable-Mailbox -Identity user name="" -Database "mailbox database="" /mailbox /user

Enable-Mailbox -Identity

  • This will create the mailbox for the existing user. The next step is to create archive for the user. For this, use the following command:
Enable-Mailbox -Identity user name="" -Archive -ArchiveDatabase archive mailbox="" database="" archive /user

create archive for the user

  • This will create the mailbox and archive for the user.

What if something goes wrong?

There are many things that could go wrong. When any of the above fails, you need to first check the error message to get more information. On the other hand, you need to also check the permissions and roles of the user creating the mailboxes. The other thing to confirm is that the database is mounted. If the database is not mounted, there could be an issue with the database.

After running the EseUtil command, if you found that the database is in Dirty Shutdown state, it is an indication that either there is corruption in the database or the transaction logs. In this case, you will not be able to create new mailboxes in the database and the current mailboxes will not be accessible.

In such a scenario, the right solution is to leave the database unmounted, create a new database, and use an application such as Stellar Repair for Exchange. This application can open any version of Exchange database (in any state) and export the data to PST and other file formats. The application can export the mailboxes directly to a live Exchange Server database with automatic mailbox matching. The application can also migrate user mailboxes, archives, disabled mailboxes, and public folders, making it the best solution for Exchange Server recovery and restoration of services.


Was this article helpful?
About The Author
author image
Ravi Singh linkdin Icon

Senior Writer at Stellar®. He is an expert Tech Explainer.

Table of Contents

WHY STELLAR® IS GLOBAL LEADER

Why Choose Stellar?
  • 0M+

    Customers

  • 0+

    Years of Excellence

  • 0+

    R&D Engineers

  • 0+

    Countries

  • 0+

    PARTNERS

  • 0+

    Awards Received