?&media=https://www.stellarinfo.com/public/image/article/How-to-migrate-Outlook-PST-to-Office-365-716.jpg&url=https://www.stellarinfo.com/article/migrate-outlook-pst-Office-365.php)


You can migrate your Outlook PST files to Office 365 by using three approaches:
- Network Upload: It is a free option, uses AzCopy and Azure Blob Storage.
- Drive Shipping: Paid option. Costs $2 per GB. You can copy your PST files onto a BitLocker‑encrypted hard drive and ship it to Microsoft.
- Stellar Migrater for Outlook: It is a dedicated PST to Office 365 migration tool. It is GUI-based, no command line required.
All of these methods preserve the folder hierarchy and migrate all your mailbox data including emails, contact, tasks etc. In this guide, we will discuss the detailed step-by-step process of using all three methods.
Methods to Migrate Outlook PST Files to Office 365 – Quick comparison
You can use the given table to choose the right method before you start:
| Method | Best For | Cost | Admin Required | PST Size Limit | Time | Difficulty |
| Network Upload (Azure AzCopy) | Medium-scale migrations with stable internet | Low | Yes | ~20 GB recommended per file | Medium | Moderate |
| Drive Shipping | Very large data (TBs) or slow internet | Medium (shipping cost) | Yes | No strict limit | Slow (shipping dependent) | Moderate |
| Outlook Import (Manual) | Few PST files, individual users | Free | No | Depends on Outlook limits | Slow | Easy |
| Professional PST to Office 365 Migration Tool | Bulk migration, suitable for non-technical users | Paid | No | Large files supported | Fast | Easy |
Quick Decision Rule:
- Under 100 GB + reliable internet → Network Upload
- Terabytes of data or slow connection → Drive Shipping
- Non-technical users or fastest option → Professional PST to Office 365 migration tool
Below, we have mentioned step-by-step each methods to migrate Outlook PST files to Microsoft 365:
Method 1: Network Upload using AzCopy tool
Network Upload method is recommended by Microsoft. It uses the free AzCopy command-line tool to upload PST files to temporary Azure Blob Storage, after which the Microsoft Purview compliance portal is used to map the files to the correct Office 365 mailboxes. You can use this method, when you need to import large or multiple PST files into Microsoft 365. However, before using this method, you should remember the following things:
- You (or the user profile you’re using) must have the Mailbox Import Export Role and the Mail Recipients Roles assigned in Office 365
- PST files should not be larger than 20 GB as they may impact the performance of the import process.
- You will also require to download the AzureAZCopy tool.
Here are the steps:
1: Assign Roles
- Log in to Office 365 using any web browser.
- Open the Exchange Admin Center.
- Click Roles > Admin Roles.
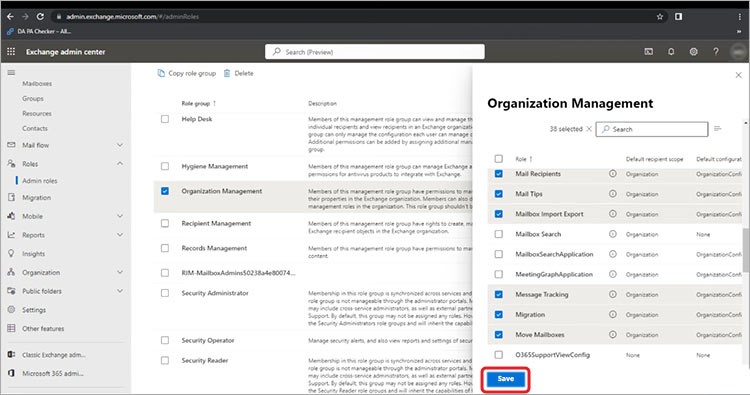
- Next, search for Organization Management and select it.
- It will open the Organization Management screen. Select the Permission tab and scroll down to the Mailbox import export option. Select it and click Save.
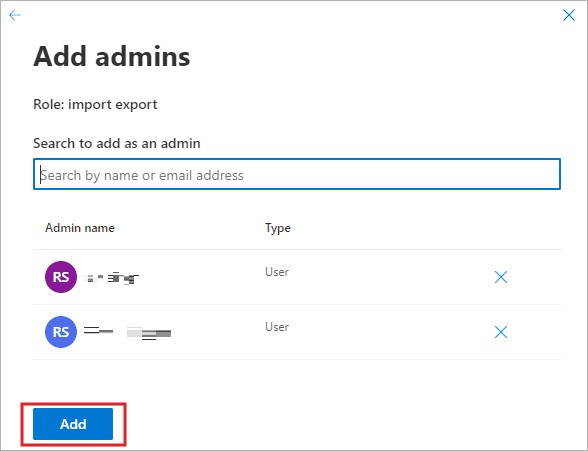
- Click Add under the Assigned tab and choose the user you want to assign the role for importing the Outlook PST file.
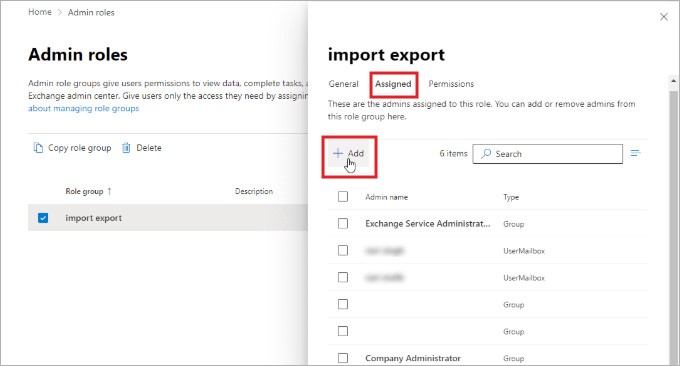
- Search and select the user and click Add.
2: Create PST Import Job in Microsoft 365
To create an Outlook PST to Office 365 import job for uploading PST files to Azure Storage, follow these steps:
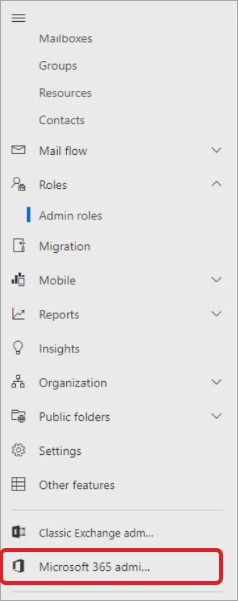
- Click on the Microsoft 365 admin center.
- Go back to the admin center.
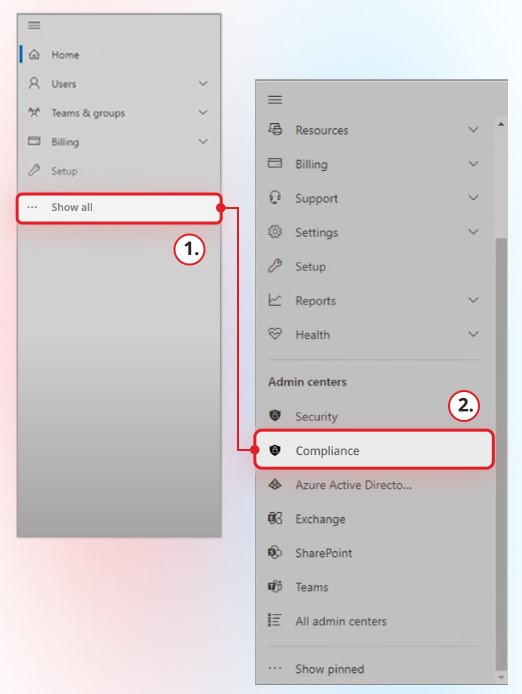
- Click on Show all in the left panel.
- Click on Compliance.
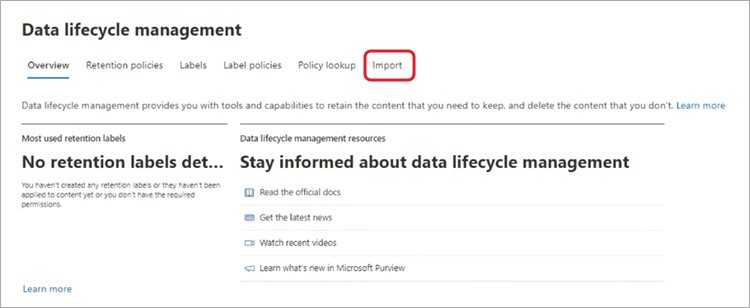
- Click on Data lifecycle management
- Select Microsoft 365.

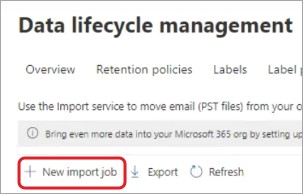
- Click on the Import tab at the top to add an import job.
- Now, click on + New import job.
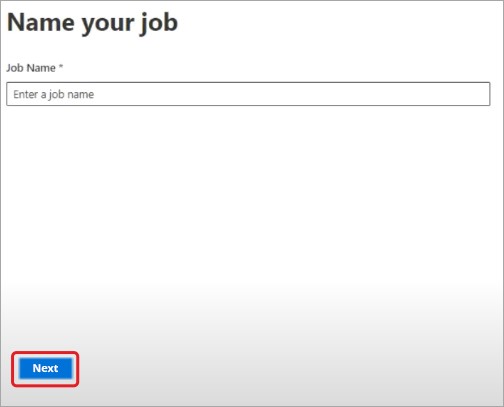
- Enter the job name and click Next.
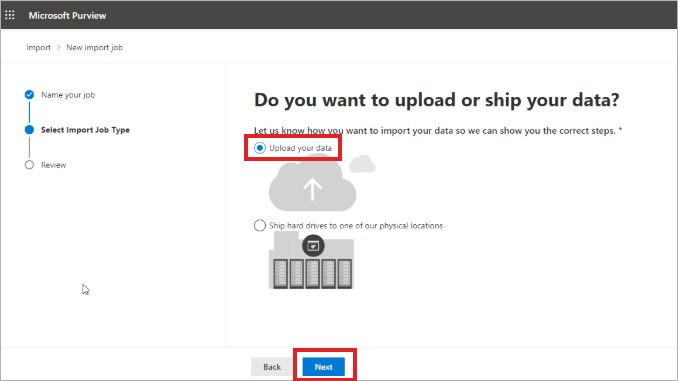
- In the Select Import Job Type window, select the Upload your data option and click Next.
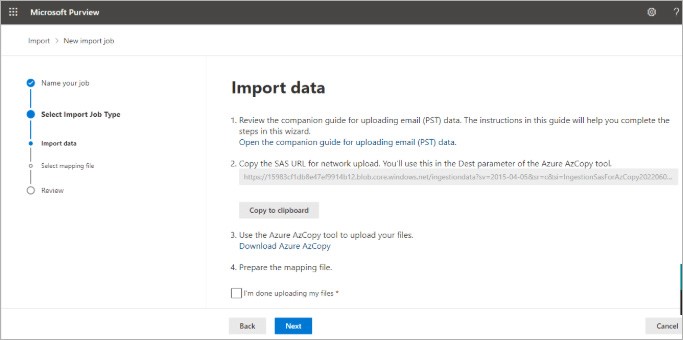
- Click Show network upload SAS URL.
- Next, click Copy to clipboard to copy the SAS URL. Paste it in a Notepad file and save it.
Note:
- Click Download Azure AzCopy to download the tool. The Azure AzCopy tool is available for Windows, Linux, and macOS.
- It will open the Download AzCopy window with various versions of the software available. Select and download the version that is compatible with your system.

3: Upload PST Files to Office 365 Azure Storage
Below we have mentioned the steps to upload the data file:
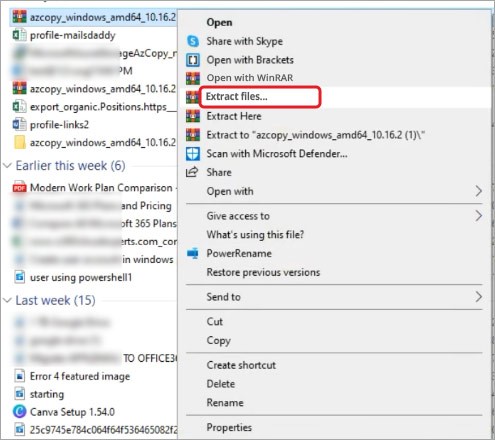
- After downloading the Azure AzCopy tool, extract the tool from the downloaded zip file.
- Open the extracted folder, copy its path, and paste it in a Notepad file.

- Now, launch Command Prompt and type cd followed by the path of the AzCopy tool copied in the previous step. Press Enter.

- Then, run the following command to upload the PST files to Azure Storage:
Azcopy copy “Folder/FilePathContainingPST” “SAS URL” --recursive=true
Replace the Folder/FilePathContainingPST with the path of your PST file. Similarly, replace SAS URL with the SAS URL you copied earlier.
Notes:
- In case you want to upload multiple PST files, simply add the path of the folder containing PST files.
- In case the PST files are in a subfolder, then use --recursive=true at the end of the command.

Wait for the PST files to upload. This may take a while, depending on your network speed, bandwidth, and size of the PST files.
Note: Make sure that PST files are not larger than the recommended 20 GB. They can affect and slow down the import process
4: Verify Uploaded Outlook PST Files
In order to confirm that the PST files have been successfully uploaded on the Azure Storage, you may use the Azure Storage Explorer. It is a cross-platform tool that supports Windows, macOS, and Linux. Here's how:
- After downloading the tool, launch the installer and click Install for me only.
- Complete the installation and then launch the Azure Storage Explorer.
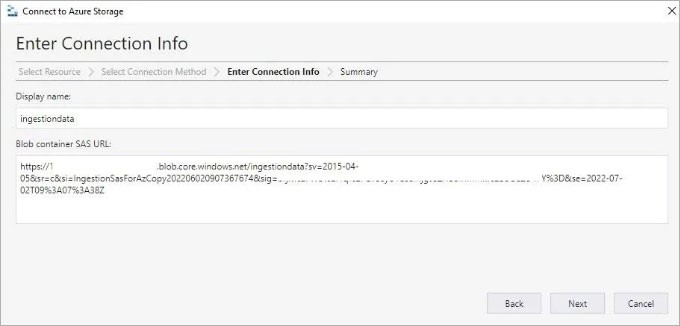
- Select Blob container > Shared access signature URL (SAS) and paste the SAS URL you had copied in the Blob container SAS URL: field.
- Click Next > Connect.
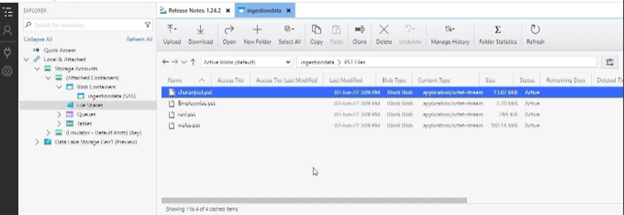
- Under File Shares, you can see the PST folder. Open it to check if the PST files are there.
5: Map Outlook PST Files
The next step is to map the PST files with the user mailboxes. This is critical as you need to ensure that YOUR data files are correctly imported into your mailboxes on Microsoft 365. For reference, you can download a copy of the PST Import Mapping file from the Microsoft website. For reference, you can download a copy of the PST Import Mapping file

Enter the FilePath (folder name), Name, Mailbox, and TargetRootFolder where mail items will be imported. You may leave other fields empty. Save the .CSV file.
6: Start PST Import Job
To start the PST import, go back to the Office 365 Import data wizard and follow the given steps:
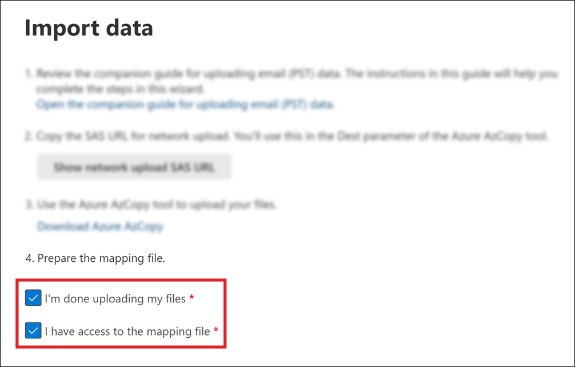
- Tick on the I’m done uploading my files and then I have access to the mapping file checkboxes.
- Click Next.
- Click +Select mapping file
- Then click Validate.
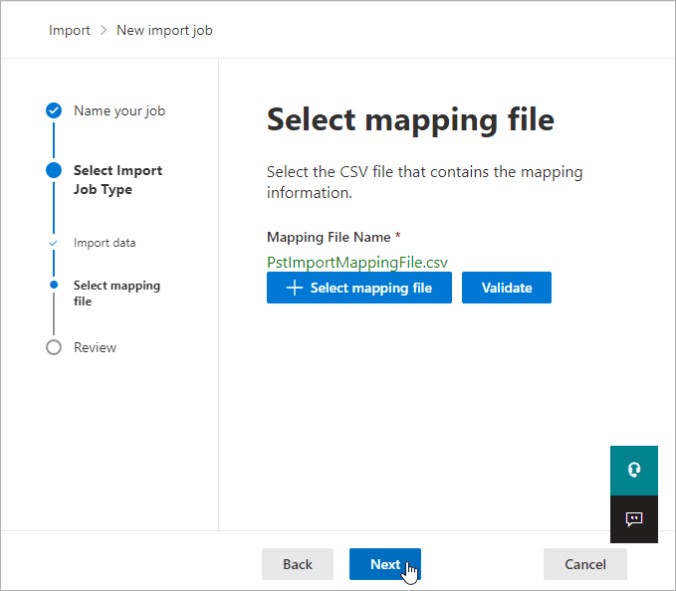
- Once validated, click Next to review the PST import job.

- After reviewing the details, click on Submit and then click Done.
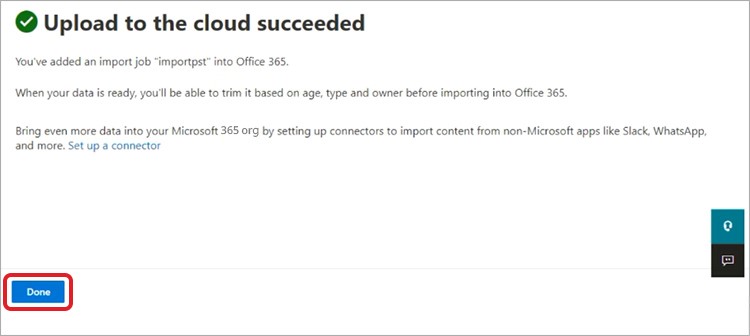
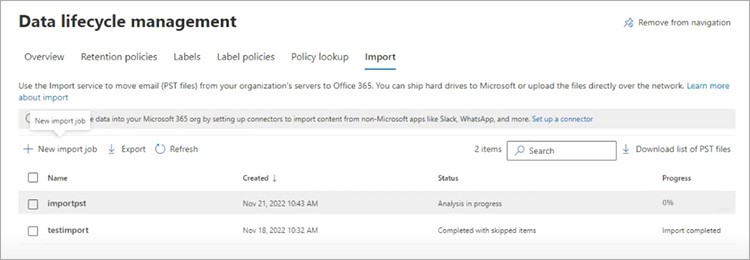
- Once done, it will create an import job. You can check its status in the Progress column under the Import tab on the Data lifecycle management window.

- Once the import process is complete, the status will change to Import completed.

- Now, select the item and click on Import to Office 365.
- It will ask if you want to filter the data or not. Choose a suitable option and click Next.
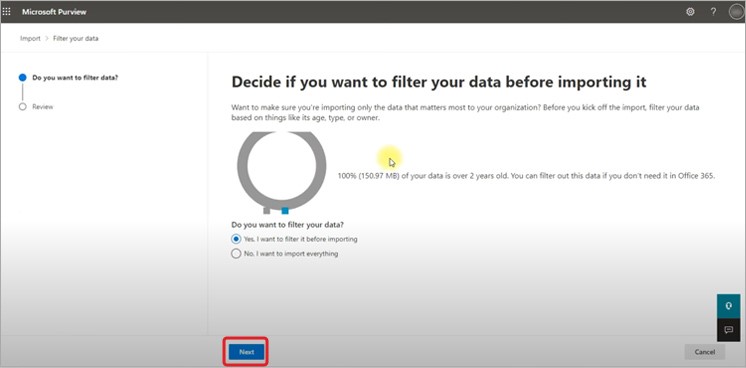
- Now, review the PST file transfer. If everything is fine, click on Submit.
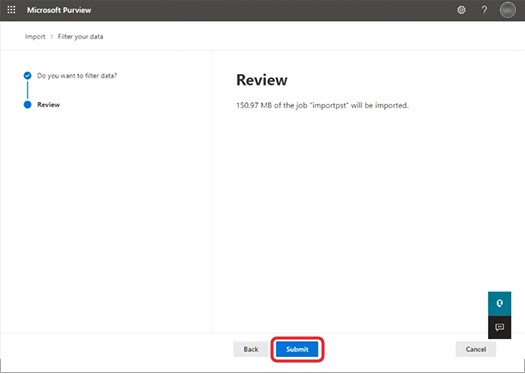
You can see the status of import job on the Data lifecycle management window as Import in progress. Wait for some time and refresh the page. It will update the status to Completed.

Once it is done with the importation of PST files into Office 365, you will receive an email from Microsoft in your Outlook account. Also, if you successfully import your files, you will also have a new Imported folder in your mailbox. This folder confirms you've imported your Outlook data files to Microsoft 365.
Once migrated, your mailbox data in Exchange Online becomes searchable by using Microsoft 365 eDiscovery tools. It can be protected using retention policies — a key advantage of email archiving in Office 365 over storing data locally in PST files. This supports data governance requirements and simplifies compliance management.
Method 2: Migrate PST Files to Office 365 using Drive Shipping Method
The second method is Drive Shipping – a physical alternative method. In this method, PST files are copied to a BitLocker-encrypted hard drive by using the WAImportExport.exe tool and shipped to Microsoft’s data center. Then Microsoft uploads the files to Office 365.
After they have successfully uploaded all the PST files to Azure Blob Storage, you will have to create PST Import Job, create CSV mapping file, and start the PST import process to import PST files into Microsoft 365 (as mentioned in Method 1).
Before you proceed with this method, you must know that Microsoft charges $2/GB or $2000/TB of data.
Method 3: Migrate PST Files using a PST to Office 365 Migration Software
As you’ve already seen, the above migration methods are a bit complex and requires a lot of efforts. But there is an alternative solution to simplify the process - a specialized PST to Office 365 migration software.
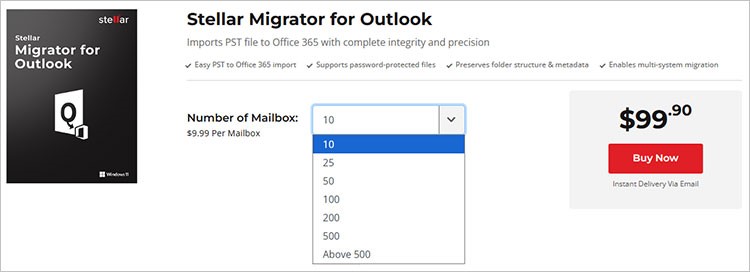
A software apt for this purpose is Stellar Migrator for Outlook. This software can straightforwardly migrate PST files to Office 365 by ensuring absolute data integrity and accuracy. It can facilitate direct migration of PST files to a live Exchange Server.
Below we have mentioned Stepwise process to do this:
- Install the Stellar Migrator for Outlook software.
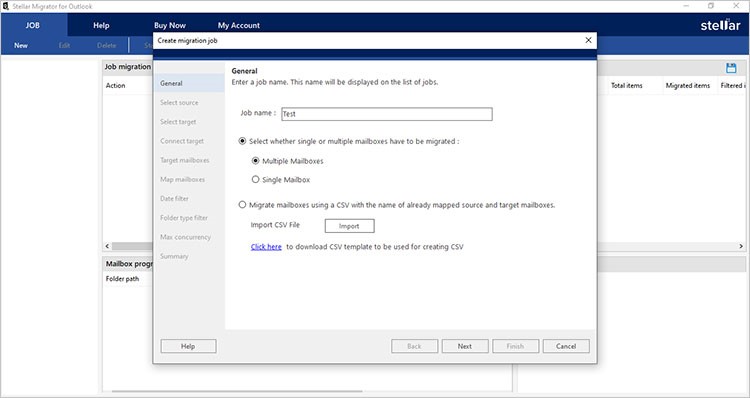
- Launch the software.
- You will see the Create migration job window. Enter the Job name and choose the Select whether single or multiple mailboxes have to be migrated option. Click Next.
- Next, you will see the Select source window.
- Click on Select Files.
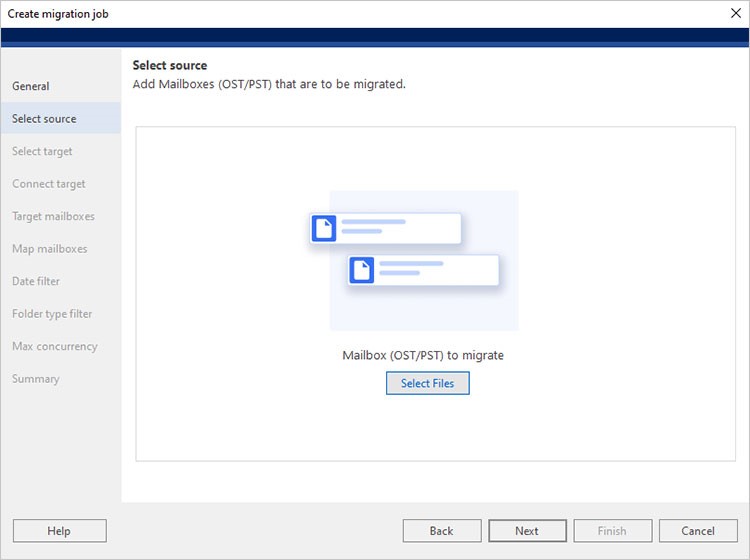
- It will show you all the PST files. Click the Next button.
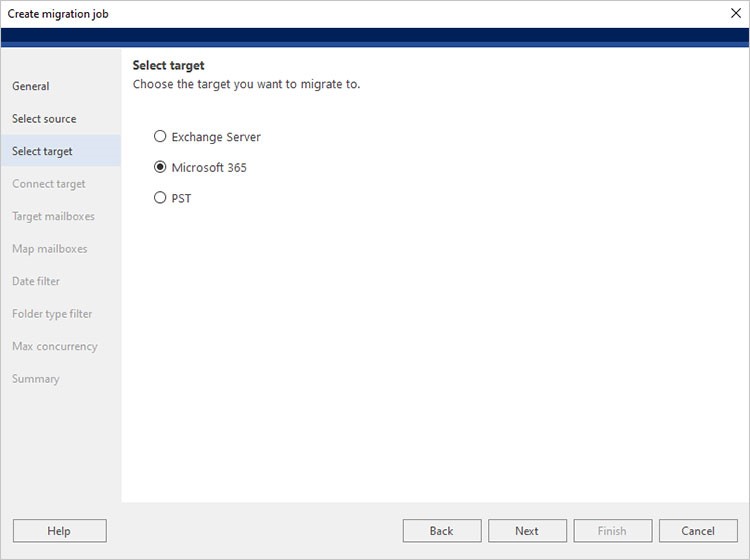
- The Select target screen will show up. Choose the Microsoft 365 option and click Next.
- Now, the Connect Target window will appear. Choose either Auto Registration or Manual Registration.
- Auto Registration – It allows you to automatically connect to Microsoft 365 by using the Global Admin credentials.
- Manual Registration – It requires you to enter the details, such as Email Address, Application (Client) ID, Directory (Tenant) ID, and Client Secret Value. Click on Validate after that.
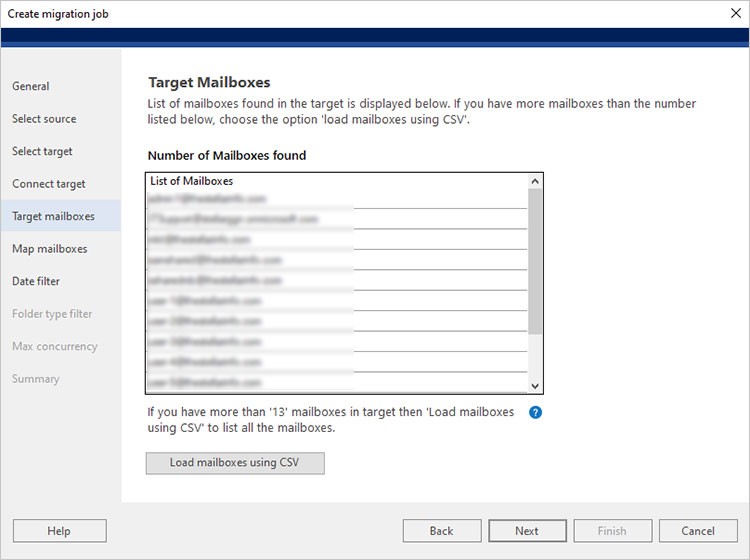
- After successful connection, the software will display a list of Target mailboxes that are found on Office 365 (target server). You can preview and validate the mailboxes. Then, click Next.
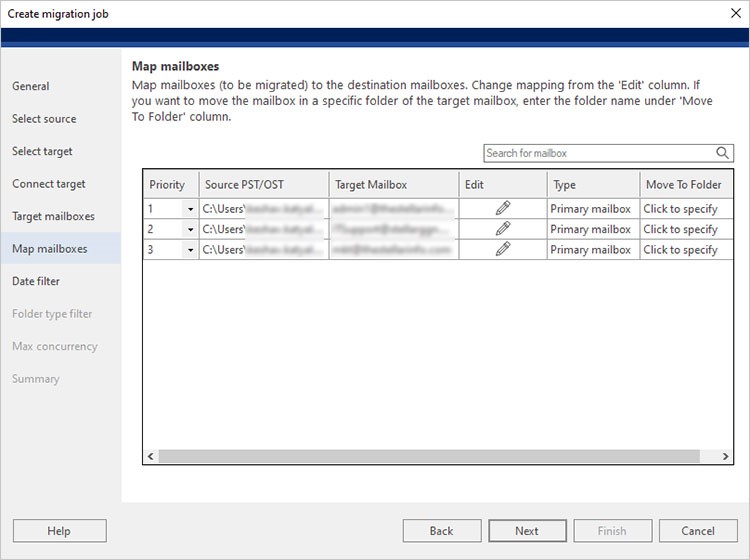
- The software will show the Map mailboxes screen. You can also change the mailboxes mapping from the Edit column. If you want to migrate PST file data to a specific folder, use the Click to specify option. Click Next.
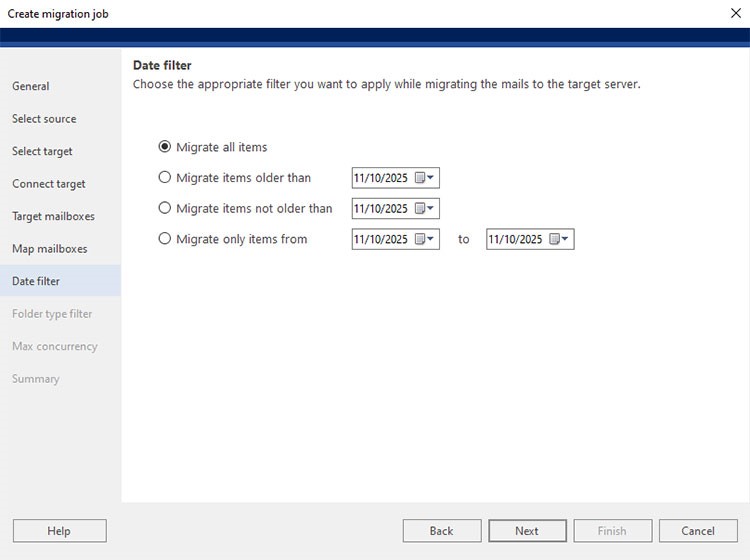
- The Date filter screen will appear. Choose a date filter option and click on Next.
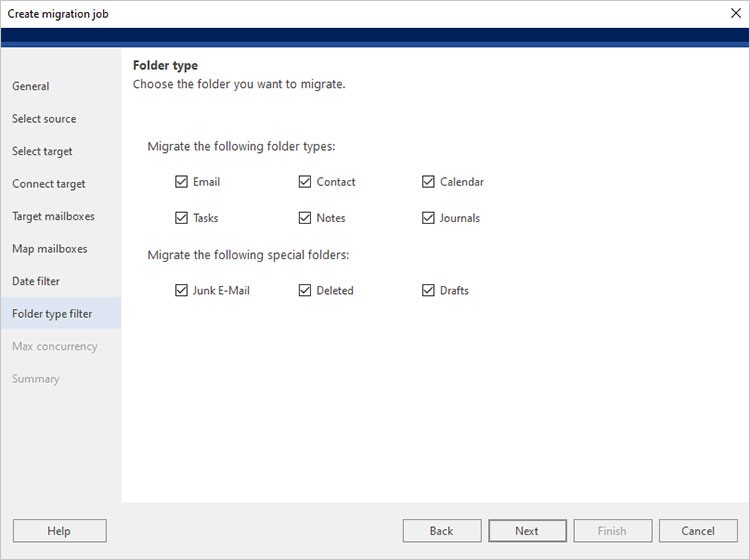
- The Folder type window will appear. Select the folder you want to migrate. By default, all mailbox folders are selected. Click on Next.
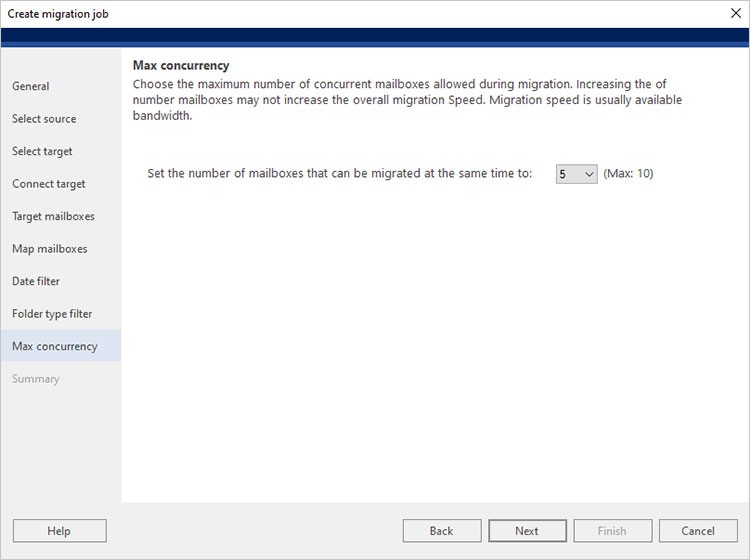
- You will see the Max concurrency window. Use the dropdown list to select the number of mailboxes to be migrated simultaneously. You can select maximum of 10 mailboxes. Click Next.
- The Summary window will appear. Review all the selected parameters before creating the job.
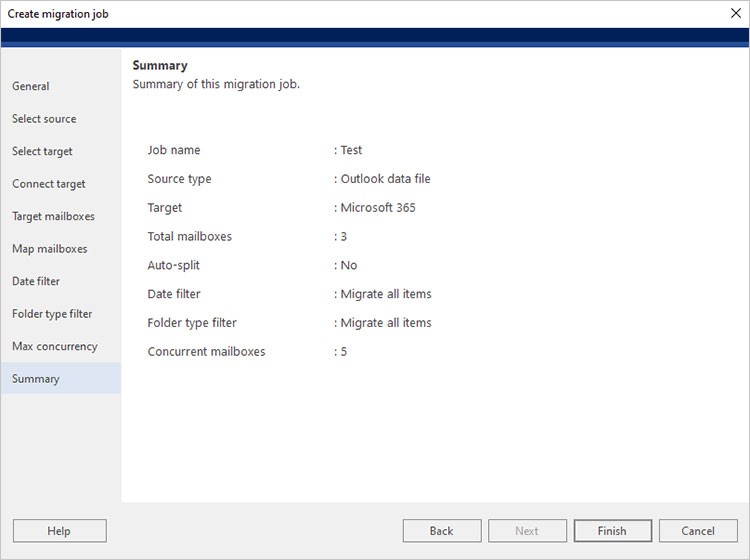
- After you have reviewed the selections, click on Finish.
- You will see the Job created dialog box along with the Job listed. Click OK.
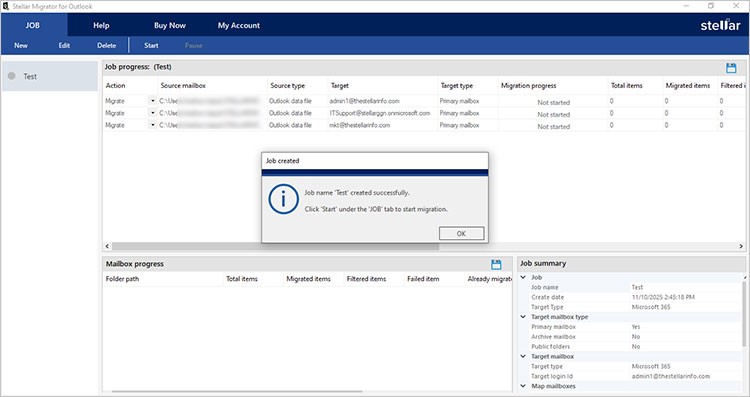
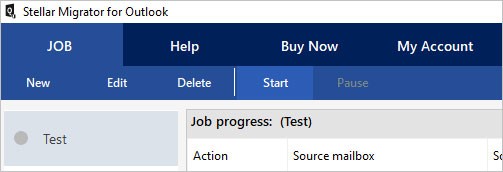
After this, click on Start in the ribbon to initiate the migration process.
- Next, click on Connect to login to the licensing server.
- After the connection is established, the software will begin the migration.
Once the migration is started, you can also track the progress of mailbox migration. After the migration job is completed, you will see the Completed status in the Mailbox progress window.
Conclusion
Migrating PST files to Microsoft 365 depends on various factors such as PST file size, internet speed, and your technical expertise. However, in most cases, network upload is the fastest as well as most effective method because it is free and works well for uploading multiple PST files. However, if your PST file is large or your internet connectivity is slow, then the better alternative is the Drive Shipping method. If you are looking for a simpler and less technical solution, then it’s suggested to use Stellar Migrator for Outlook - specialized PST to Office 365 migration software. This software can also migrate PST and OST files to a live Exchange Server directly. It allows saving the PST/OST items in separate PST files.


You need two roles in Exchange Admin Center:
- Mailbox Import Export
- Mail Recipients.
These roles are not assigned by default, even for Global Administrators. Here’s how to assign them:
- Go to Exchange Admin Center > Roles
- Click on Admin Roles > Organization Management
- Select Permissions
- Now, add the Mailbox Import Export role, and assign it to your account.
These changes may take up to 24 hours to apply.

Jyoti is a Senior Content Writer at Stellar, specializes in simplifying complex concepts in an easy-to-understand way for the end users. Her core expertise lies in providing solutions related to MS Outlook, Microsoft 365 and other email platforms. She focuses on addressing real-world challenges, such as data file (mailbox) corruption and data accessibility issues, helping the users find practical and reliable solutions.
 8 min read