

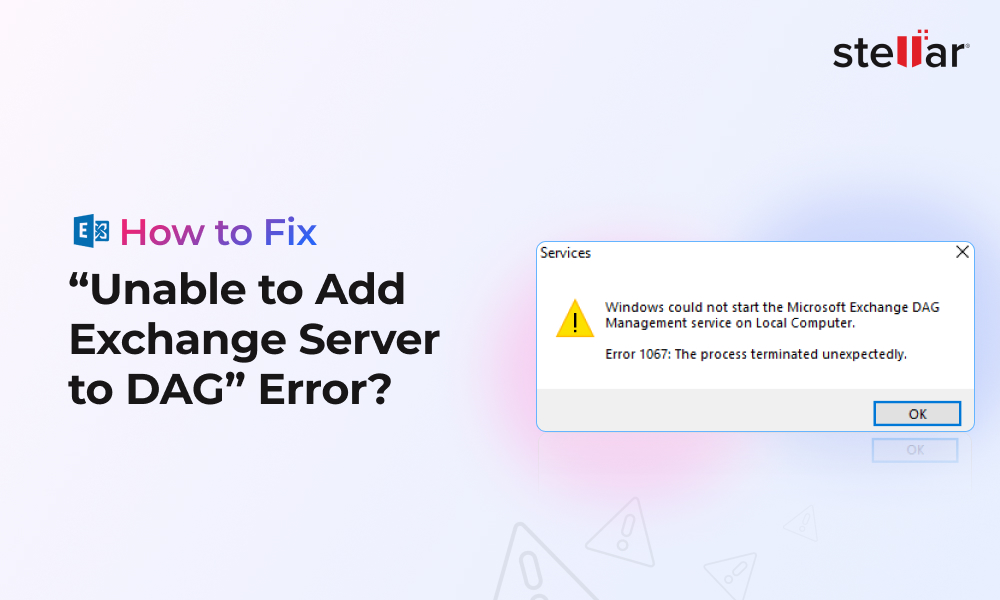
How to Fix “Unable to Add Exchange Server to DAG” Error?
June 27, 2025| 6 min read


Our content follows trusted Editorial Standards - accurate & unbiased.
Summary: You may have to remove failed Exchange Server from Active Directory due to several reasons. In this article, we’ve explained the step-by-step procedure to remove the failed Exchange Server from Active Directory. We’ve also mentioned an Exchange recovery software that can help you recover mailboxes, if anything goes wrong.
Free Download 100% SecureMicrosoft Exchange Server is heavily dependent on the Active Directory Schema. Most of the configuration of the Exchange Server is saved in the Active Directory Schema. There are several other places where the Exchange Server stores information which is needed to run, for example, DNS, databases, logs, and other files. But the most important is the schema in the domain controller/s.
There are several reasons why you would need to clean-up your Active Directory Schema. Some of them are:
The right way to clean-up the Active Directory Schema is to uninstall the Exchange Server in a smooth way to ensure that all the related entries in the schema are cleaned and removed correctly. In most of the cases, this would work. However, during the uninstall, there could be issues with the Exchange Server or Active Directory that would not remove a configuration entry or not being able to do it due to rights or the uninstallation is interrupted due to failed server.
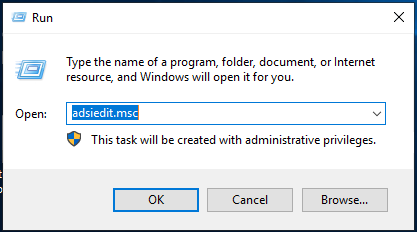
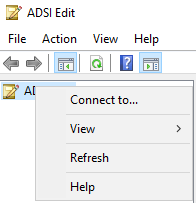
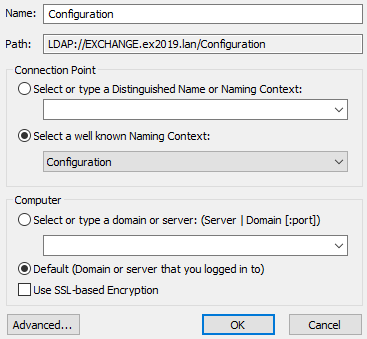
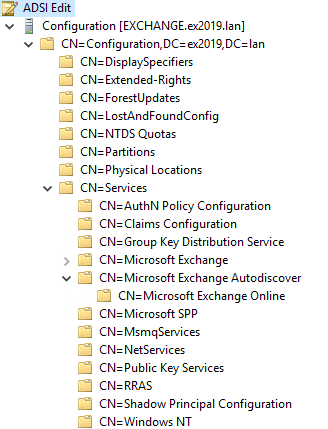
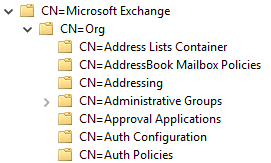
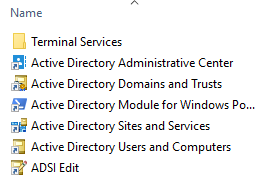
To completely remove Exchange Server configuration and other references from the Active Directory, you will need to remove several entries from the schema so these do not conflict with Outlook, Auto Discover service, or new installation of Exchange Servers. To remove these entries, you need to use ADSIEdit.msc command to connect to the Active Directory Schema to change, delete, or add entries.
Caution: When using the ADSIEdit, you will be editing the actual Active Directory Schema and any mistakes can have grave repercussions on the health of your Domain Controller services. Be careful and document any changes for future reference and always take an Ad-Hoc backup of your Domain Controller before making any changes to your schema. One of the reasons why this is recommended is that there is no undo button when editing your Active Directory Schema.
Below are the instructions on how to completely remove a failed Exchange Server from the Schema:
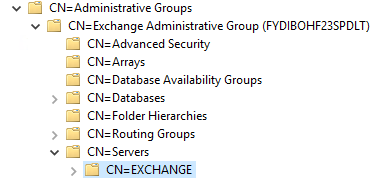
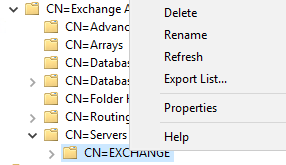
This will remove the single server from your configuration. Now, there are other things which might be pointing to that server, like databases, which you need to remove from the configuration also.
Databases can be found under CN=Databases. The databases which have their entry with CN= would need to be removed.

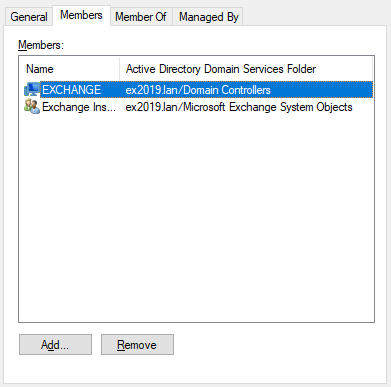
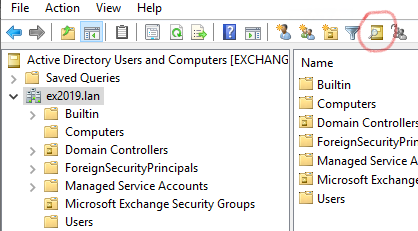
To remove the server from the Active Directory groups, follow these steps:

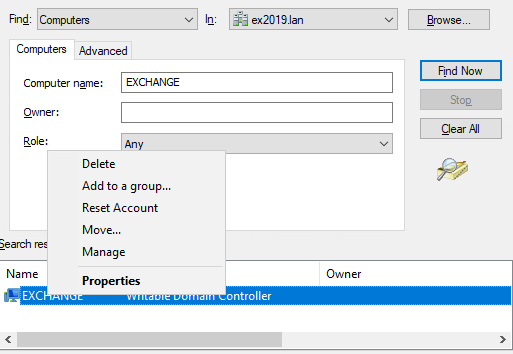
Now, the last step is to remove the computer account. For this,
 Reviving PNG DataCo Ltd After an Exchange Server Crash - Uncover the Full Recovery Journey!
See how iConnect consulting Inc.used Stellar Repair for Exchange
As you can see, the above process to remove a failed Exchange Server from the Active Directory Schema is lengthy and time-consuming. There are several things that may go wrong. If any mistakes are made, it may render the other server in your setup unusable. In such a case, a tool that could come in handy is Stellar Repair for Exchange. This tool is specialized for Exchange server recovery that allows you to open any version of Exchange Server database, browse through it, and export the data to PST and other formats. It also allows you export directly to live Exchange databases and Office 365.
Senior Content Writer
This article was written by Ravi Singh, a Content Writer at Stellar Data Recovery.
Curious about our content creation process? Take a look at our Editor Guidelines.
June 27, 2025| 6 min read

May 23, 2025| 6 min read

April 30, 2025| 6 min read


 6 min read
