A single defined storage capacity on a Windows PC cannot meet the requirements of every user. Moreover, every user has a different expectation of the performance level provided by a PC.
So how can you enhance the data redundancy or performance of the same system without adding to its built-in hardware? Well, there are two ways to do it. You can either get extra storage through a new storage device or set up a secure and stable RAID on your Windows PC.
This blog talks about how to set up RAID in Windows 10 and 8. In addition, you will get an additional tip to recover any data lost or deleted on a RAID array.
What is a RAID setup on Windows?
RAID or Redundant Array of Independent Disks is a method of data storage to improve data redundancy and PC performance.
Data redundancy refers to a system of data storage whereby a single piece of information is stored in more than one place. It is conducive to maintaining backup and safeguarding data on your Windows PC.
The RAID setup accomplishes data redundancy within a single database by using multiple storage drives to create a single database and storing the same information at two separate locations.
If the data is lost or damaged at one place, the user can still access it at the secondary storage location.
Methods to set up RAID using Windows in-built tools
There are specific in-built tools provided on Windows to set up RAID. You can easily understand how to set up RAID on Windows 10 and 8 using these tools without any third-party software or app.
Let’s see what these tools are and how you can use them to set up RAID on Windows.
Method 1: Create RAID using Storage Spaces on Windows 10 & 8
The Storage Spaces tool was first introduced with Windows 8, and it has evolved to be a valuable tool in Windows 10.
The tool helps users combine HDDs or SSDs into a RAID array. Although, before you proceed, you must define the RAID type and its usage.
Windows 10 supports RAID 0, RAID 1, and RAID 5. It is noteworthy that you should choose the drives with the same storage capacity and other attributes.
It will help you avoid any issues in the future. Now, connect all the drives to your Windows system and follow the steps below:
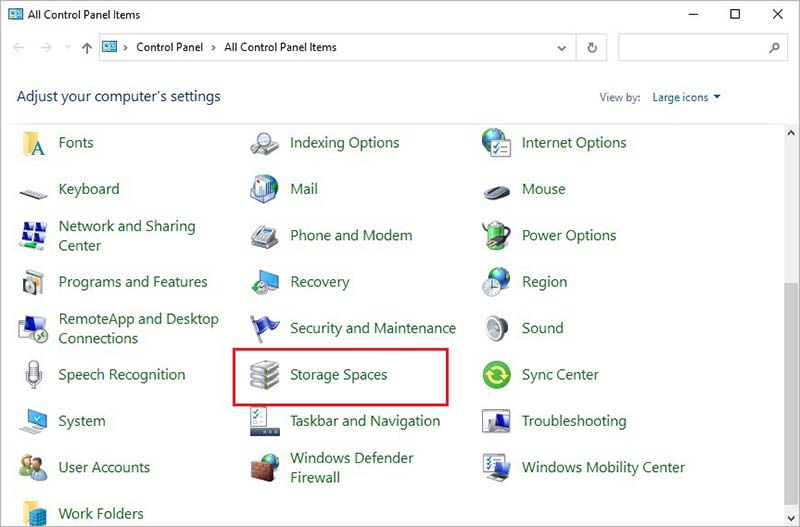
Step 1: Type ctrl in the search bar and select Control Panel from the search results.
Step 2: Click on Storage Spaces from the items listed in Control Panel.
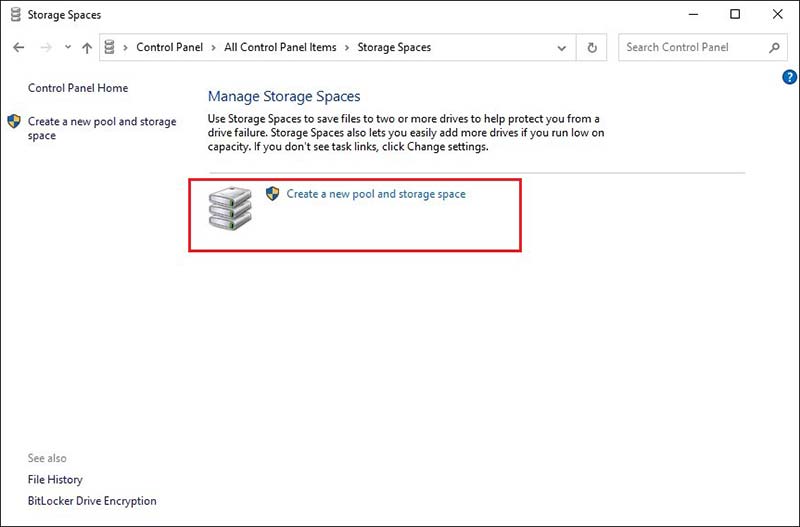
Step 3: Click the Create a new pool and storage space option under the Manage Storage Spaces section.
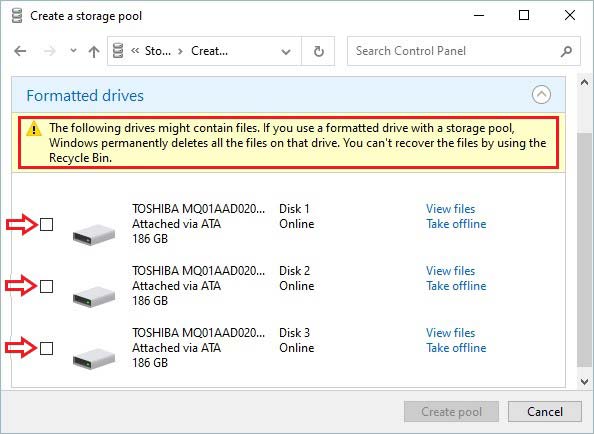
Caution: The drives you will use for the RAID setup will be wiped, and all the data on them will be deleted. If you need the data saved on these drives, save them at another location within your system or preferably on an external storage device.
Step 4: Check the boxes against all the drives you want to add to the RAID setup and click the Create Pool button at the bottom right.
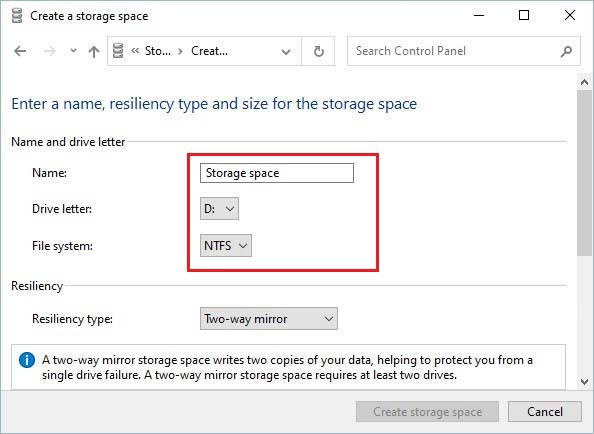
Step 5: In the new window, assign a name, drive letter, and file system to the RAID array in the designated field under the Name and drive letter section.
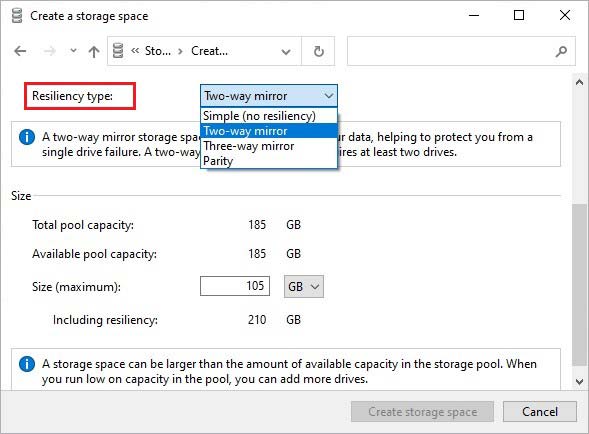
Step 6: Choose the Resiliency type under the Resiliency section. Use the following information to select a suitable option:
- Simple (No resiliency) – RAID 0
- Two-way mirror – RAID 1
- Three-way mirror – RAID 1
- Parity – RAID 5
Note 1: The only thing that differentiates two-way from three-way mirror resiliency is the number of copies of the main hard drive. Moreover, Parity resiliency works only on Windows servers.
The wizard will automatically set the maximum available capacity on the disk array based on your resiliency choice.The set capacity is a little less than the actual capacity of the array.
However, it’s done deliberately to allow the user to install an additional hard disk without rebuilding the RAID array when the full storage capacity of the array is exhausted.
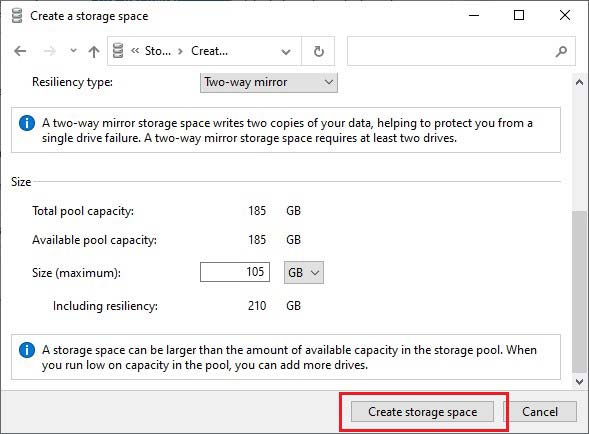
Step 7: Click the Create storage space option at the bottom of the wizard window.
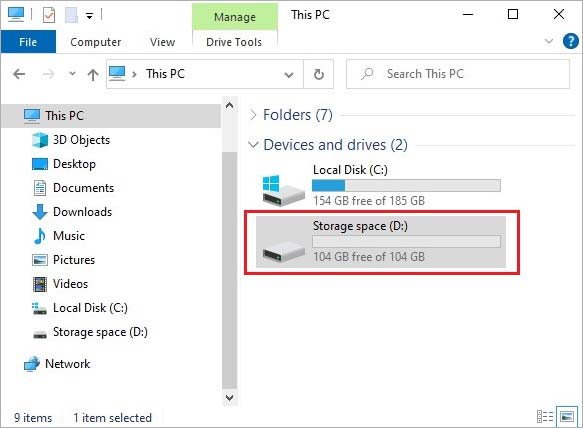
Once the process is complete, the created RAID will be available as a separate drive on your PC, and you can access it like any other drive through the This PC window.
Method 2: Create RAID using Disk Management on Windows 10 & 8
Disk Management is one of the most useful utilities on your Windows system. You can use it to set up a RAID array on your Windows 10 & 8 devices.
Moreover, the app requires no specialized knowledge of the OS. Here is how to set up RAID 0 using Disk Management.
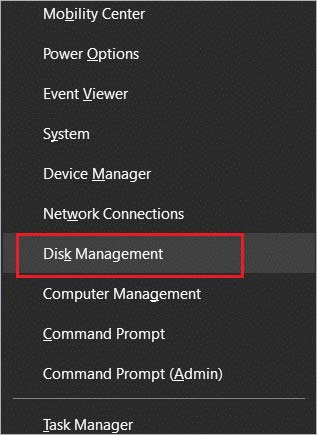
Step 1: Right-click the Start menu and select Disk Management.
Step 2: All the connected drives will appear in the Disk Management window. Right-click any drive and select New Striped Volume.
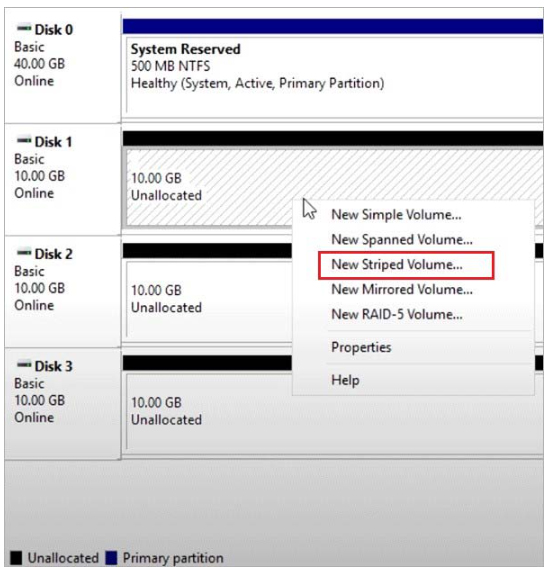
Note: You must right-click on the disks and not the partitions shown in the Disk Management window.
Step 3: The New Striped Volume Wizard will open. Click Next.

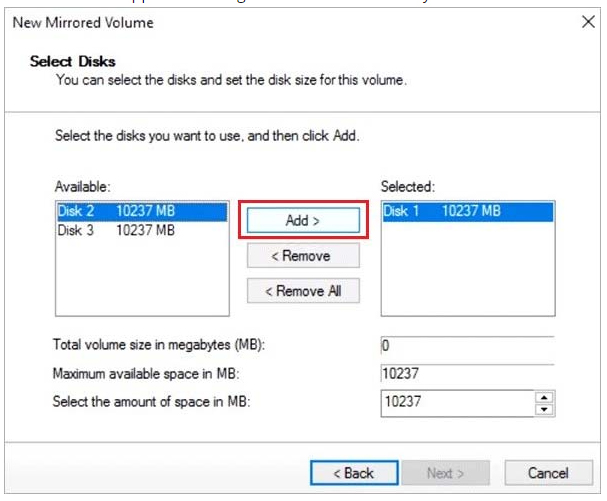
Step 4: Select the drives you want to add to the RAID array. Click on the drives listed in the left box and click Add. It will appear in the right box. Click Next once you have added all the drives.
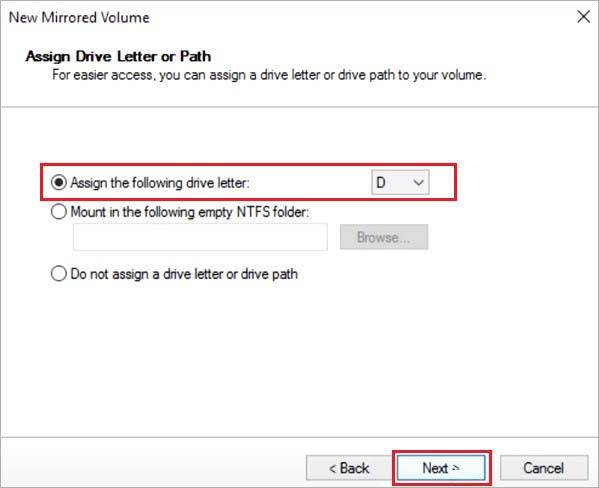
Step 5: Assign a letter to the array by choosing from the list and clicking Next. You may also leave the automatically selected letter assigned by the wizard and click Next.
Step 6: Select NTFS in the file system section to be assigned for the RAID and click Next.
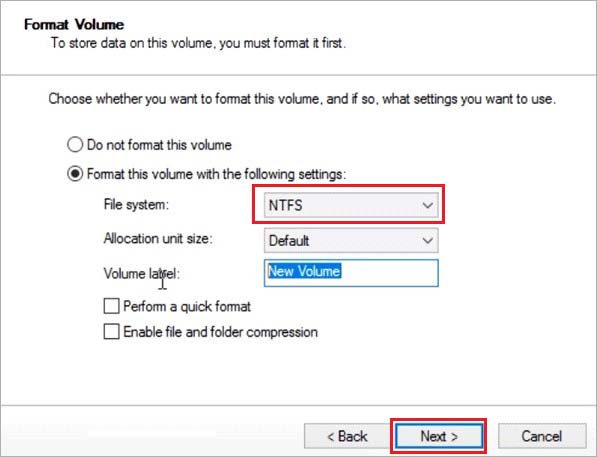
Step 7: Verify the settings and click Finish.
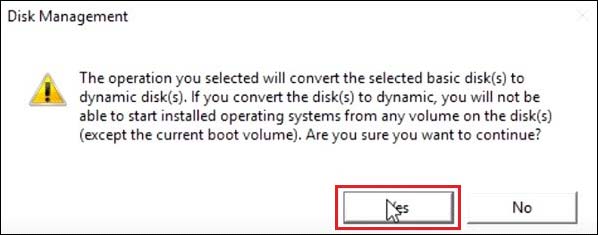
Step 8: A dialog box will appear to warn you that the selected disk(s) will be converted to a dynamic disk(s), and all the data on the selected disk(s) will be erased. Click Yes to proceed.
The formatting of the disks will commence, and once the process completes, your RAID 0 array will be ready to use.
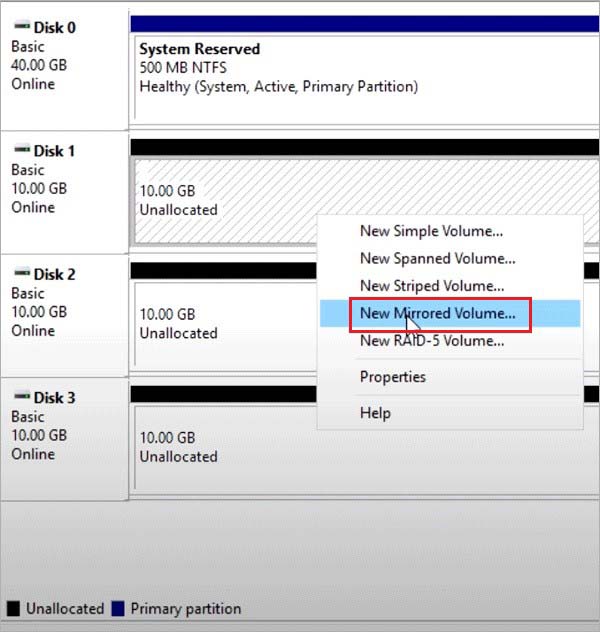
You can similarly create the RAID 1 array; all you need to do is select New Mirrored Volume instead of New Striped Volume in Step 2 above.
Method 3: Create RAID using Command Line on Windows
You can also use Command Prompt or Windows PowerShell to set up RAID on Windows 10, and 8 PC.
Command Prompt and Powershell are command-line tools, and you need to be careful while using them.
Any incorrect command could cause damage to the task you’re trying to do. So let's proceed with setting up RAID 5 using Command Prompt.
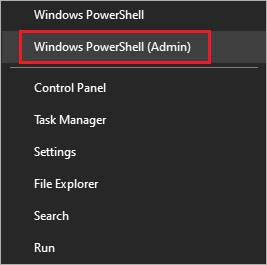
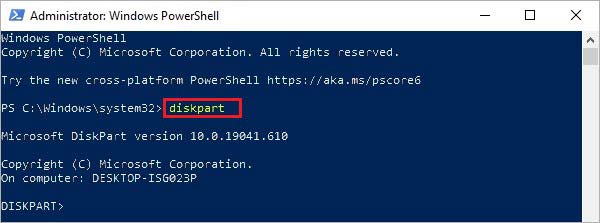
Step 1: Right-click the Start menu button and select Command Prompt (Admin) or Windows PowerShell (Admin).
Step 2: Insert the command diskpart and press Enter.
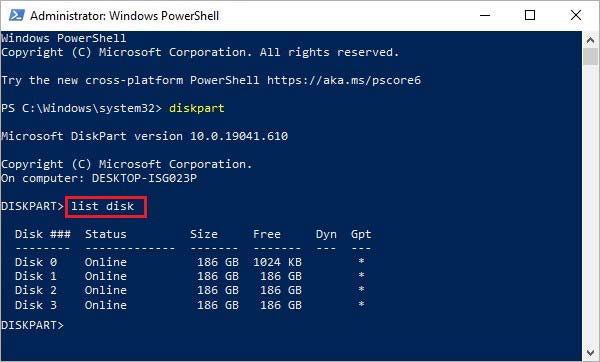
Step 3: Now, insert the command list disk and press Enter. A list of all the connected drives will appear.
Step 4: Select the drives one by one and convert them into dynamic drives using the commands below.
- Insert command select disk 1 (Replace the digit 1 with the disk number you want to add to the RAID) and press Enter.
- Insert command convert dynamic and press Enter.
Repeat the above command for each drive you want to add to the RAID array.
Step 5: Once all the drives are converted to dynamic drives, insert the following commands to set up RAID.
- Insert command select disk 1 (replace the digit with your first drive’s digit) and hit Enter.
- Insert command Create Volume RAID Disk 1, 2, 3 and hit Enter.
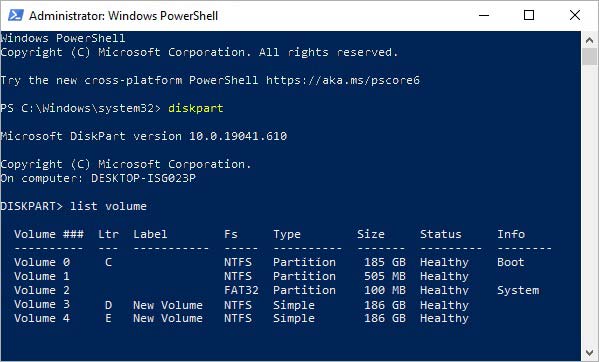
Note: To ensure that the array creation is complete, type list volume in the command line and press Enter. All the selected drives will be shown as a single unit.
Step 6: Now, use the following commands to format the disk and assign a letter to it.
- Place the command select volume 2 (This is the new volume created by the combination of drives you selected earlier) and hit Enter.
- Now, type Format FS=NTFS Label=MyNewVolume and press Enter.
- Lastly, insert Assign letter=F and hit Enter (You can replace the letter F with a letter of your choice).
Step 7: To exit the command line, type Exit and press Enter.
Your disks will be combined to create a RAID 5 array.
For RAID 0:
Enter the following commands one by one.
- list disk
- create volume stripe size=n disk=1,2,3 ( n is the disk size in MB, and 1, 2, 3 denote the disks to be included in RAID).
For RAID 1:
Enter the following commands to create a RAID 1 array
- list disk to display all the disks connected to your PC.
- select disk 0 – use the disk number for which the mirror is to be created.
- convert dynamic – to turn the disk to a dynamic drive.
If prompted, Restart your PC; otherwise, continue normally, and enter the following command.
- Select volume 0 – choose the desired disk number.
- Add disk=1 – add the suitable disk for mirroring.
Let the process complete for the RAID 1 array to be set up.
Additional Tip
Now that you have learned how to set up a RAID array on your Windows 10 and 8 PC, let us inspect any collateral damage.
This tip is for you if you have lost data while setting up RAID due to accidental deletion or file system change.
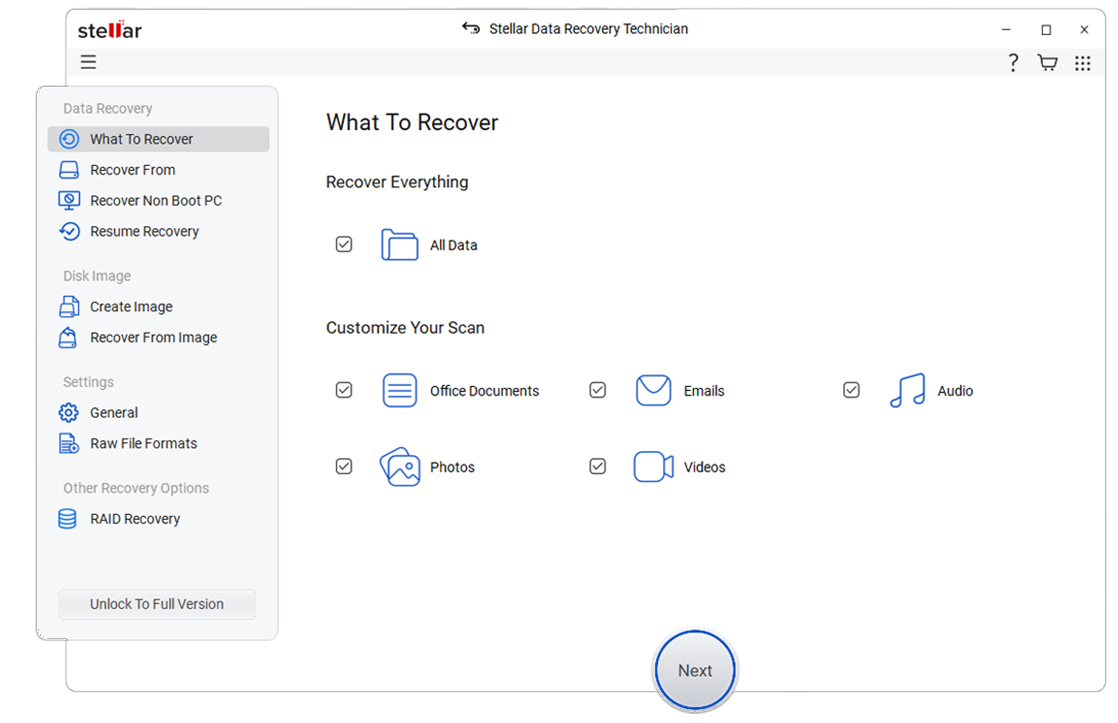
Using the Stellar Data Recovery Technician software, you can easily recover any lost data on a RAID array. It’s a DIY tool with powerful data recovery algorithms to recover any lost or corrupted data on a failed RAID array.
Moreover, it has an built-in feature to repair corrupt photos and videos and is compatible with Windows 11, 10, 8, and 7.
Conclusion
Each of the above-discussed processes is suitable to set up software RAID on your Windows PC. You can choose any of them at your convenience.
You should try the RAID set up using Command Prompt or PowerShell only if you are well-versed with the command line and have used it earlier; otherwise, go for Methods 1 and 2.
We hope you have got your system up and running. Share your thoughts with us in the comment section below.
FAQ
1. Does Windows 10 have a built-in RAID?
No, Windows 10 does not have a built-in RAID. However, Windows 10 and 8 do have a feature known as Storage Spaces that allows you to combine multiple HDDs or SSDs into a single RAID array.
2. How do I know if RAID is set up in Windows 10?
Right-click the Start button and open Disk Management. If all the listed disks show Basic, you haven't configured any RAID array or are using a hardware RAID. If you have software RAID configured, then each drive that is a part of the RAID array will show Dynamic and will be represented with the same drive letter.
3. How do I know if my RAID 1 is working?
You can check your RAID status from Disk Management.Right-click the Start button and select Disk Management from the list to access it.


Tech Enthusiast and Senior Writer at Stellar®

 6 min read