How to Use Windows Server Backup to Back up and Restore Exchange Server?

You need to fulfil some prerequisites when it comes to take a backup of Exchange Server using Windows Server Backup. These are:

  • The user must have the right permissions before configuring a backup or restore. You need to give the user (which will be doing the backup and restore) the Mailbox Recovery role permission. The user must also be a part of the Organization Management group.
  • The Windows Server Backup, which can be installed via the Server Manager, must be installed on the Exchange Server. You cannot use Windows Server Backup to back up a remote server.
  • A consistency check will be executed on the Exchange Server databases to confirm that these are healthy and can be used for restoring data. If successful, the Exchange Server databases will be available to restore. If the consistency fails (although it will back up the server), you will not be able to recover any data from it.

Setting up Windows Server Backup

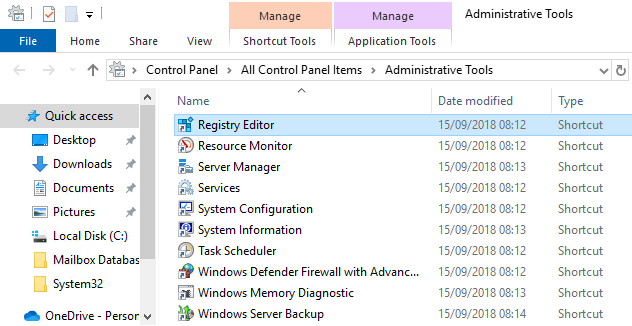
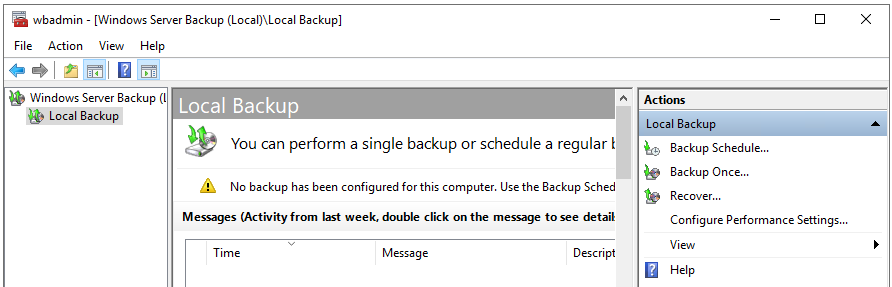
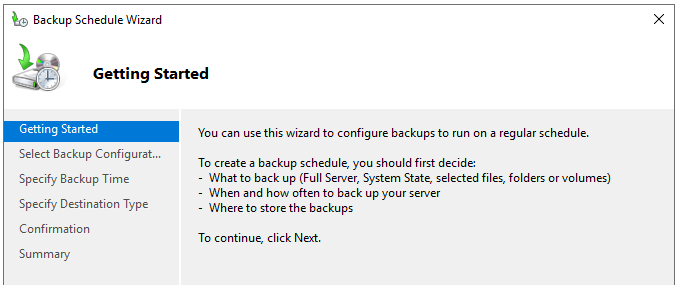
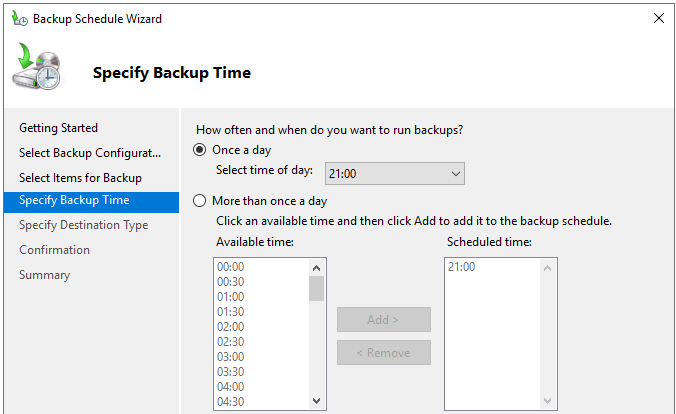
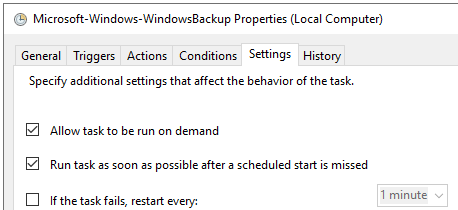
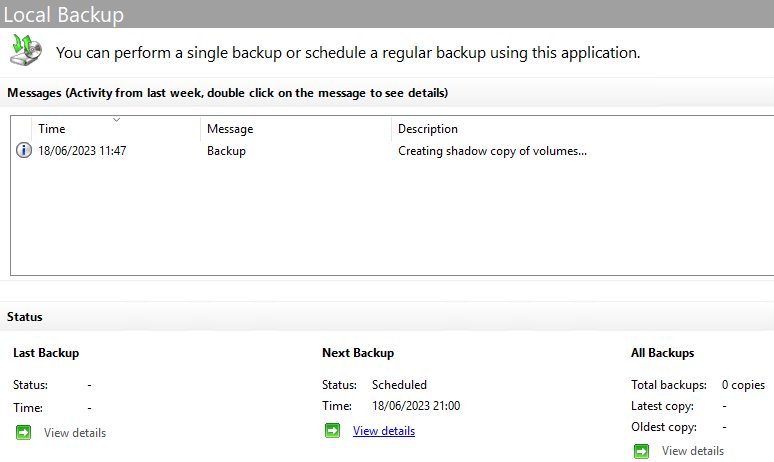
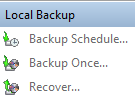
Windows Server Backup is compatible with Exchange Server and is application-aware. Nonetheless, you must always make sure that the version of the Windows Server is in the compatibility matrix. When in doubt, check with the supplier or vendor. Now, follow the below steps to create backup using the Windows Server Backup feature.

  • After installing the Windows Server Backup feature from the Server Manager, open the Windows Server Backup from the Administrative Tools in Control Panel.
Open the Windows Server Backup from the Administrative Tools in Control Panel
  • Click on Local Backup in the left pane and then click on Backup Schedule in the right-pane.
click on Backup Schedule
  • On the Getting Started screen, click on Next.
Getting Started screen
  • On the Select Backup Configuration screen, click on Custom to select custom criteria to backup from the server and click Next.
Select Backup Configuration screen
  • On the Select Items for Backup screen, click on Add Items.
Select Items for Backup screen
  • Here, you need to add the drives where you have the databases. For the sake of backup, select the operating system drive. Once done, click on OK.

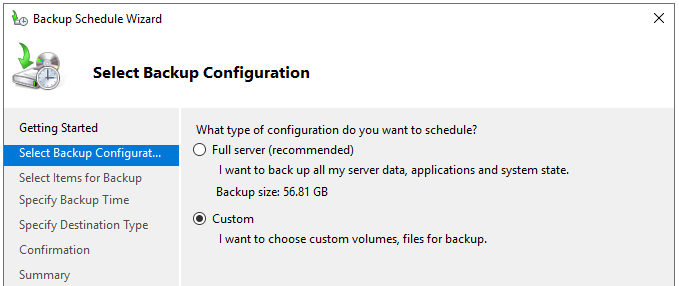
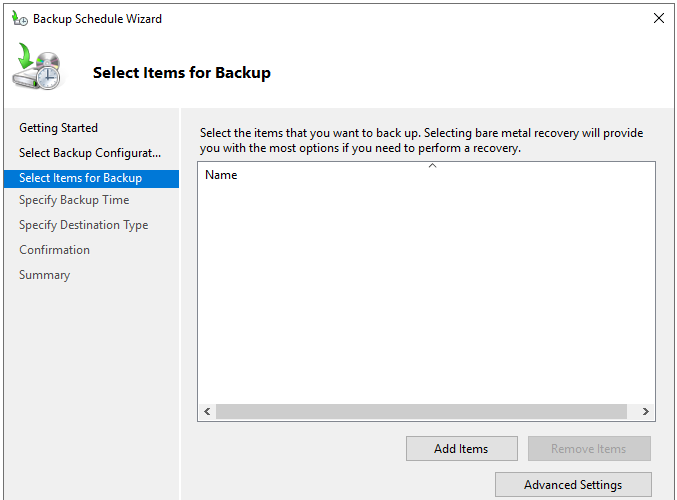
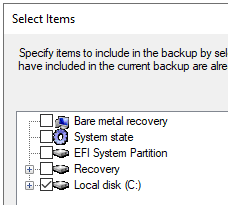
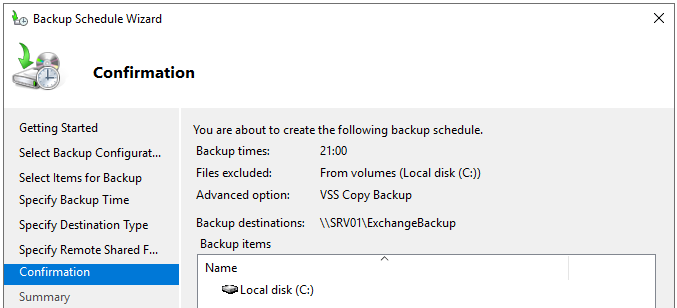
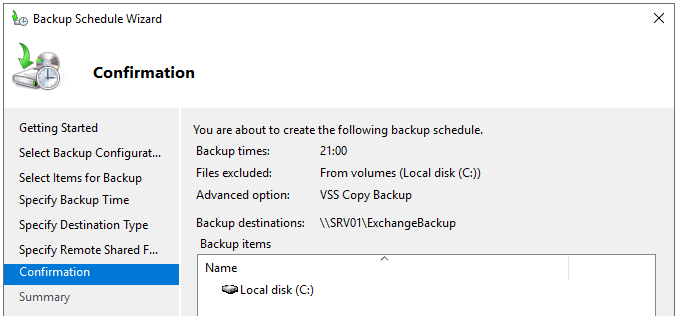
Note: In our case and for our test-bed server, all is installed and configured on the C drive. In a real scenario, you can separate the operating system drive from the drive holding the actual Exchange Server databases. It’s important not to select individual files as this will not work properly. To benefit from application-level backup and restore, the entire volume must be selected.

separate the operating system drive from the drive holding
  • You will be back on the Select Items for Backup screen. Here, click on the Advanced Settings button. Click on Exclusions to exclude any folders or file types from the backup. Then, click on Add Exclusion.
Select Items for Backup screen 1
  • You can add multiple exclusions. For each exclusion, you can select to exclude the root folder along with the subfolders or just the root folder. You can also specify all the files and folders or a specific file type by typing the extension in the File Type field.
select to exclude the root folder along with the subfolders
  • Once ready, click on the VSS Settings tab. Here, you need to make sure that the VSS full Backup is selected. Then, click OK.
VSS full Backup
  • Click Next.
  • On the Specify Backup Time screen, you need to enter the time when the backup will be taken.
Specify Backup Time screen
  • In the Specify Destination Type screen, select the backup destination and click Next.
Specify Destination Type
  • Once the destination is selected, you will be presented with the Confirmation screen to review your selection.
Confirmation screen to review your selection
  • Once done, click Finish.
Confirmation screen to review your selection finish
  • The backup will now run when it’s scheduled. If you want to run it manually, you need to open the Task Scheduler and modify the job to allow it to run on demand.
open the Task Scheduler
  • Find the task in the Microsoft, Windows and Backup section and edit the task. Click on the Settings tab, tick Allow task to be run on demand and click OK.
Microsoft Windows and Backup section
  • You can run the backup on demand. Once the time comes, the backup will start.
run the backup on demand

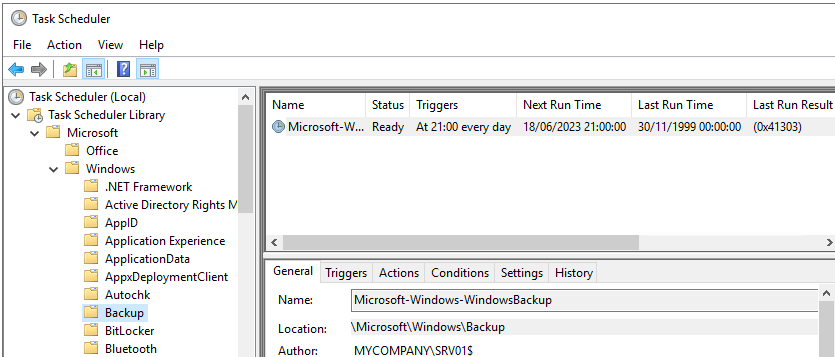
To confirm if the backup is successful, open the Exchange Management Shell (EMS) and run the Get-MailboxDatabase cmdlet as given below.

Get-MailboxDatabase -Server -Status | Format-List Name,*FullBackup

Restoring the Backup

When restoring data, you cannot restore only one mailbox or one email. You will need to restore the entire database. Here are the steps:

  • Open the Windows Server Backup.
  • Click on Recover.
Recover Windows Server Backup
  • Choose the server and click Next.
Choose the server and click Next
  • Choose the date you wish to restore from and click Next.
Choose the date you wish to restore from and click Next
  • Select Exchange and click Next.
Select Exchange and click Next
  • Choose the location to recover and click Next.
Choose the location to recover and click Next

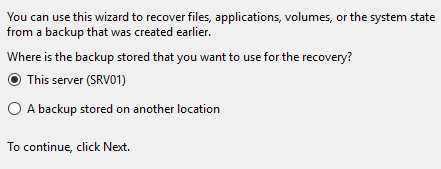
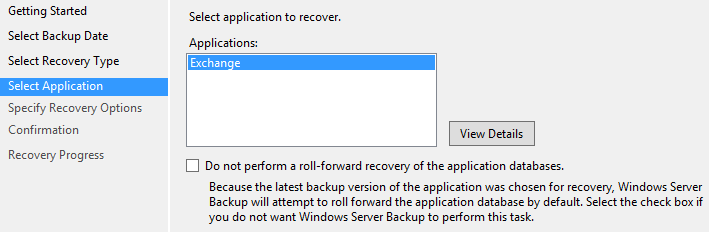
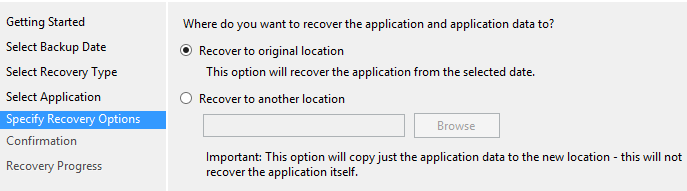
Note: By restoring the database, you will affect all the volumes. Also, you cannot granularly restore the data. This process will involve replacing all the data. Hence, you may suffer data loss as it will overwrite the current data.

Final Thoughts

The Windows Server Backup application comes in-built in the Windows Server. It works well when configured properly. However, you may encounter a problem if something happens to your Exchange Server. In this case, you need to restore the whole server. But what would happen to the data which was created after the backup is taken till the time the server was crashed?

The process is a bit resource hungry as you need to restore the entire Exchange Server database on the same server, attach it, and extract the data from there using Outlook. So, if you don’t have enough storage on the Exchange Server, you will not be able to restore any data.

In such a situation, you can use a third-party application, such as Stellar Repair for Exchange to extract data from the damaged or corrupt local Exchange Server database. With this application, you can open the corrupted database with no size limit and even without a running Exchange Server. This means you can granularly extract the desired data from the damaged database and save it in PST and other file formats. You can also use the application to export data directly to a live Exchange Server database or Office 365, with minimal effort and resources.


Was this article helpful?
About The Author
author image
Shelly Bhardwaj linkdin Icon

Shelly is technology expert and core knowledge of Exchange Server, Outlook.

Table of Contents

WHY STELLAR® IS GLOBAL LEADER

Why Choose Stellar?
  • 0M+

    Customers

  • 0+

    Years of Excellence

  • 0+

    R&D Engineers

  • 0+

    Countries

  • 0+

    PARTNERS

  • 0+

    Awards Received