Step 1: Select Hosted Exchange to export mailboxes from an online EDB file. To convert mailboxes from an offline database, choose Offline EDB.

Step 2: Click Browse to select the EDB file, if the location is known or use the Find button to search the EDB file.

Step 3: Select the required EDB file and then click Next.

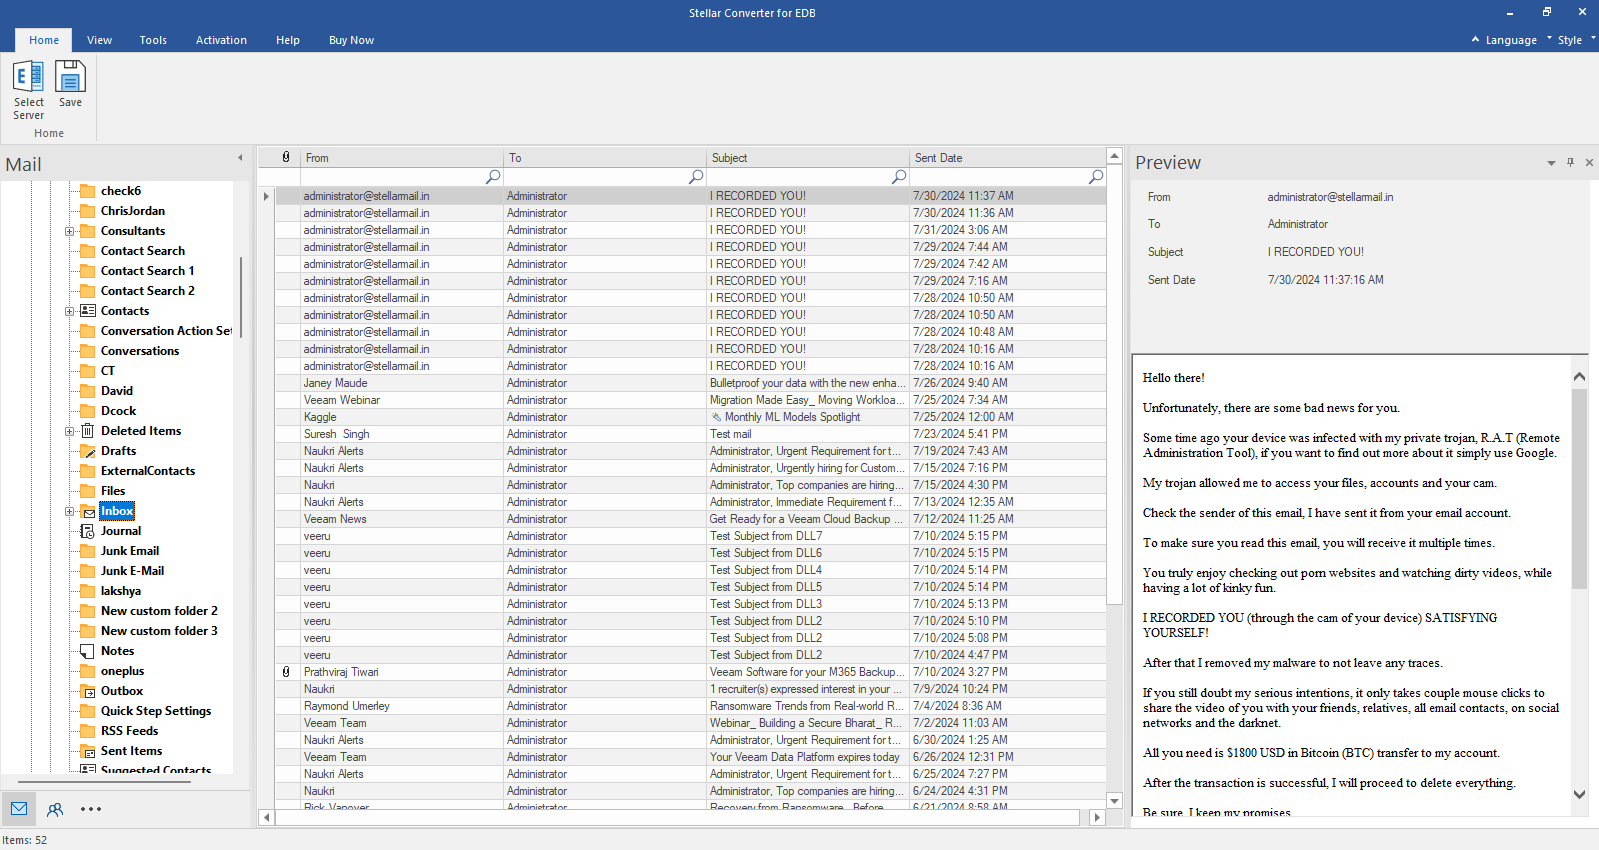
Step 4: After the scan, click on a mailbox or item to see its preview.

Step 5: Select all the mailboxes you want to convert and click Save Mailbox. Choose the desired saving option, such as Export to Live Exchange and then click Next.

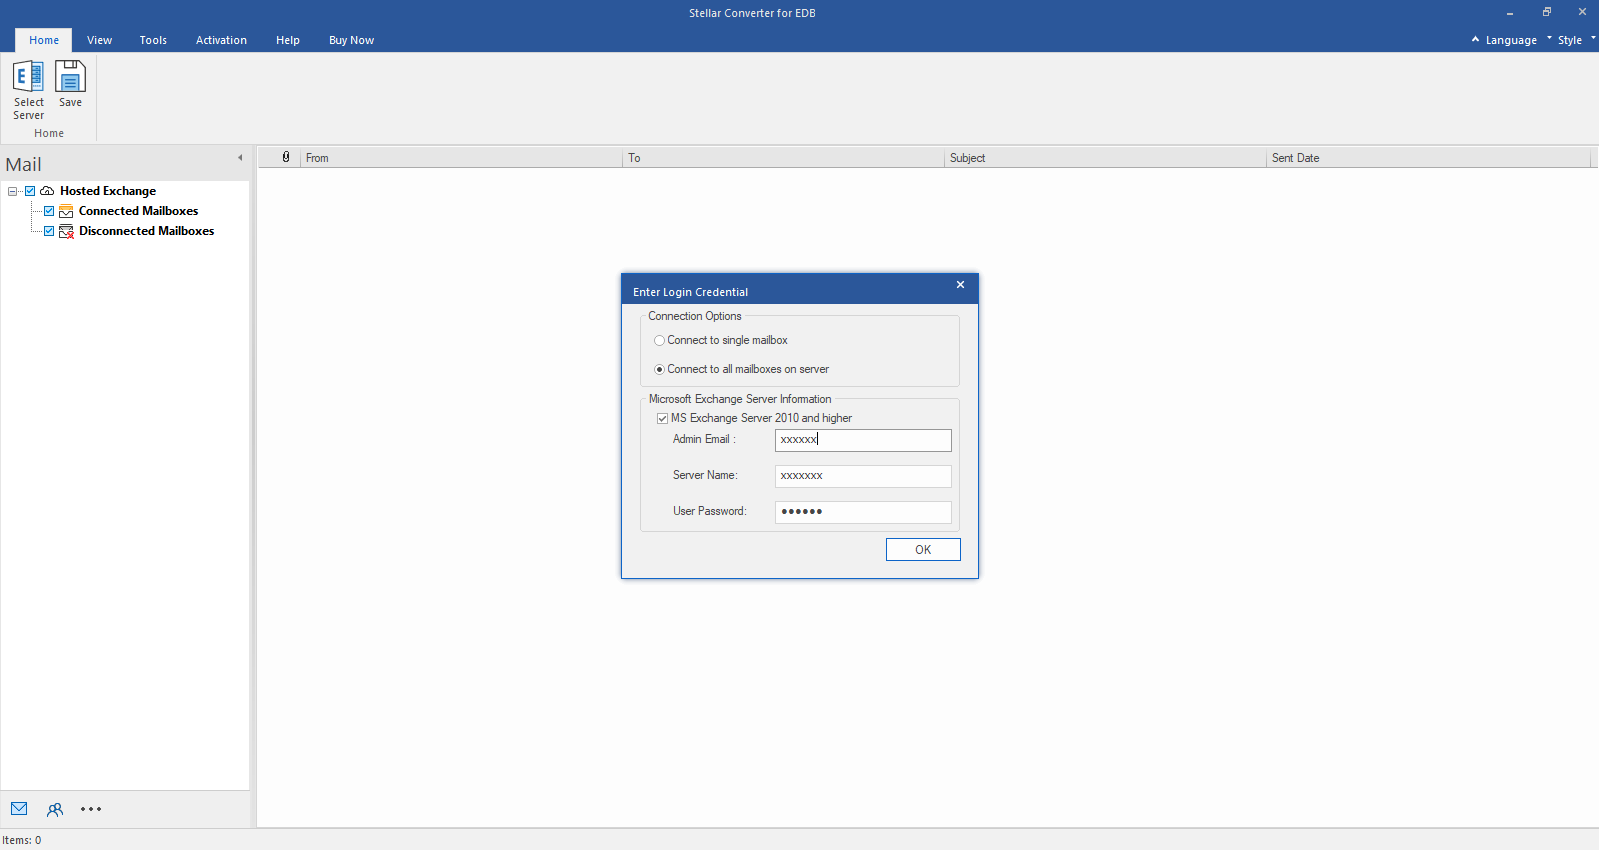
Step 6: The Enter Login Credentials dialog box appears, offering two ways to connect to the Live Exchange Server. You can use Autodiscover Email or manually enter the server details and then click OK.

Step 7: The Load Mailbox List dialog box will appear. Click the Browse button to select the CSV file containing the list of mailbox users. Click OK.

Step 8: The software auto-maps source and destination mailboxes. You can also manually map the mailboxes and change the mailbox export priority. Use Apply Filter to include/exclude emails and then click Export.

Step 9: The software starts exporting the mailboxes from the EDB file to the Live Exchange Server.

Step 10: A Saving Complete dialog box is displayed, showing the number of saved, aborted, removed, and failed mailboxes. Click OK to close it.

Step 11: If you want to export the mailboxes to Microsoft 365, select the Export to Microsoft 365 option on the Save As window. Then, click Next.

Step 12: After selecting Microsoft 365 as target, you can choose either Auto-Registration or Manual Registration. Auto-registration automates the authentication process, whereas manual registration requires you to enter the Microsoft 365 Login Credentials manually. Select Manual Registration and click Next.

Step 13: On the Microsoft 365 Login Credentials dialog box, enter Email Address, Application (Client) ID, Directory (Tenant) ID, and Client Secret Value. Click Next to continue.

Step 14: The Load Mailbox List dialog box will appear. Click the Browse button to select the CSV file containing the list of mailbox users. Click OK.

Step 15: The software auto-maps the mailboxes on the Microsoft 365 Server and also provides an option to edit the mailbox mapping. You may also change the mailbox priority or Apply Filters to include or exclude emails based on date range or email address. When done, click Export.

Step 16: The software starts exporting the mailboxes from the EDB file to Microsoft 365 account.

Step 17: A Saving Complete dialog box is displayed. It shows a summary of saved, aborted, removed, and failed mailboxes. Click OK to close it.

Step 18: For exporting the mailboxes directly to in-place archive folder on the Exchange Server, select the Export to In-Place Archive Folder option on the Save As window and click Next. Then, connect to the Exchange Server for exporting the archive mailboxes.

Step 19: If you want to export the mailboxes to public folders on the Exchange Server, select Export to Public Folder and click Next.

Step 20: The Enter Login Credentials dialog box appears, offering two ways to connect to the Live Exchange Server. You can use Autodiscover Email or manually enter the server details.

Step 21: A Process Complete dialog box is displayed. Click OK to close it.

Step 22: If you want to save the mailboxes to public folders on Microsoft 365, select Export to M365 Public Folder on the Save As window and click Next. When the screen appears with the message "You are trying to save multiple mailboxes to the 'Public Folder', click Yes.

Step 23: On the Microsoft 365 Login Credentials window, enter Email Address, Application (Client) ID, Directory (Tenant) ID, and Client Secret Value. Then, click Next. It will export the mailboxes directly to M365 Public Folders.

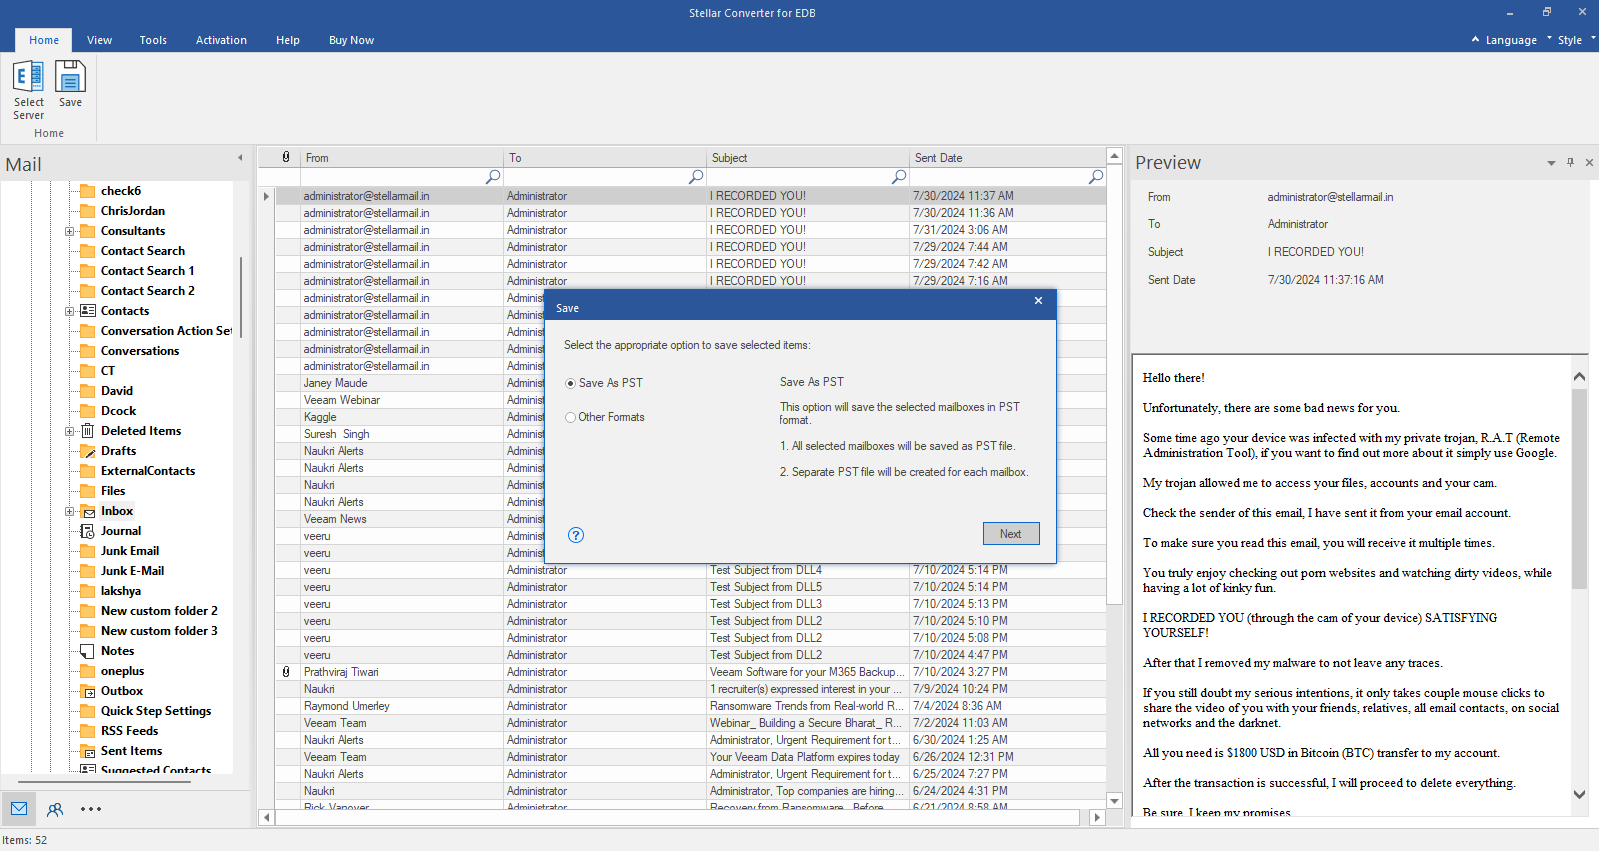
Step 24: If you want to convert the mailboxes to PST, select the Save as PST option on the Save As window and then click Next.

Step 25: Click Browse to choose a location to save the PST file and then click OK.

Step 26: On the Save Mailboxes window, you can change the mailbox export priority to export the important mailboxes first. Then, click Next.

Step 27: The software starts exporting the selected mailboxes to PST format at your desired location. You can also remove the mailboxes in pending status from the list by clicking the Remove button or stop the entire mailbox saving process by clicking on the Stop All button.

Step 28: A message is displayed after the export process is complete. Click Open Containing Folder to see the exported PST files.

 For IndividualsBack to main menu
 Data Recovery
 File Repair
 Data Erasure
  For BusinessBack to main menu
 Email Repair
 Email Converter
 Email Migration
 File & Database Repair
  Toolkit
 Forensic
 Lab Services
  Our Partners
  About
About Resources
 Support
  Contact us
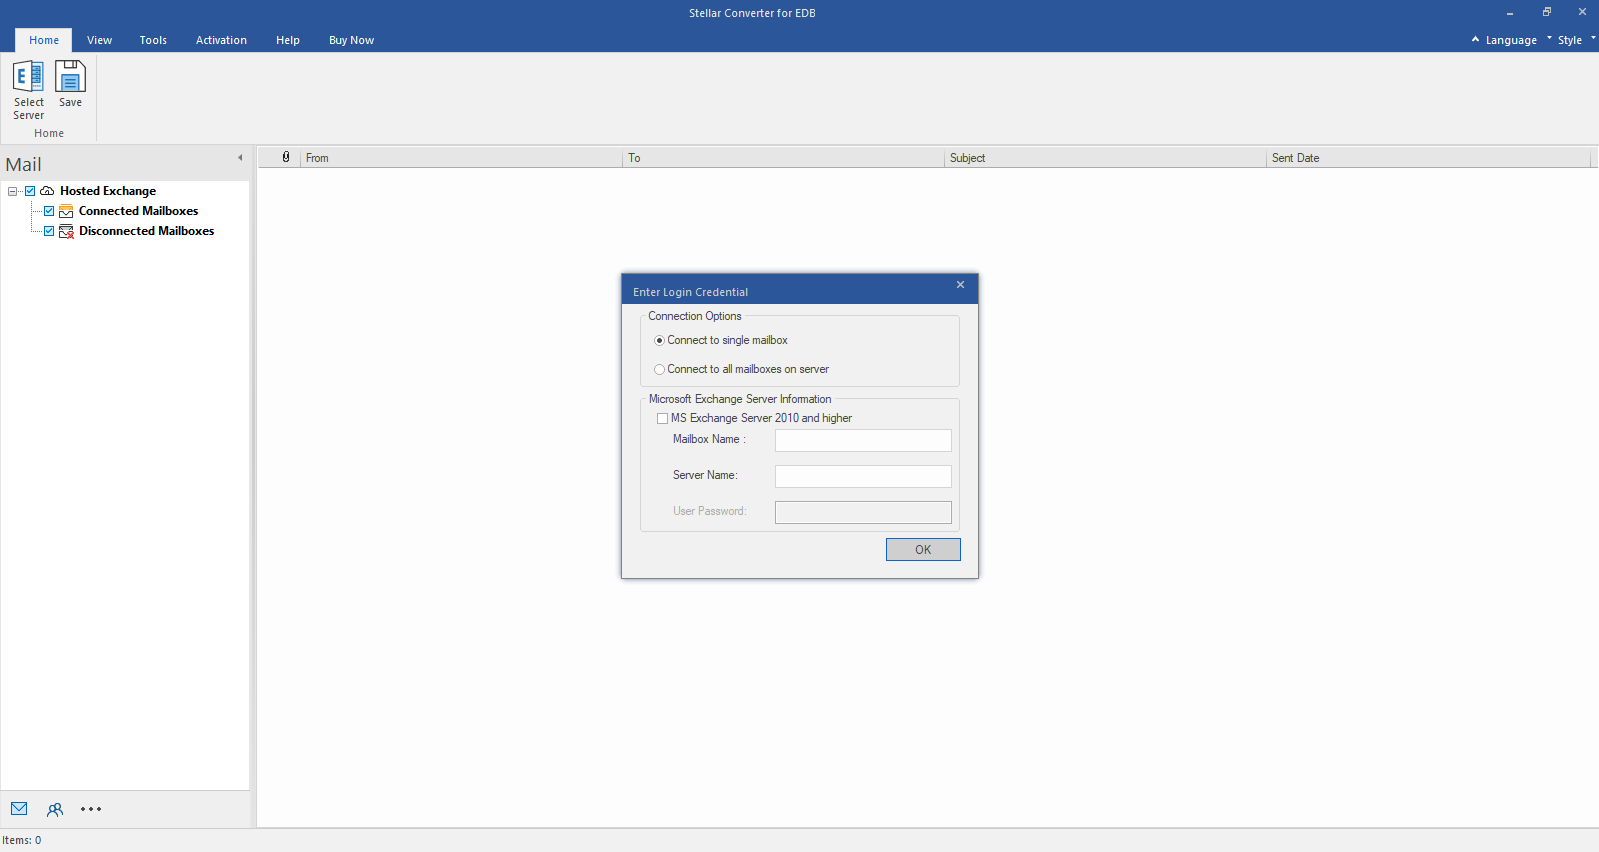
 Free Download
  Installation