Businesses across the globe are gradually moving from on-premises servers to the cloud, such as Microsoft 365 (formerly known as Office 365). However, it can be challenging to move the mailbox data (PST files) from local storage to Office 365. Fortunately, there are a few techniques available that you can employ to move your PST mailbox archives and backups to Office 365.
In this guide, you will learn the stepwise instructions to add PST files to Office 365 and ensure that all of your emails are imported into Office 365 mailboxes correctly and securely.
Steps to Add PST Files to Office 365
Follow the below steps to securely upload and add your PST files to Office 365.
Step 1: Store All PST Files in a Folder
The first step is to collect and store all the PST files of your users that need to be uploaded and added to Office 365 in a folder.
Step 2: Assign Mailbox Import Export Role
The Mailbox Import Export role is not assigned to any user, including the administrator, by default. Thus, you must assign the role to the user you want to use to add the PST files in Microsoft 365 tenant. You can also create mailboxes for your users where you want to add and import their PST files. The steps are as follows:
- Open the Microsoft 365 Exchange Admin Center panel.
- Click Roles > Admin Roles and then select the import export
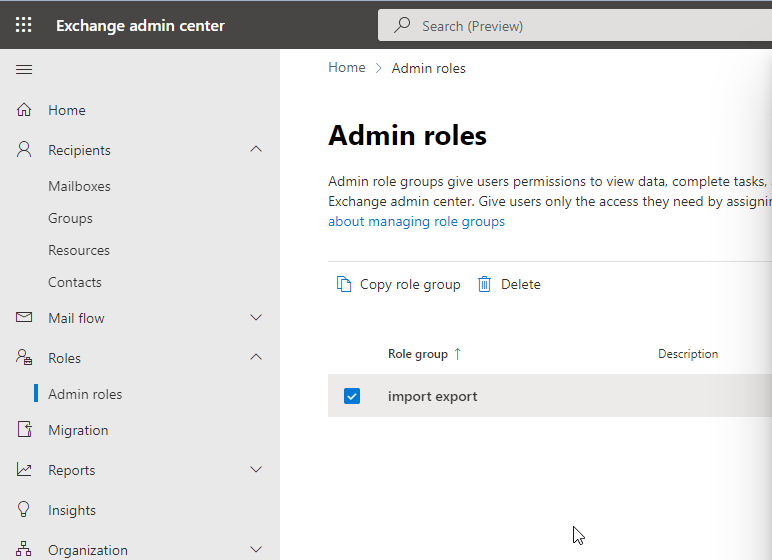
- Follow the instructions and select the user profile to assign the role.
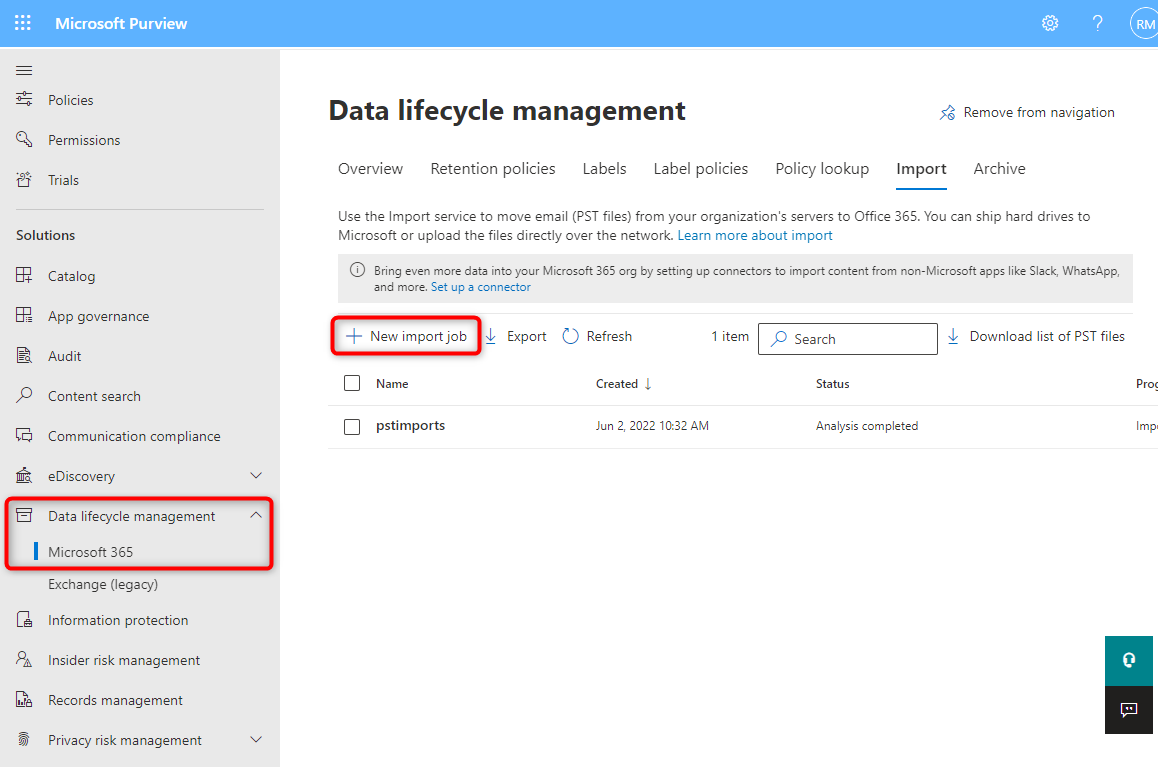
Step 3: Prepare Microsoft 365 Tenant
Go to compliance microsoft and log in using the global administrator credentials. Then, follow the below steps to create a SAS URL, required to upload and add PST files to Azure Storage.
- In Microsoft 365 dashboard, navigate to Data lifecycle management > Microsoft 365 > Microsoft 365 > Import.
- Click the +New import job option.
- Enter a name for the PST import job and click Next.
- Click Upload your data (for the Network Upload method) and click Next.
Note: Optionally, you can choose the ‘Ship hard drives to one of our physical locations' option. In that case, you will need to transfer all PST files to a hard drive, encrypt the drive with BitLocker, and ship it to one of the Microsoft data centers. Once it reaches, you need to pay $2/GB or $2000/1TB upload to Microsoft. They will then add your PST files to Azure storage from where you can import those into Office 365.
- Click Show network upload SAS URL and copy it.
- Click Download Azure AzCopy to download the tool on your system.
Step 4: Upload PST Files to Azure Storage
You can use the Azure AzCopy tool to upload all the PST files stored in the folder (collected in Step 1) to Azure storage. Make sure you have administrative rights on the system you are going to use for running the Azure AzCopy tool.
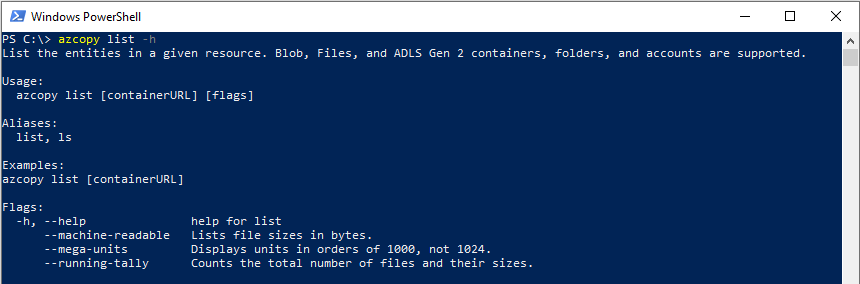
- Open PowerShell as administrator and navigate to the folder location using the cd command. For instance, if the Azure AzCopy (azcopy.exe) is stored on the Desktop,
cd C:/Users/YourUserName/Desktop/ - Then, run the following command to upload the PSTs from the folder to Azure Blob storage:
- Once the upload process is complete, go back to Microsoft 365 dashboard and check,
- ‘I’m done uploading my files
- ‘I have access to the mapping file
- Then click ‘Next.’
Step 5: Create CSV Mapping File
- On the next screen, you need to upload a CSV mapping file that maps the uploaded PST files with user mailboxes on Office 365. You can download this sample CSV file and then fill in the details, such as FilePath, Name, Mailbox, and TargetRootFolder.
It should look like this:

- You can edit this sheet in MS Excel or Google Sheets. Make sure to replace existing user account details before uploading the CSV file.
- On the next screen, click +Select mapping file and then choose the CSV file.
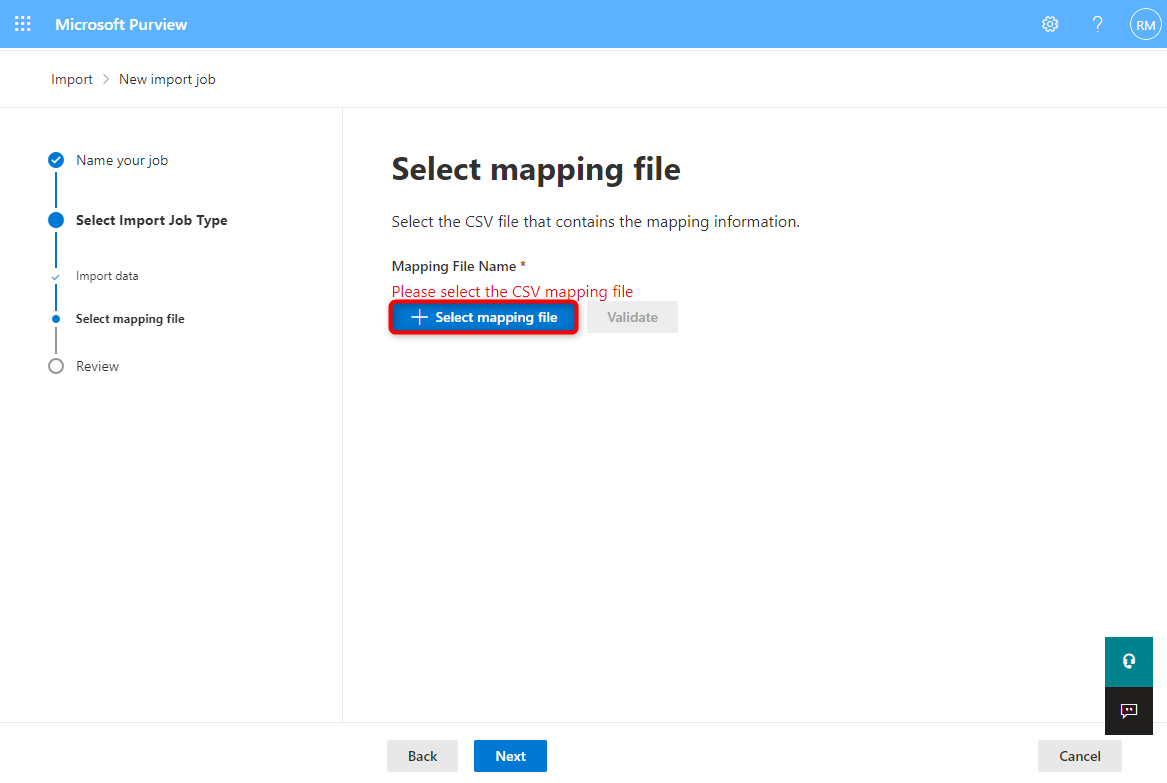
- After uploading, you must validate the CSV file. Once validated, click Next and follow the wizard to start the import process. Depending on the number of PST files and their sizes, it can take a while to complete.
Step 6: Monitor and Complete the Import Job
- Once the import job started, you need to monitor the import job for any errors or issues. You also need to track the import progress. Monitoring the import job will help ensure that the migration is proceeding smoothly. After the import job is complete, verify the imported PST files and mailbox data.
- Next, test and validate the migrated data and Office 365 settings. Once satisfied, you can share the login details of Office 365 with your users and let them log in and access their mailboxes.
Common Issues while Adding PST Files
There are some limitations of the Network Upload method that can lead to issues and may disrupt the migration process.
- Slow Migration
- Data Corruption
- Other Import Job errors, such as invalid file path, insufficient permissions, file format compatibility issues, etc.
However, if you are encountering these issues even after repeated tries and troubleshooting, use Stellar Migrator for Outlook software.
It is an advanced Outlook PST to Microsoft 365 migrator tool designed to help individuals, IT admins, and businesses to quickly upload, add, and import PST files of their users to Microsoft 365 (Office 365). It can save you significant time, effort, resources, and additional costs required for the manual upload and migration of PST files to Office 365.
All you need to do is launch the software and enter the credentials of the Microsoft 365 mailbox or the global administrator to upload the PST files as large as 50 GB with complete integrity.
It uses the secure Microsoft Modern Authentication to connect with Office 365 server and upload/import your PST files. It supports both Unicode and ANSI formatted PST files created in any Outlook version, including Outlook 2007, 2010, 2013, 2016, 2019 and 2021.
Conclusion
Adding PST files to Office 365 is a complex process that requires some level of expertise with PowerShell and Microsoft 365 administration. By carefully following the steps discussed in this guide, you can upload and import PST files from local storage to Office 365. However, to save time and cost, you can use Stellar Migrator for Outlook to upload multiple PST files to Office 365 simultaneously from multiple PCs or workstations. This also helps overcome network bandwidth and speed issues.


-1193.jpg)
 6 min read