

Once you have scanned and previewed a database file, you can convert and save the file in different database file formats by using Stellar Converter for Database.
Note: For saving the converted database file to the target database file format, you must establish a connection to the target database server.
Steps to Save Database to MS SQL Database
Step 1: In Convert and Save Database window, choose Database Type as MS SQL.
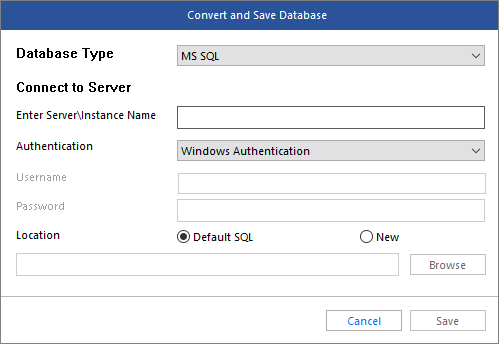
Step 2: Fill in the required details under Connect to Server, such as:
- Enter Server\Instance Name
- Authentication: Choose Windows Authentication or SQL Server Authentication method
Step 3: Save the converted database file to Default SQL location or to a New location.
Step 4: Click Save to complete saving the selected MS SQL database file.
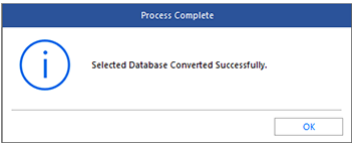
Step 5: When 'Selected Database Converted Successfully' message is displayed, click OK.
Steps to Save Database to MySQL Database
Step 1: In Convert and Save Database window, select MySQL from the Database Type drop-down list.
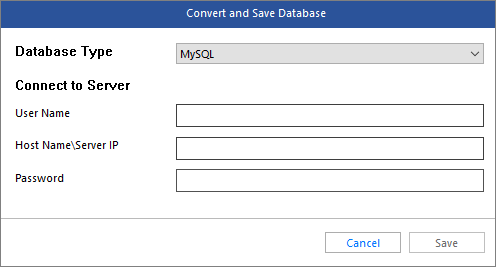
Step 2: Under Connect to Server, enter the following details:
- User Name
- Host Name\Server IP
- Password
Step 3: Click Save.
Note: For saving MySQL database, you must have MySQL 8.0 ODBC driver 32-bit installed on the system.
Step 4: When the Process Complete dialog box appears, click OK.
Steps to Save Database to MS Access Database
Step 1: In Convert and Save Database window, choose Database Type as MS Access.
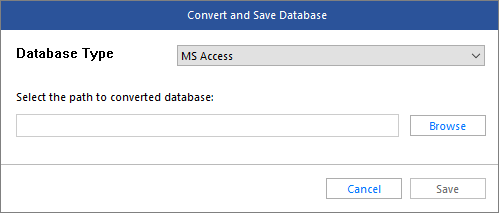
Step 2: Click Browse to select the location where you want to save the converted database file, and then hit the Save button.
Step 3: Click OK when the ‘Selected Database Converted Successfully' message appears.
Steps to Save Database to SQLite Database
Step 1: In Convert and Save Database window, select Database Type as SQLite.
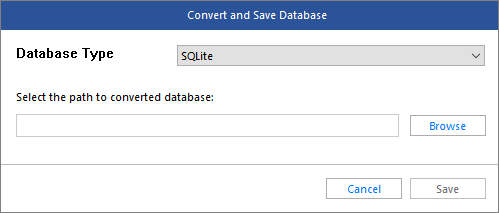
Step 2: Click Browse to choose the destination for saving the converted database file, and then click Save.
Step 3: Click OK to save the converted database file to your selected location.
Steps to Save Database to SQLAnywhere Database
Step 1: Open SQL Anywhere application, and create a new database file (.db) to save the converted database file’s data.
Step 2: In Convert and Save Database window, select Database Type as SQLAnywhere.
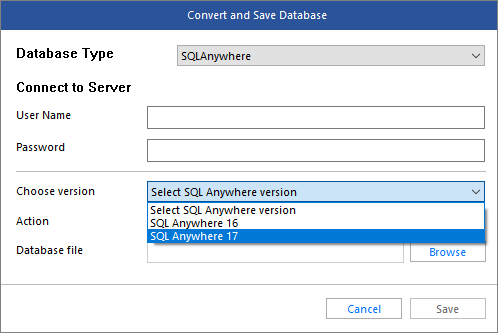
Step 3: Specify User Name and Password details under Connect to Server.
Step 4: Select SQL Anywhere database version from the Choose version drop down list.
Step 5: From Action drop down list, do the following:
- Select Connect to an offline empty database to save the converted database file to the new SQL Anywhere database file. Next, click Browse to find the destination of newly created database file in which converted data is to be saved.
- Select Connect to a running database to save the converted file to a live database, and provide the server name.
Step 6: Click Save.
Step 7: Click OK when the Process Complete window appears.


