The Post Office Protocol v.3 or POP3 email clients are a popular choice among small businesses due to their affordability and simplicity. However, they lack the advanced features and scalability of modern email solutions, like Microsoft 365.
To streamline email communications with enhanced security and advanced features, many businesses are moving from their POP3 email clients to Microsoft 365. Microsoft 365 also provides:
- Scalability
Provides options to quickly add or remove users and change the mailbox size. - Advanced Security
Provides advanced security measures, including multi-factor authentication, spam filters, anti-malware protection, threat intelligence, built-in encryption, and data loss prevention (DLP). - Integration with Other Microsoft Products
Seamless integration with other Microsoft products, including MS Office, OneDrive, SharePoint, etc. - Accessibility
Allows to access emails or other data from anywhere, at any time, and from any device with an active internet connection.
This article provides different methods for POP3 email client to Microsoft 365 migration and helps you choose the right migration method based on your business requirements.
Methods to Migrate Emails from POP3 Client to Microsoft 365
Below we have discussed different methods with stepwise instructions to help you migrate all the mail items from POP3 client to Microsoft 365.
Method 1: Copy and Paste the Emails
In this, you need to add your or users’ POP3 and Microsoft 365 accounts in Outlook and then manually move the mail folders and mail items from the POP3 mailbox to the Microsoft 365 using the Copy and Paste commands (CTRL+C and CTRL+P) or via drag/drop.
Follow these simple steps to move or migrate the emails from POP3 email to Microsoft 365:
- Create the user mailboxes on the Microsoft 365 tenant.
- Open Outlook and sign in using your POP3 email account.
- After the POP3 sign-in, add the Microsoft 365 account to the same Outlook client.
- After adding both accounts, you will see the mail folders and mail items in the POP3 account in the left pane.
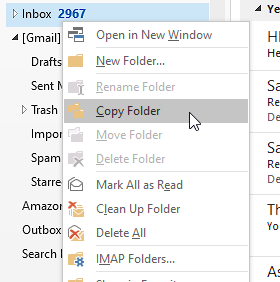
- To move the folder, you can right-click on the mail folder in your POP3 email account and then choose Copy Folder.
- Then create a new folder in your Microsoft 365.
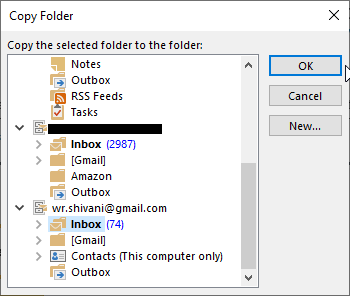
- From the Copy Folder dialog box, choose the mail folder in Microsoft 365 and click OK.
This will move the mail folder, along with all the mail items to the users’ Microsoft 365 account. However, the method has some notable limitations, such as:
- Takes a long time to copy and paste the emails. Not suitable if you need to move multiple POP3 mailboxes.
- Requires manual efforts and monitoring to avoid data loss or corruption.
- The folder structure is altered.
- Large emails or emails with multiple or large attachments are skipped.
- Chances of missing or unreadable emails.
- Bad or corrupt emails are not moved.
Method 2: Import PST Files into Microsoft 365
In this method, the user or administrator needs to export the mailbox to PST format using the Outlook Import/Export wizard and then import these PST files into Microsoft 365 mailboxes. Although this sounds quite simple, it is not. Migrating emails from PST files to Microsoft 365 is a long and tiresome process that requires significant effort. However, if done rightly, one can migrate single or multiple mailboxes from backup PST files to Microsoft 365 with integrity.
Below is the summary of the steps you need to perform to import PST files into Microsoft 365.
- Create user mailboxes on Microsoft 365.
- Ensure that you have sufficient administrative permissions to run the PowerShell commands with elevated privileges (Global Administrator and Mailbox Import Export role).
- Add POP3 users’ accounts in Outlook (if not already) and then use Outlook Import/Export wizard to save the mail items in individual PST files.
- Copy and paste all the exported PST files into a separate folder with the proper names.
- Ensure the folder containing the PST file is accessible.
- Create a PST Import Job on Microsoft 365 and copy the Azure storage URL.
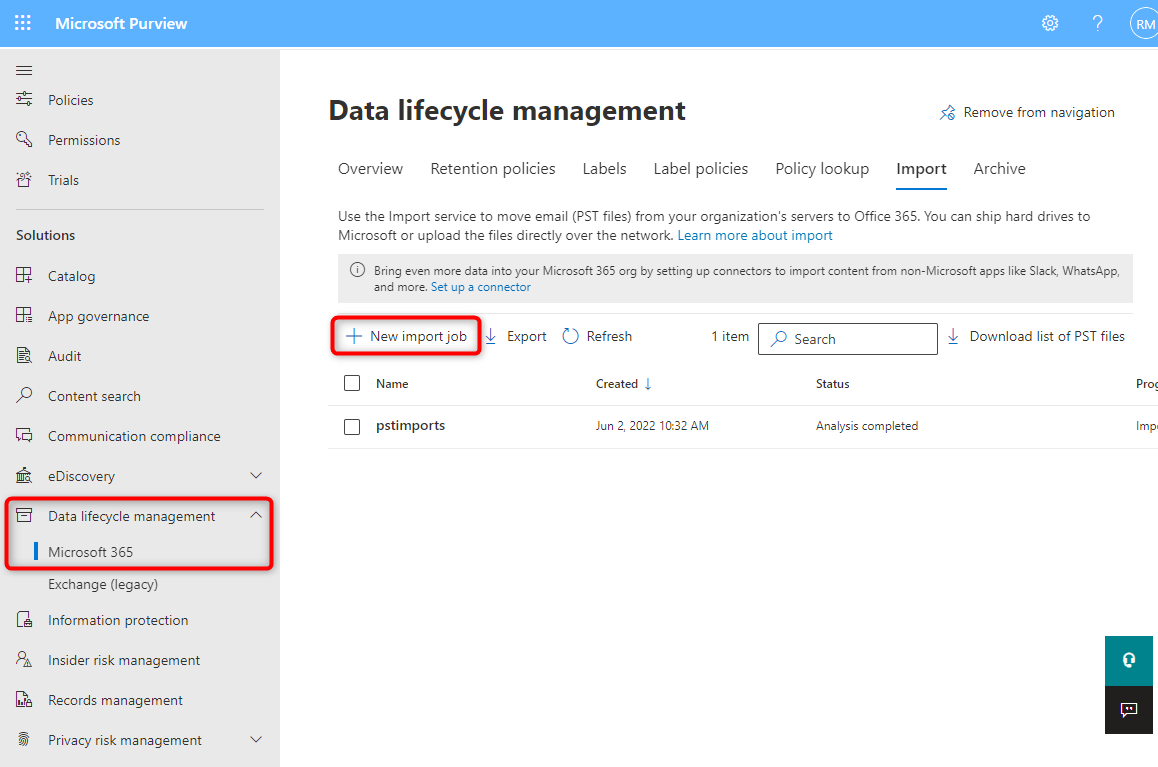
- Download the Azure AzCopy tool on your system and use the PowerShell commands to upload the PST files to Azure storage (Network Upload). You may also choose the Drive Shipping method to let Microsoft upload your PST files @ $2/GB or $2000/1TB.
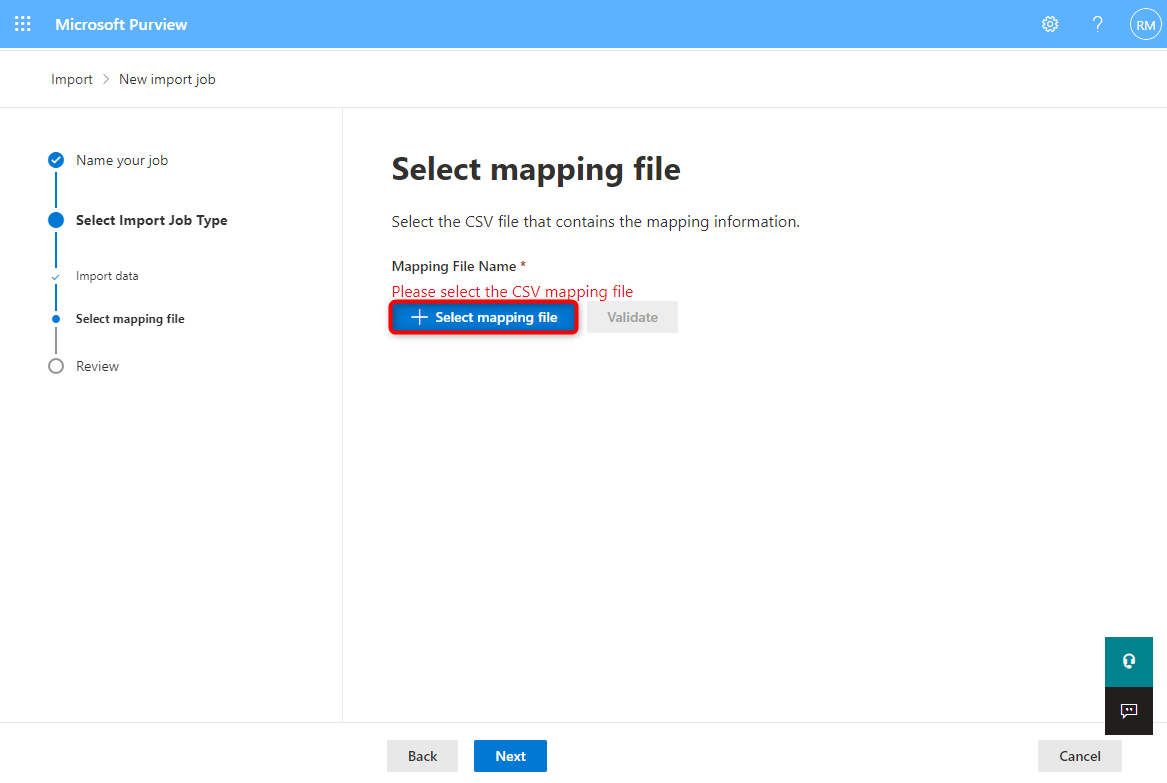
- Create a CSV mailbox mapping file containing the PST file names and the user’s Microsoft 365 email, along with a few other details.
- Upload the CSV file to Microsoft 365 PST import job and validate.
- Start the PST import job to start migrating the POP3 emails to Microsoft 365.
For detailed steps and instructions, follow the stepwise instructional guide on migrating emails from PST files to Microsoft 365 using the Network Upload method.
- It’s important to note here that this method has a few limitations, such as:
- You can upload PST files with sizes up to 20 GB.
- The Drive Shipping method is costly.
- If the mailbox has bad or corrupt mail items, they are skipped and not imported into Microsoft 365. This can lead to missing mail items and data loss.
- If the upload process is interrupted, you may need to start all over again. Thus, it’s recommended that you move PST files of POP3 email clients to Microsoft 365 in smaller batches.
Method 3: Use Stellar Migrator for Outlook
Stellar Migrator for Outlook is a revolutionary tool for IT admins and email administrators who are assigned with the task of moving the emails of the POP3 users to Microsoft 365. Unlike the above two manual methods, Stellar Migrator for Outlook simplifies the process of mailbox migration from POP3 clients to Microsoft 365.
It offers an intuitive user interface where you can add the POP3 PST files (exported from Outlook) and then export them directly to the user’s Microsoft 365 mailbox in a few clicks. All you need is the credentials of the user’s Microsoft 365 email account or the global administrator password.
It also offers some advanced features, such as:
- Imports PST files into Microsoft 365 using Microsoft Modern Authentication
- Allows splitting the mail items
- Option to select or unselect mail folders and items during the import process to conserve the mailbox storage
- Previews all the mail items
- Maintains the original folder structure and mailbox hierarchy during the upload process
- More affordable and convenient as it comes with cloud-based licensing and pay per mailbox plan
- Supports Outlook 2007, 2010, 2013, 2016, 2019 and 2021
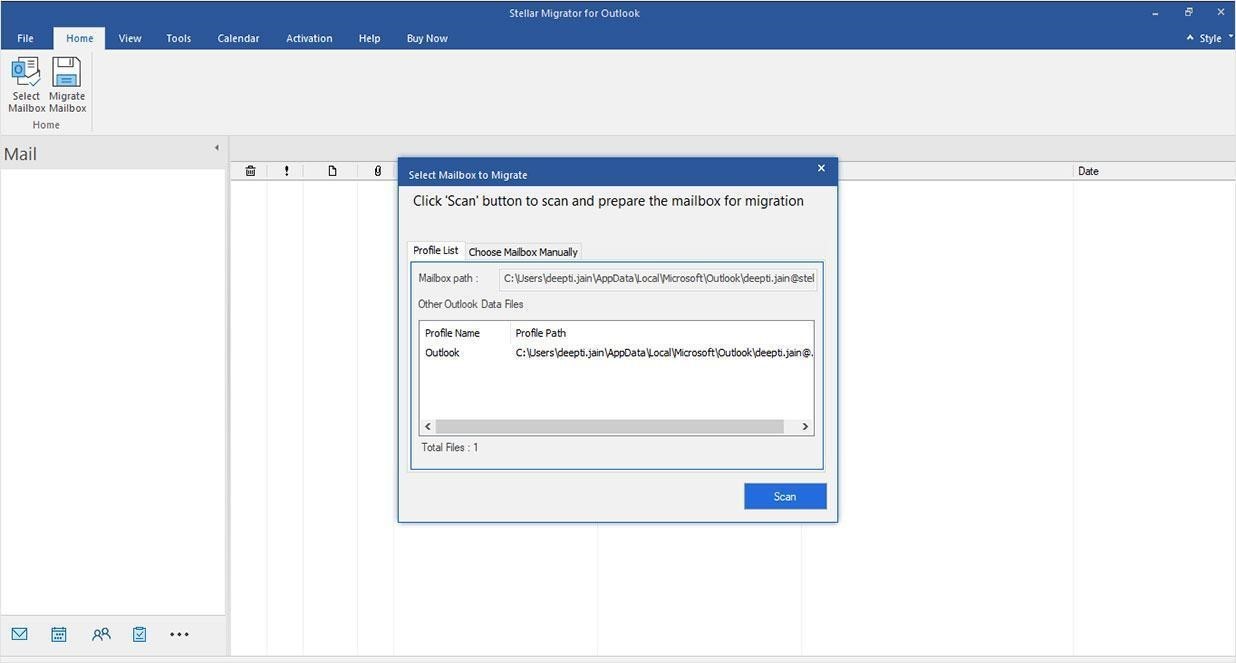
Steps to Migrate POP3 emails (PST Files) to Microsoft 365 using Stellar Migrator for Outlook:
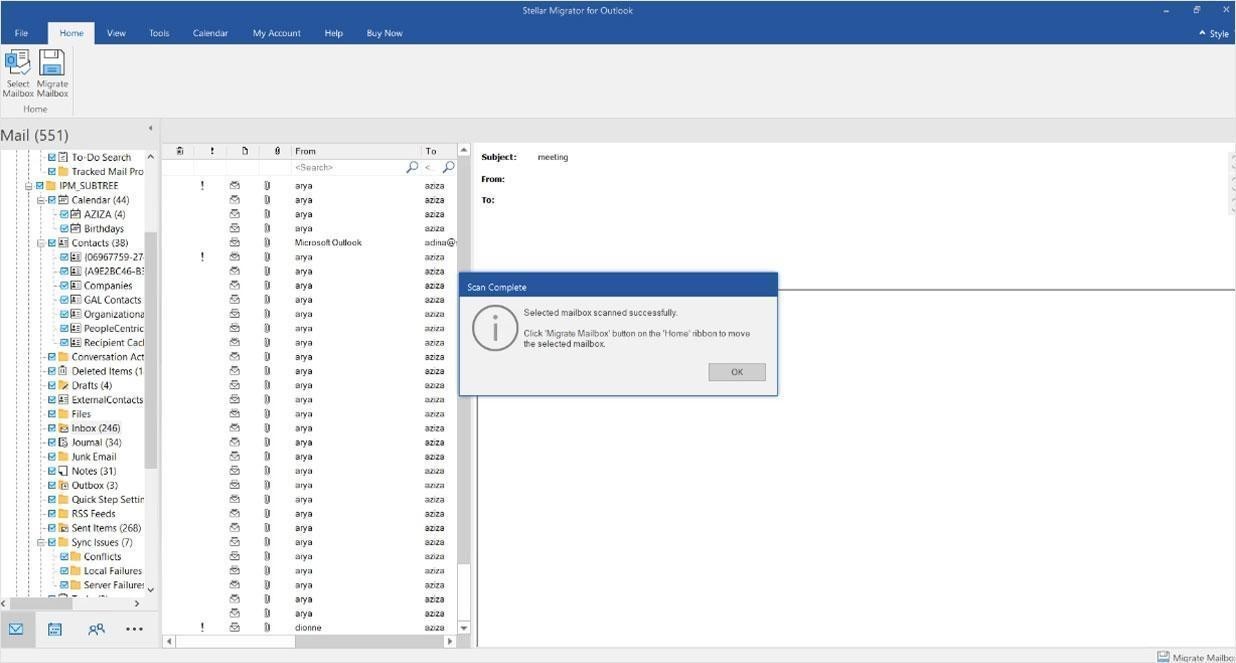
Step 1: Select the PST file and start the scan.
Step 2: Preview and select the mail items and folders for the migration.
 z>
z>
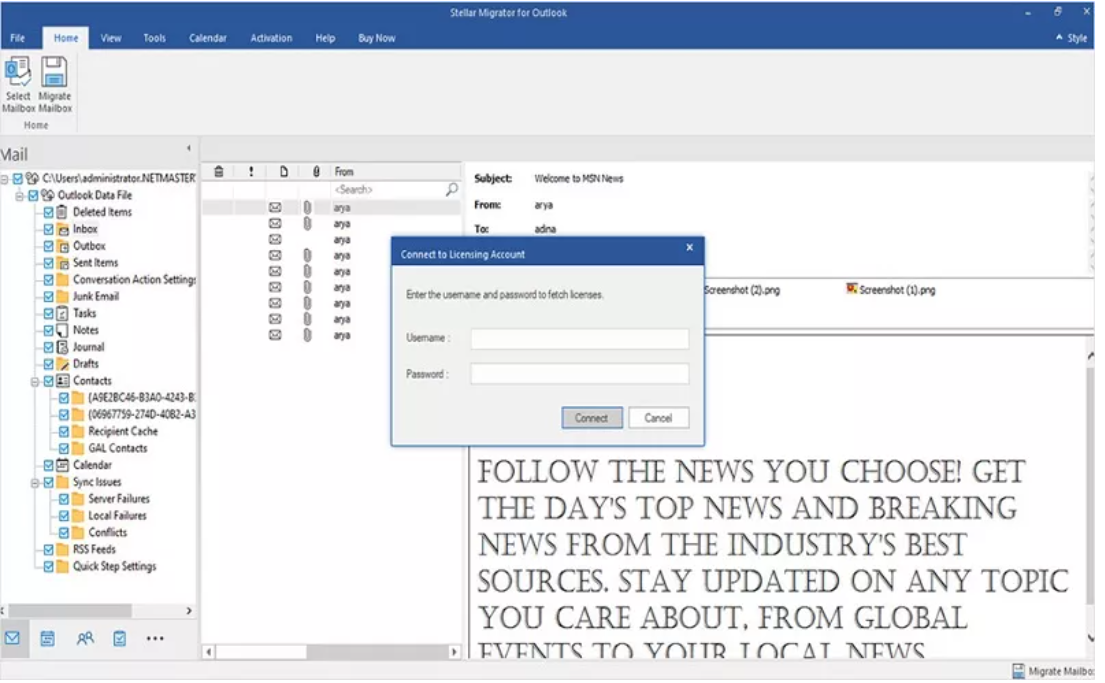
Step 3: Enter the Stellar® cloud credentials.
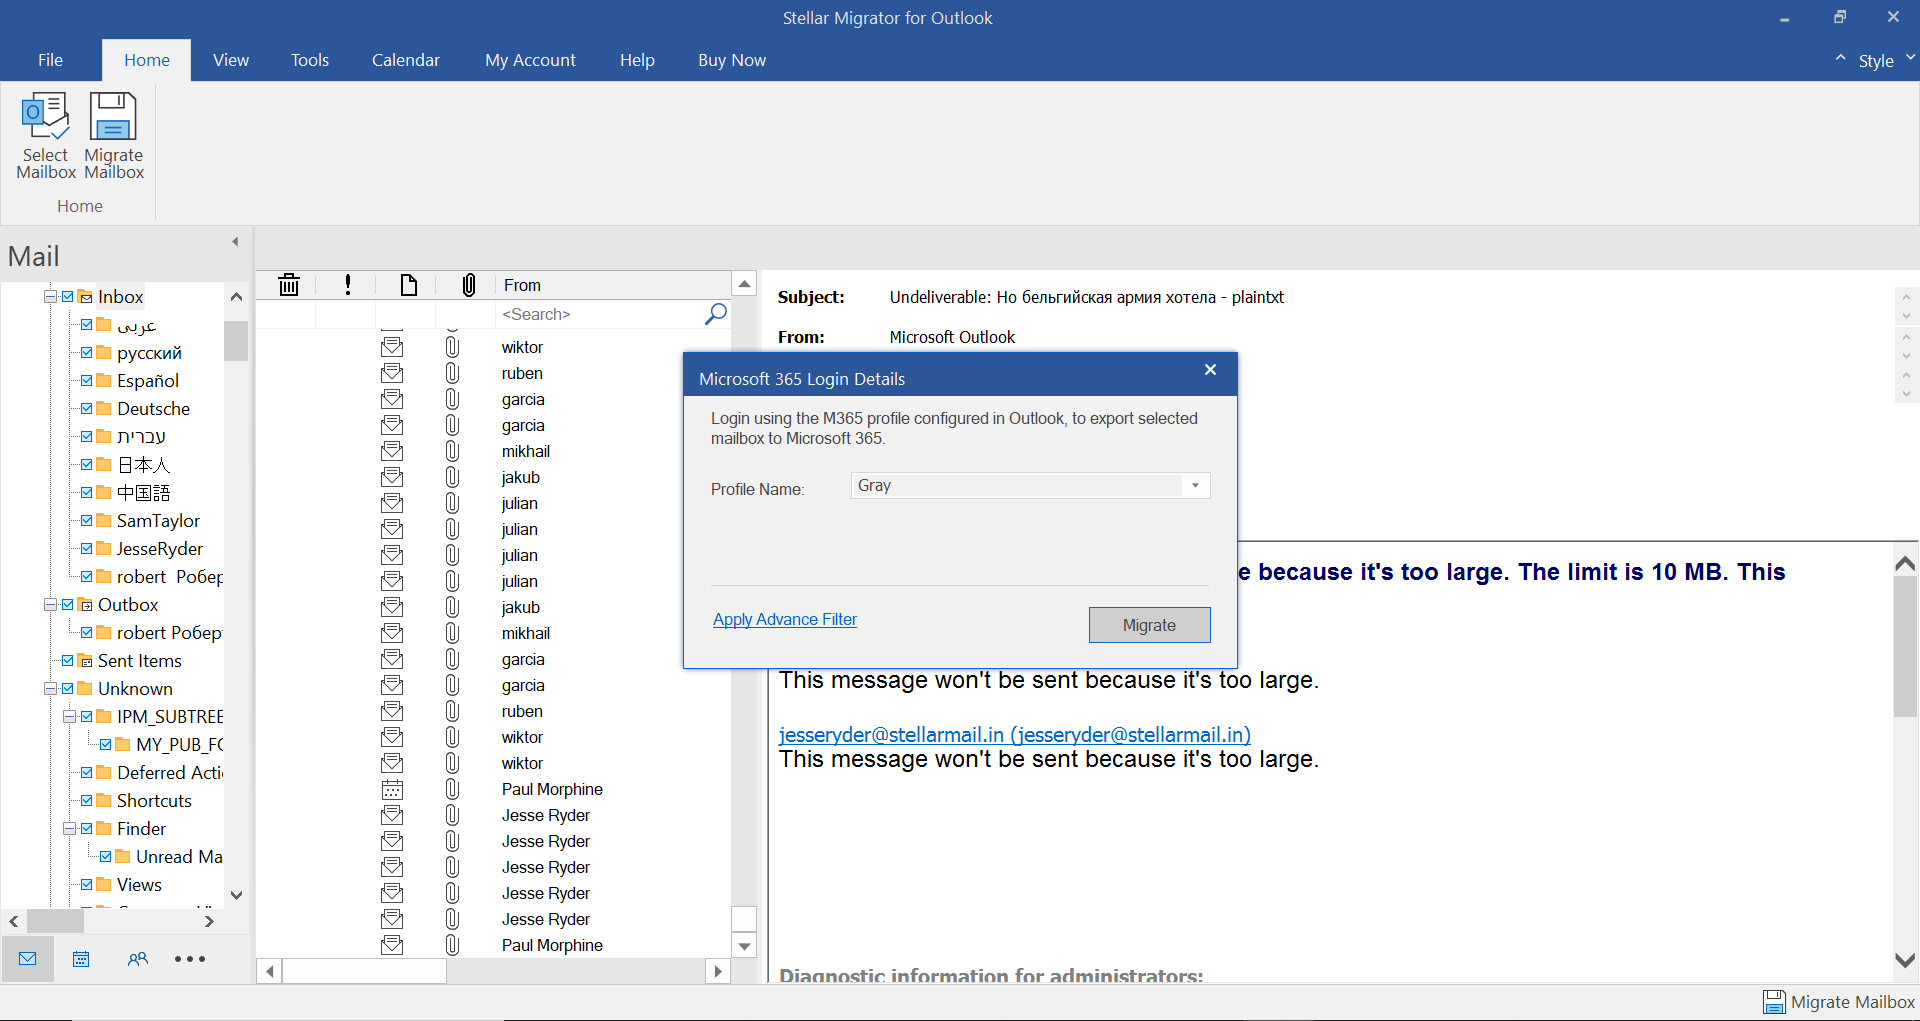
Step 4: Select the Microsoft 365 profile to start the migration process.
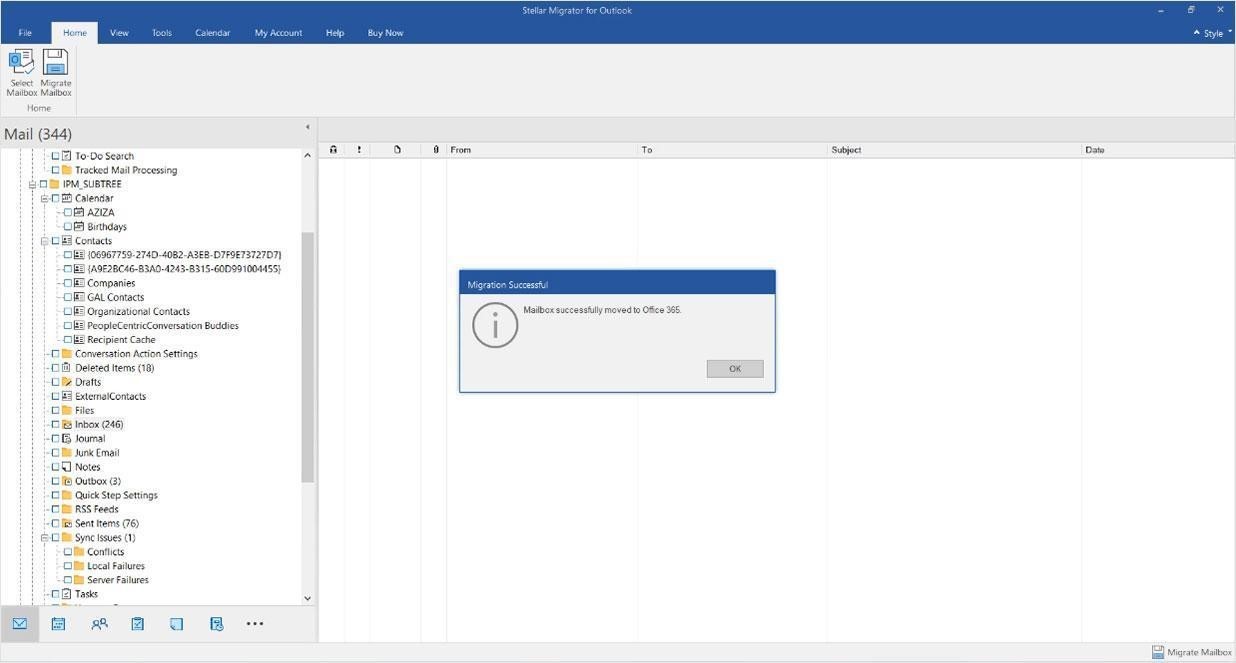
Step 5: A POP window will appear showing the migration is successful.
Conclusion
Migrating from POP3 to Microsoft 365 could be a daunting task, especially when you need to manually migrate several mailboxes from POP3 clients or mailbox servers to Microsoft 365. This article discusses three different methods to help you migrate all the mailboxes from the POP3 email client to Microsoft 365 tenant. The first two methods are recommended when you have a few mailboxes or PST files to migrate to Microsoft 365. Use the Stellar Migrator for Outlook software to migrate all the POP3 mailboxes to Microsoft 365 without any errors or issues.


-1193.jpg)
 5 min read