

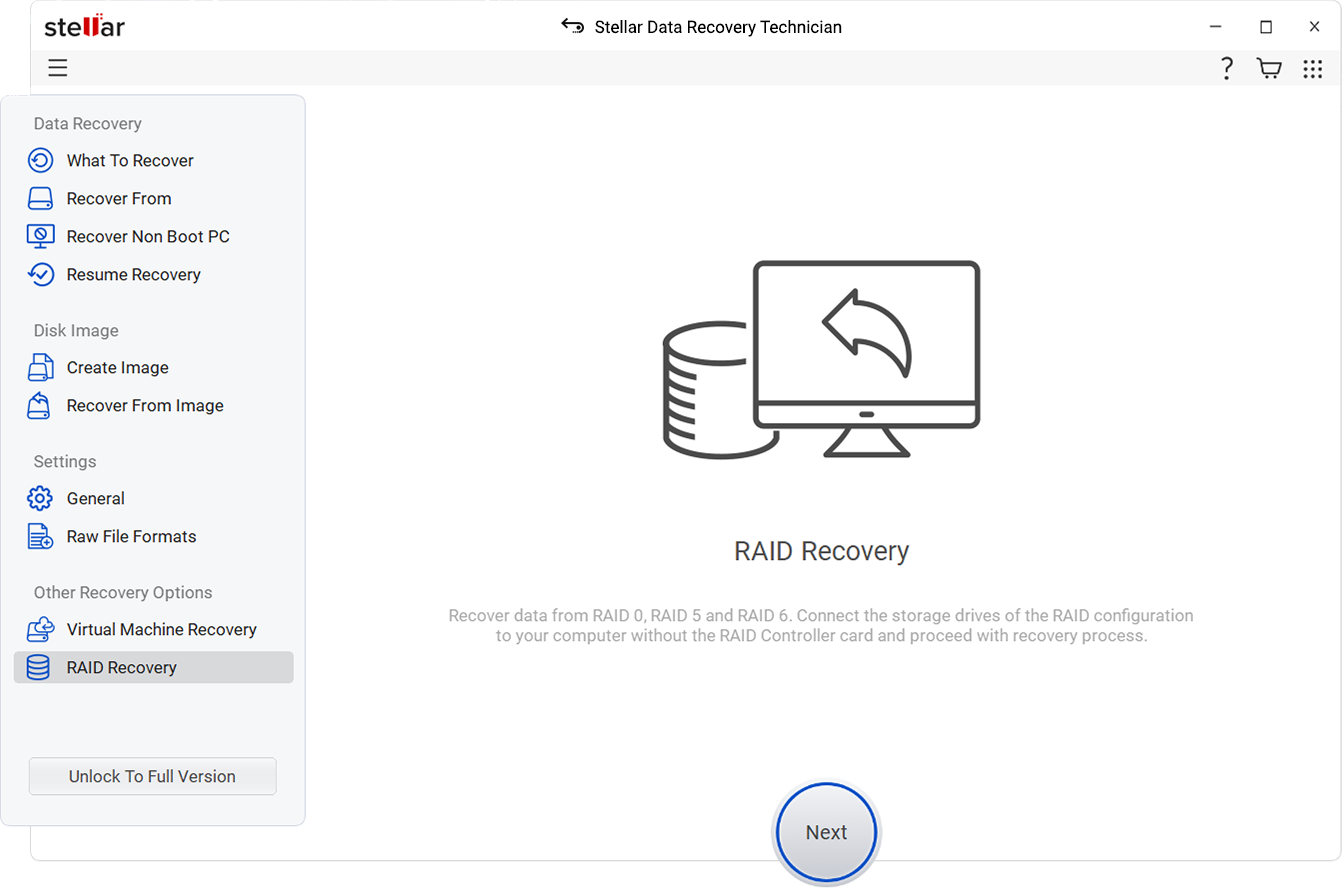
With Stellar Data Recovery Technician, you can recover deleted data from a RAID drive even if it’s logically corrupt or accidentally formatted.
To recover deleted data from the RAID drive, follow the below given steps
- Download and install the Stellar Data Recovery Technician software.

- Remove all the hard disks from the RAID 0, RAID5, or RAID 6 rack (whichever you using).
- Use HDD enclosures or SATA to USB 3.0 or 2.0 connector cables to connect each hard drive to Windows PC. Use a USB hub if the USB ports are less on your PC or laptop.
- Run Stellar Data Recovery Technician software.
- Checkbox for ‘All Data’ to recover the entire data from a failed RAID 0, RAID 5, or RAID 6 array and click the ‘Next’ button. A ‘Recover From’ window appears.
- Select the ‘Raid Recovery’ checkbox and then click the ‘Scan’ button. A new ‘RAID Construction’ Window appears.
- Click on the RAID 0, RAID 5 or RAID 6 tab depending on what type of RAID you were using when the data got deleted. All the hard disks connected to the system are visible under ‘Select Hard drives to reconstruct RAID’ list box.
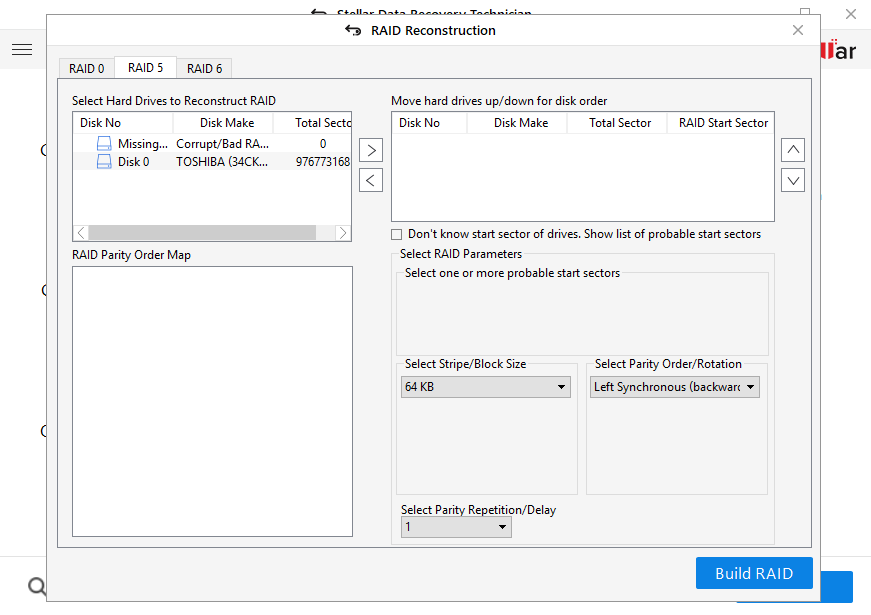
- Click on a hard disk and use the arrow button to add or remove RAID drives from the ‘Select Hard drives to Reconstruct RAID’ list box to ‘Move hard drives up/down for disk order’ list box.
- You can use the Up or Down arrow buttons, adjacent to the list view box, to arrange disks in sequence (sequence starts from Disk 0). Note that you arrange the disks in the same order as they were in the respective RAID stack.
- Check the ‘Don’t know start sector of drives. Show list of probable start sectors’ checkbox: only if you don’t know the start sector of the drive. A new checklist box appears in the ‘Select RAID Parameter’ section.
- Choose one or more probable start sectors or add desired start sector in text box & click the ‘Add Sector’ button if it’s not listed in the checklist box.

- Choose stripe or block size from the ‘Select Stripe/Block Size’; Select parity order or rotation from the ‘Select Parity Order/Rotation’ dropdown; and then select the parity repetition or delay from the ‘Select Parity Repetition/Delay’ dropdown. These values are known to the RAID admin or user who built it.
- After adding and selecting the respective RAID parameters in the software, click the ‘Build RAID’ button.
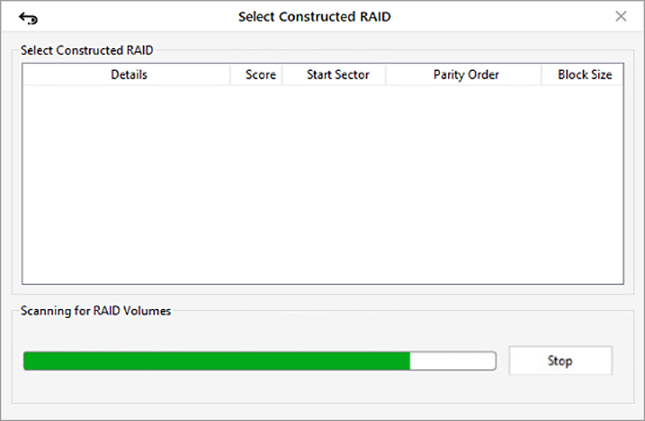
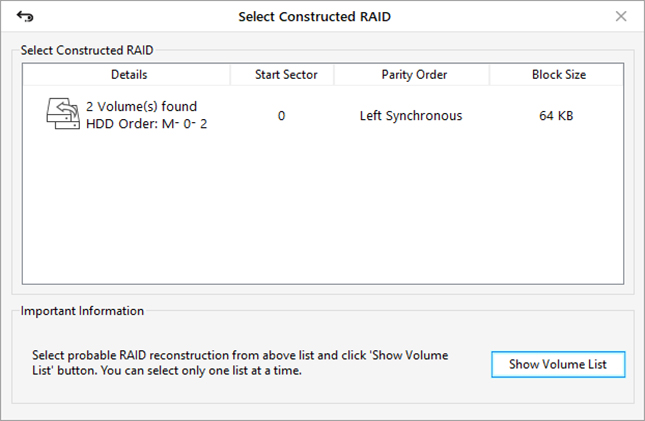
- Wait until the software reconstructs your RAID volume. After construction is finished, constructed RAID volume (or volumes) are displayed in the ‘Select Constructed RAID’ window. Click on ‘Show Volume List’ button.
- In ‘Select Volume to Recover Data’, choose the volume from the listed volumes of RAID – from where data is to be recovered.
- After selecting the RAID volume, click the ‘Scan’ button. Wait until scan finishes.
- If the desired files are not found in the scan results, click on blue colored ‘Click Here’ link beside Deep Scan text at the bottom of the software to start ‘Deep Scan’ process.
- If you are able to preview your desired files in the 'Stellar Data Recovery Technician’, it means data can be recovered.
- In the left ‘Tree View’ pane, you can see all recovered folders and files. Use the search box on top-right corner to search, preview, and recover specific files and folders. Alternatively, you can click on the ‘File Type’ tab to easily recover required data.
- Check the checkboxes of the files and folders that you want to recover, and then click the ‘Recover’ button. A pop up appears.
- Click the ‘Browse’ button to select the location where you want to save the recovered data. Again, make sure not to select the drive which was in the RAID array and is now connected to your PC. Use an external disk or internal disk with enough space to save recovered data.
- Click the ‘Start Saving’ button.
The selected recovered files and folders are saved at the desired location.


