

Stellar Data Recovery Technician edition repairs damaged photos stored in any storage media or removable devices like pen drive, memory card, etc. with ‘Photos’ option under ‘Multimedia files’ section.
Follow these steps to repair photos:
- Launch the software – Stellar Data Recovery Technician.

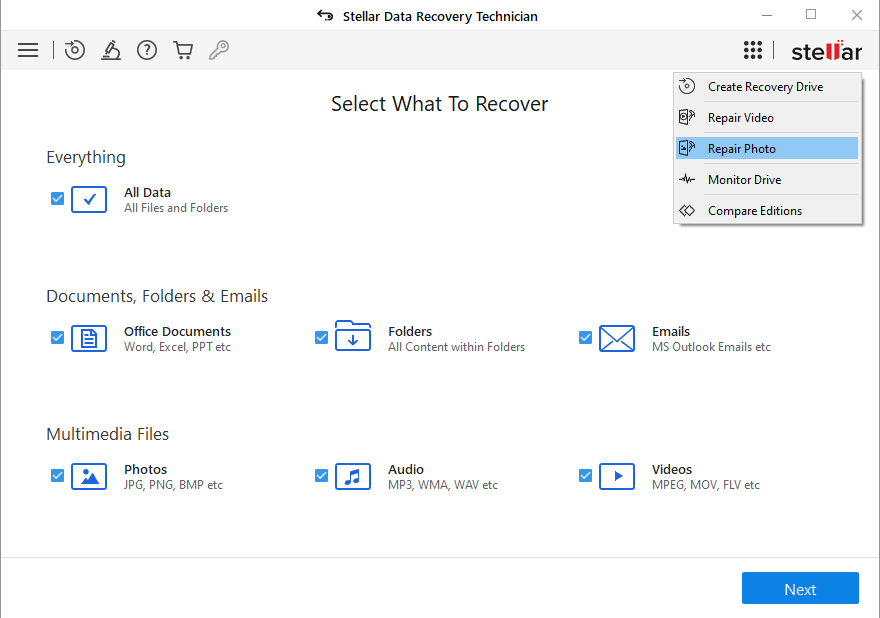
- Click the ‘Repair Photo’ option in waffle menu seen on "Select What To Recover" screen.
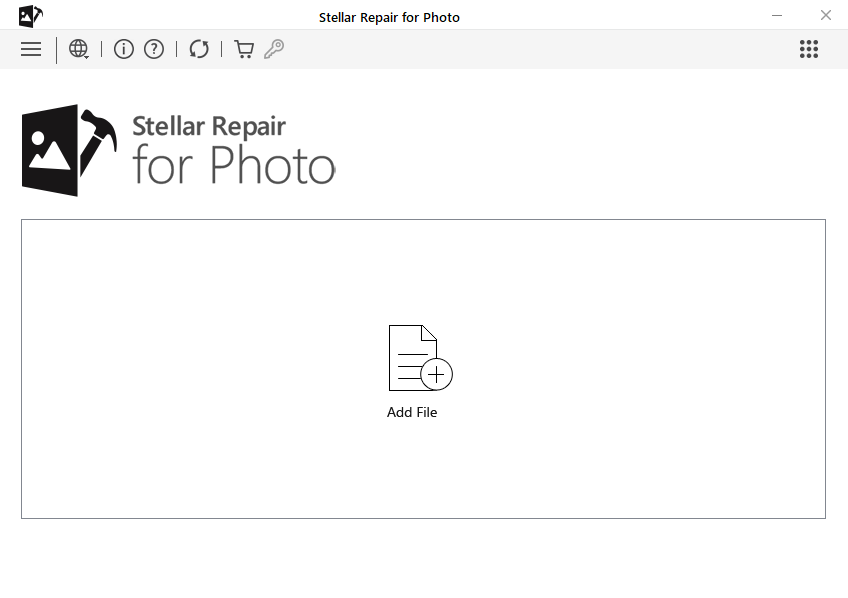
- The software directs you to the main interface of Stellar Repair for Photo. Add the corrupt or damaged photos of RAW or any other image formats such as CRW, DNG, NEF, TIFF, JPEG/JPG, ORF, PEF, etc.
- You can scan and repair multiple image files simultaneously using this feature of the software. The software lists down all the added photo files. Click ‘Repair’ button.
- Once the repair process is complete, a pop-up window displays the “Repair complete” status.
- Preview the repaired photos by clicking the ‘Preview’ option.
- Click “Save Repaired Files”. A dialog box appears with a prompt to ‘Browse’ for the location.
- Select the location, and click ‘Save’. The software displays a dialog box “Saving Complete”.
- Click on the link “Click Here” to view the repaired photos in the folder.
The software repairs severely corrupt photos by using ‘Advance Repair’ option. This feature is available for JPEG/JPG file only. You need to upload a working ‘Sample File’, as the software uses the information from this sample file to repair the damaged photos.
| Note: The sample file should have been captured by using the same imaging device as for the corrupted file, and the file should be available in JPEG/JPG format. |
Steps for Advanced Repair
- Click “Advance Repair” option. The following screen appears. Click “Next”
- Browse and choose a Sample File, as per specifications. Next, select the checkbox for “Apply to all JPEG of the same format”. The selected jpeg file is the sample file for the software to repair the corrupt JPEG files. Click Repair to start the photo repair process.
- The ‘Repair complete’ dialog box appears. Next step is to preview and save the repaired photos.
- Preview the repaired photos by clicking the ‘Preview’ option.
- Click “Save Repaired Files”. A dialog box opens appears with a prompt to ‘Browse’ for the location.
- Select the location, and click ‘Save’. The software displays a dialog box “Saving Complete”.
- Click on the link “Click Here” to view the repaired photos in the folder.


