

SpeedUp Mac software preferences provide seven broad categories of settings that can help you customize the tool according to your requirement. This knowledge byte shares how to set software preferences on Mac running on macOS Big Sur or earlier.
Set SpeedUp Mac Preferences
To set SpeedUp Mac preferences, perform the following steps:
i) Launch SpeedUp Mac to find the last menu bar option as Preferences.
ii) Click the Preferences tab to access the seven preferences categories in the sidebar—General, Folder Search, Languages, Files, Cleanup, Scheduler, and Ignore List.
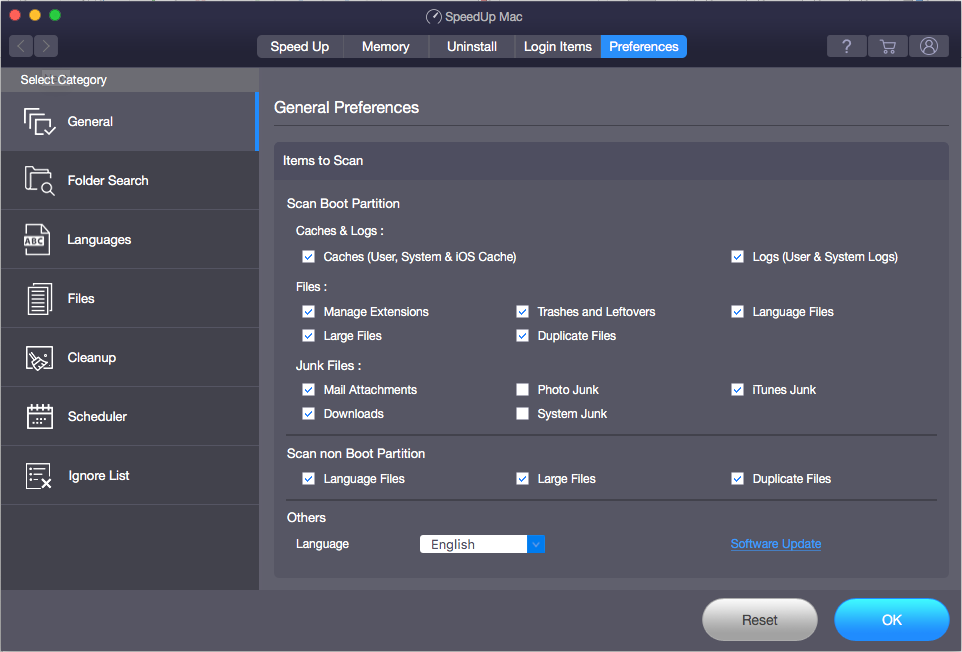
1. Set General preferences:
i) In Preferences, the General tab is open by default. Specify preferences for boot and non-boot partition from the right pane.
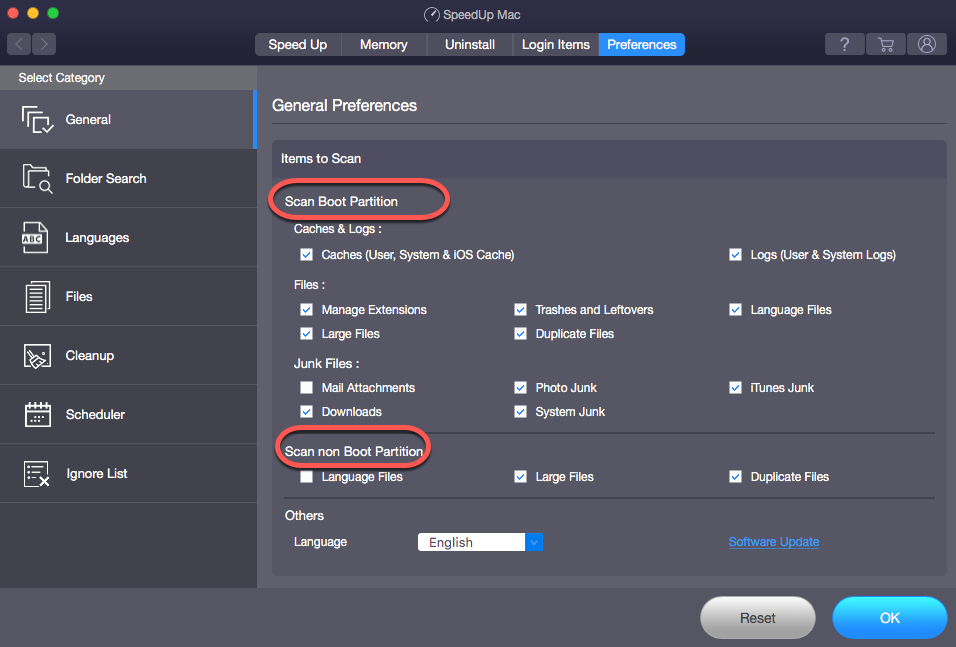
ii) To save the preferences, click OK. Else, click Reset to revert to the last saved general preferences.
2. Set Folder Search preferences:
i) Click the Folder Search tab from the sidebar and select a boot or non-boot partition tab.
ii) Click Add to select the folder to look for Apps’ language resources. In case you want to remove the opted folder, click Remove.
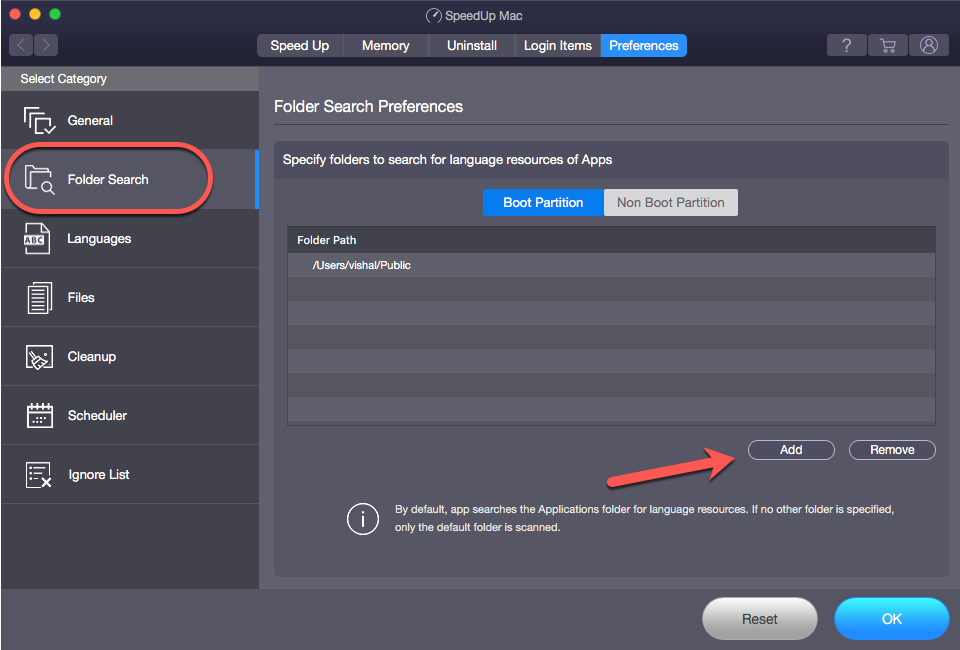
iii) Click OK to save the preferences; else, click Reset to revert to the last saved Folder Search preferences.
3. Set Languages preferences:
i) Click the Languages tab from the sidebar.
ii) From the list of languages, select the language checkbox you want the software to scan for deletion.
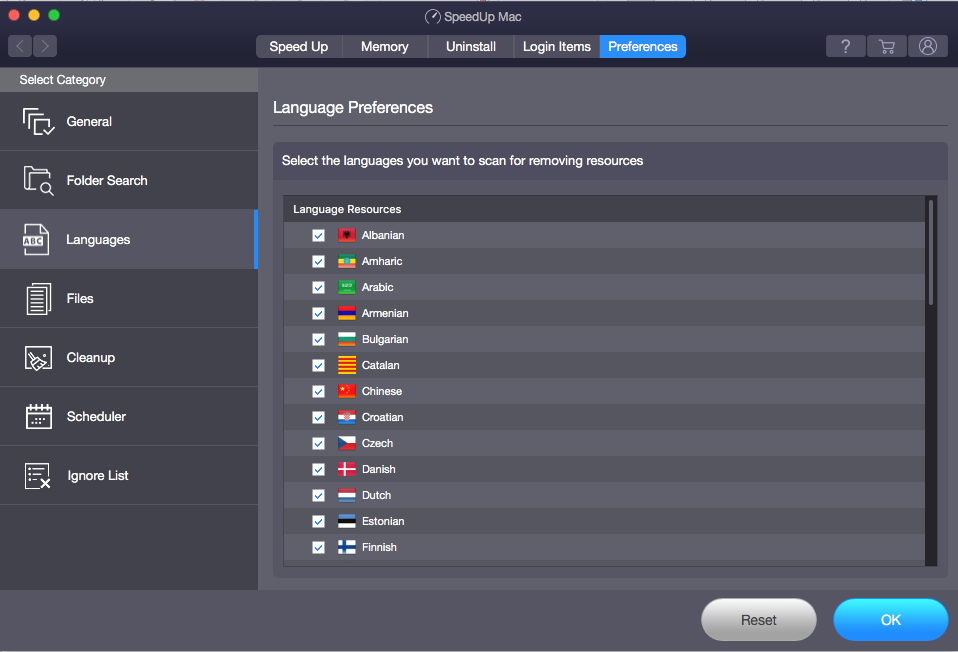
iii) Click OK to save the preferences. Else, click Reset to revert the preferences to the last saved.
4. Set Files preferences:
i) Click the Files tab. The Large Files tab is active by default.
ii) Type the file type or select from the drop-down list. Click Add to add all extensions under that group to the list box.
iii) If you want to remove any file extensions, select them from the list box and click Remove.
iv) In the Scanning option, either go with the default Scan for specified files only, or if you want to exclude listed files, select Scan excluding specified files.
v) Specify the file size in Size greater than drop-down box to scan for the specified size of files.
vi) In the Not Accessed drop-down box, choose the number of month/year to instruct the software to scan large files that are not accessed during that time.
vii) Click OK to save the preferences. Else, click Reset to revert to the last saved.
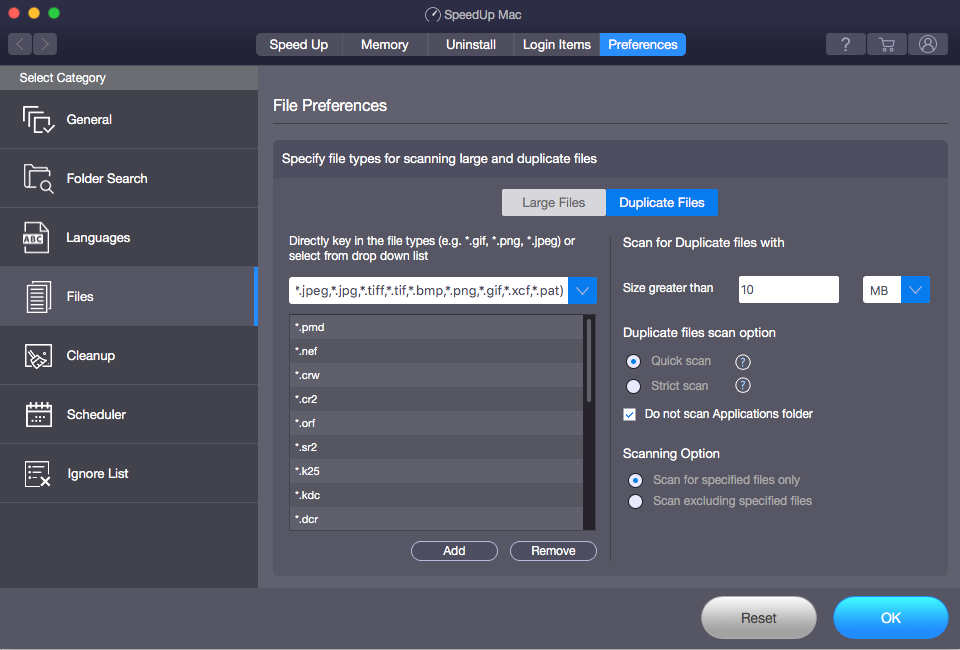
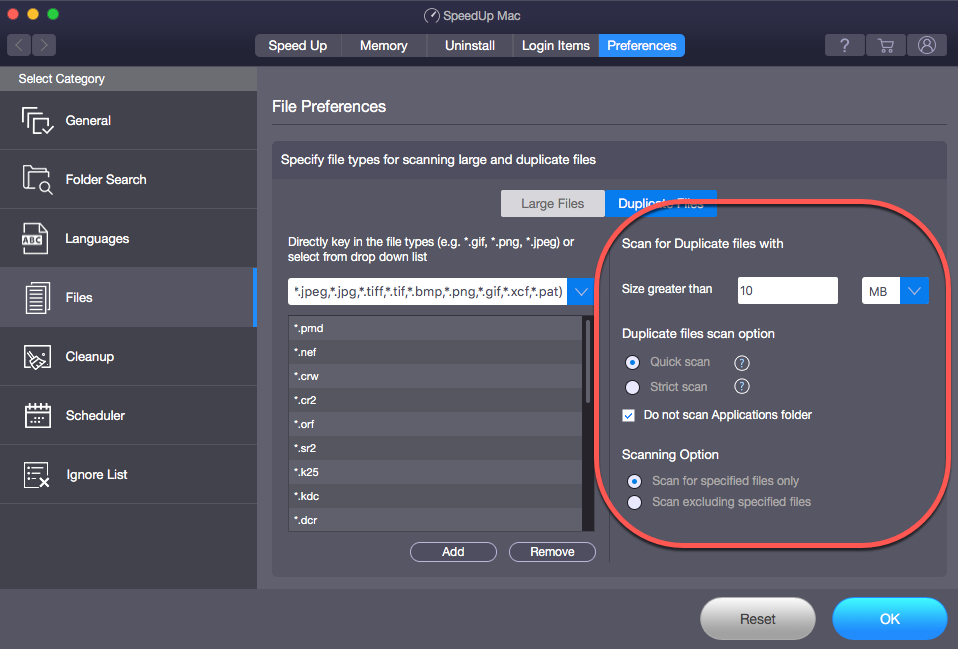
To set preferences for duplicates, perform the following:
i) Click the Duplicate Files tab. Enter the file type or select from the drop-down list, then click Add. To remove any file type, select it, then click Remove.
ii) Specify the duplicate file size in the Size greater than text box. Also, specify the size unit in MB or otherwise.
iii) In the Duplicates files scan option, select Quick scan or Strict scan. Also, in the Scanning Option, select Scan for specified files only or Scan excluding specified files.
iv) Click OK to save or click Reset to restore the last saved preferences.
5. Set Cleanup preferences:
i) Click the Cleanup tab to set cleanup preferences.
ii) Select the required checkboxes to play sound, enable automatic uninstaller, enable trash status monitor size, enable automatic trash cleanup from the external device, etc.
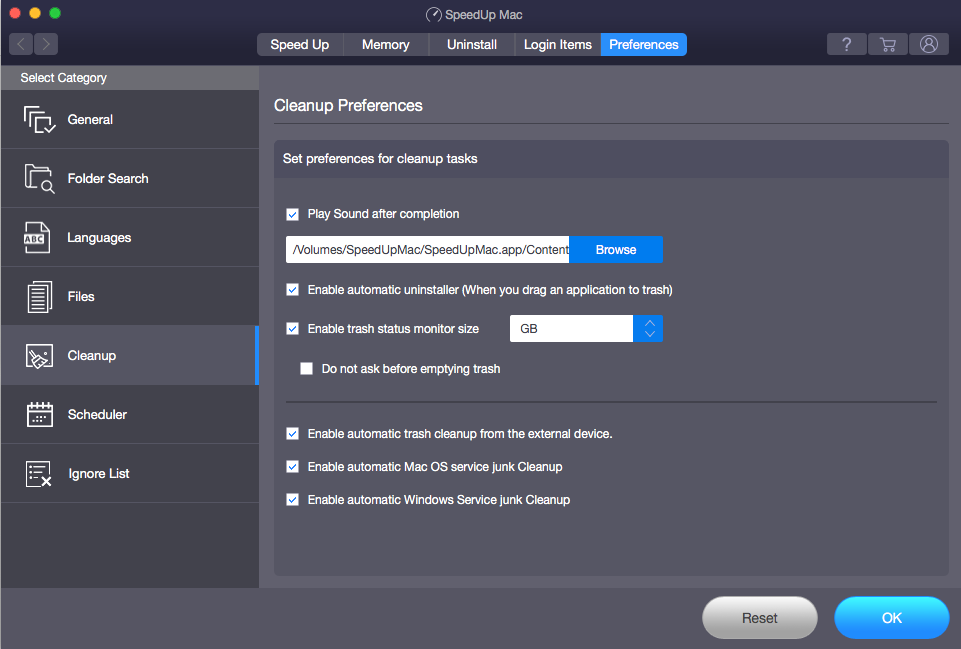
iii) Click OK. To revert to the last saved preferences, click Reset.
6. Set Scheduler preferences:
i) Click the Scheduler tab to instruct the software to scan for junk files automatically at the specified time and frequency.
ii) To schedule Speedup Mac activities, select the Launch SpeedUp Mac automatically checkbox. Specify Daily or others from the spin box.
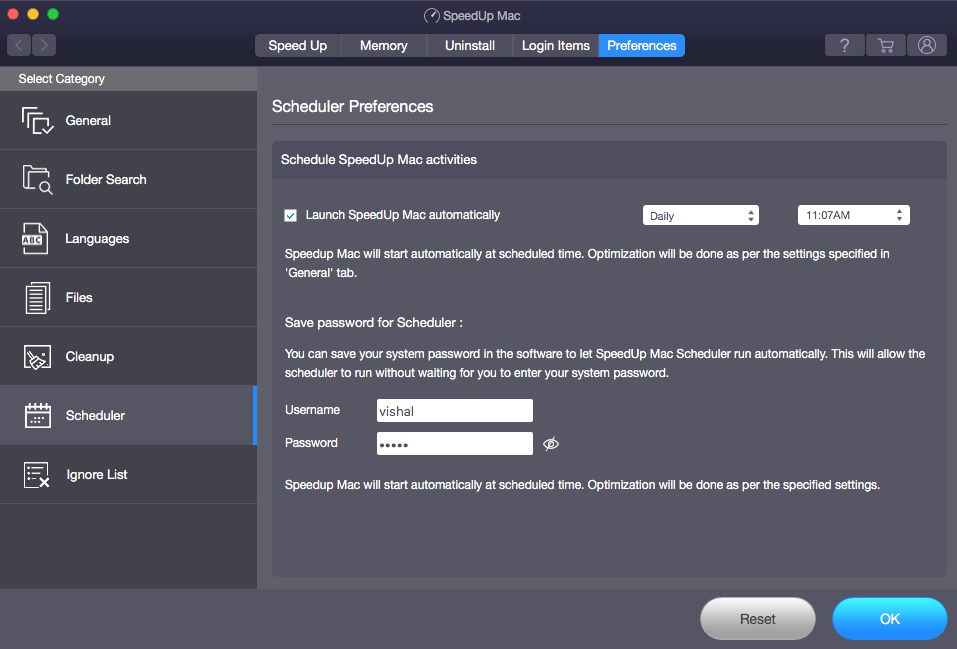
iii) Specify Username and Password to let the software initiate the scheduler without your intervention.
iv) Click OK to save the scheduler preferences. If you want to revert to the last saved preferences, click Reset.
7. Set Ignore List preferences:
i) Click the Ignore List tab. To select large files and apps to add to the Ignore List, click Add.
ii) If you want to remove the added files and apps in the Ignore List, click Remove.
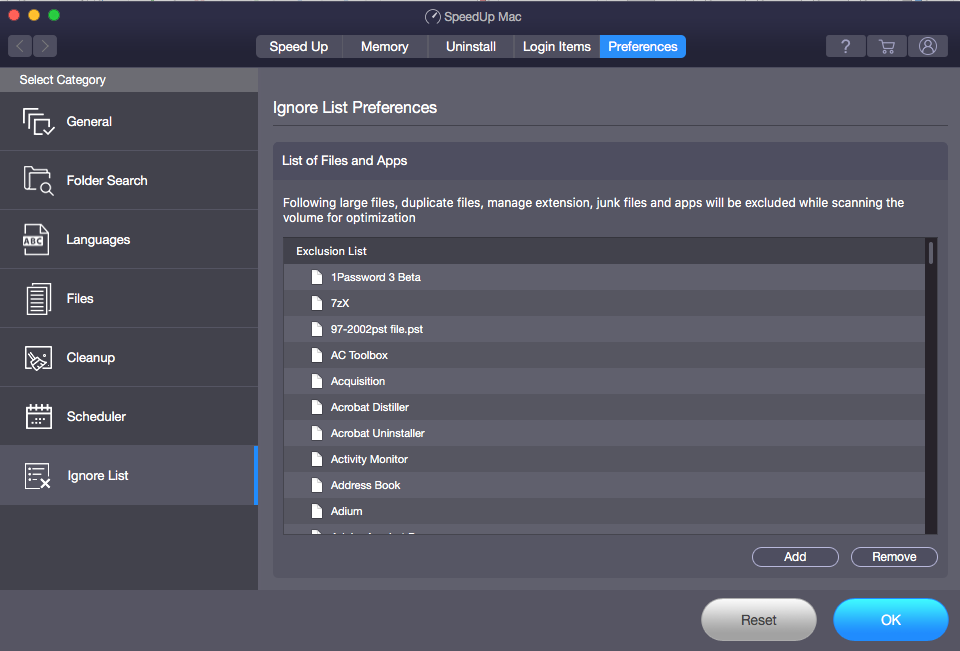
iii) To save the preferences, click OK. Else, click Reset to revert to the last saved preferences.
If you need more information about SpeedUp Mac software, get in touch with Stellar Support.


