

In this Knowledge Base, know how to perform hardware RAID recovery using Stellar Data Recovery Technician software to recover lost or deleted data from hardware RAID, be it RAID 0, RAID 5, or RAID 6 array. The steps to do so are as follows:
- Download and install Stellar Data Recovery Technician software on a Windows system

| Note – Before downloading, check the minimum System Requirements for the software. |
- Dismantle the hard drives from the RAID array (RAID 0, 5, or 6 as the case may be)
- Connect the hard drives of RAID array to the Windows system on which you have installed the software using USB connector cables
| Note – You can connect the hard drives individually; however if the number of USB ports on your system/PC is not enough to connect all the drives, use a USB hub. |
- Run Stellar Data Recovery Technician
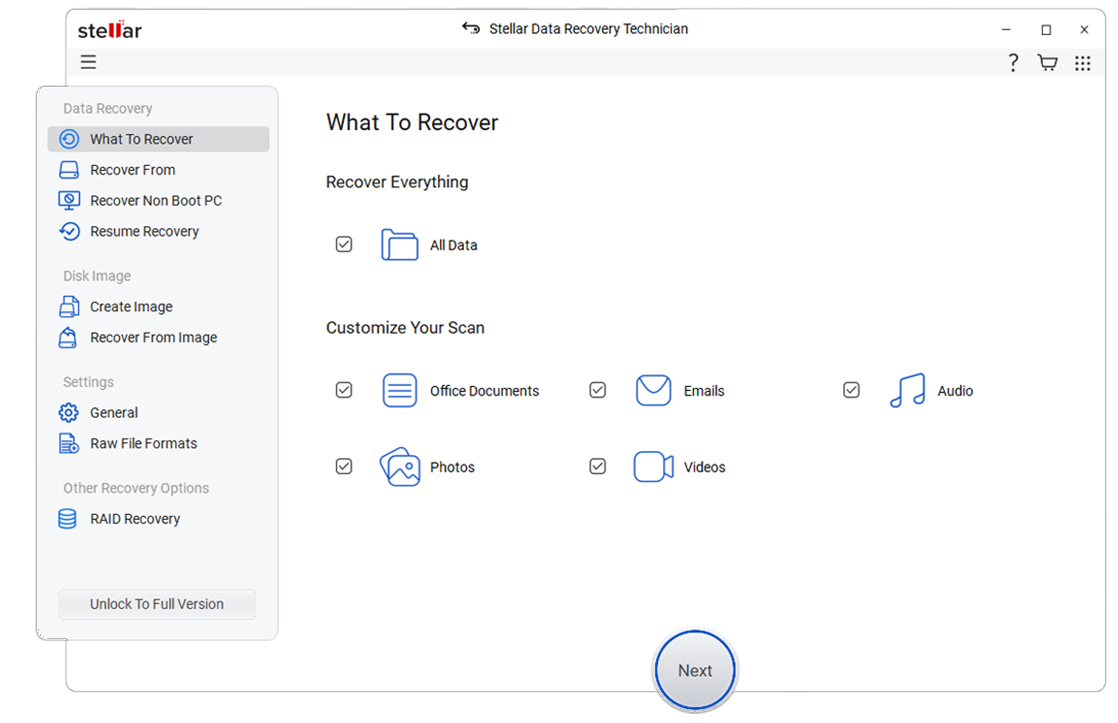
- In the first screen ‘Select What To Recover’ that appears, select the type of data that you want to recover by checking the respective boxes and click on the ‘Next’ button.
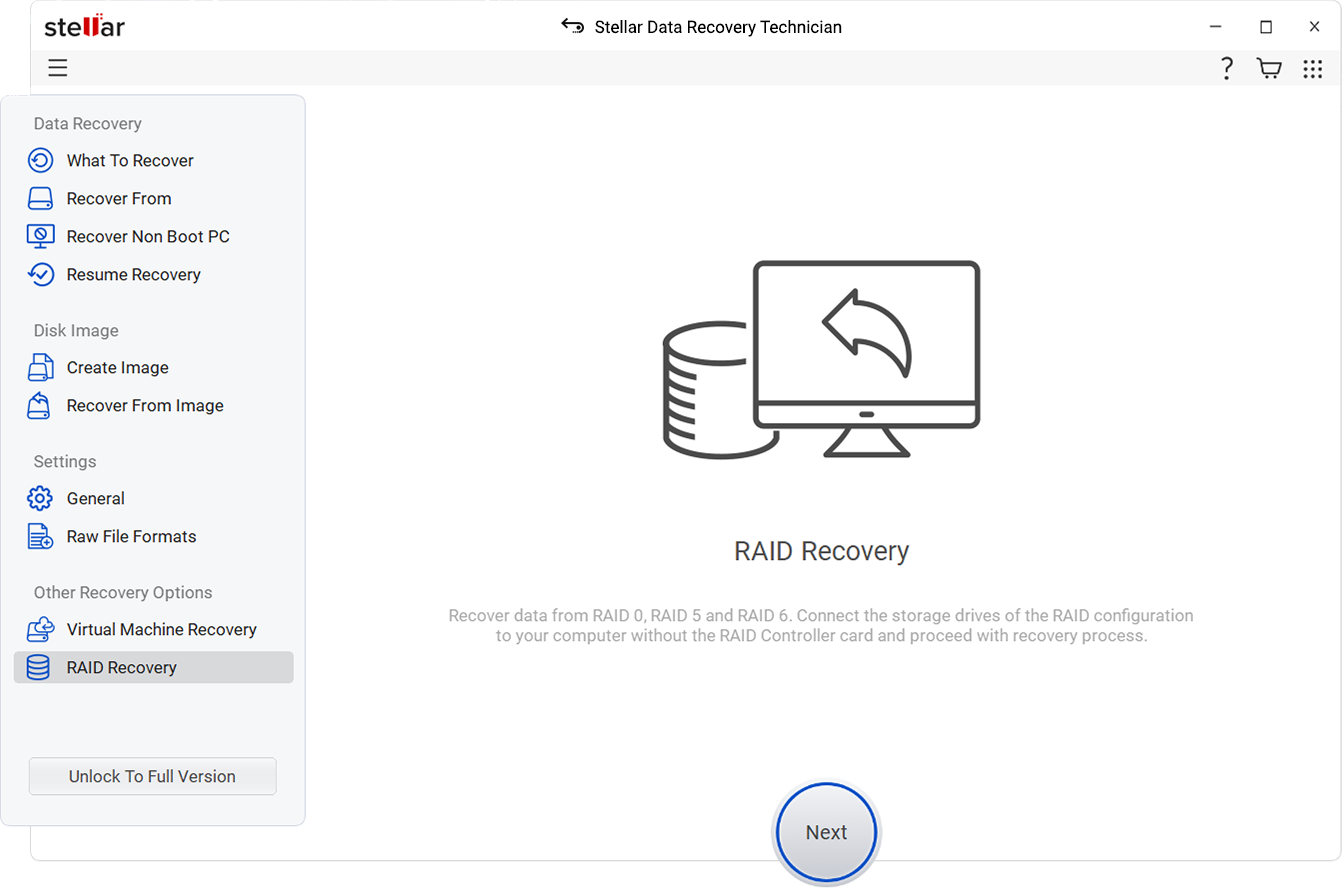
- In the next screen ‘Select Location’, choose ‘RAID Recovery’ by checking the respective checkbox and click on the ‘Scan’ button.
- In the ‘RAID Construction’ window that appears, do the following:
- Click on the ‘RAID 0’, ‘RAID 5’, or ‘RAID 6’ tab depending on the RAID type you were using before
- Note – After doing so, all the RAID drives, as well as the missing drives are shown in ‘Select Hard Drives to Reconstruct RAID’ section.
- Under ‘Select Hard Drives to Reconstruct RAID’ section, click on a hard disk and use the ‘arrow buttons’ to add or remove hard drives from the ‘Select Hard drives to Reconstruct RAID’ section to ‘Move hard drives up/down for disk order’ section
- Note - You can use the ‘Up’ or ‘Down’ arrow buttons, present next to the ‘Move hard drives up/down for disk order’ section to arrange disk in sequence (sequence starts from Disk 0). I.e. in the same order as those were present in the respective RAID array.
- Under ‘Select RAID Parameters’, select values for Stripe/Block Size and Parity Order/Rotation using the respective drop-down boxes
- Note - If you do not know the values for the RAID parameters, then select ‘do not know…’ and check-mark all possible values available in the drop down list.
- Click the ‘Build RAID’ button for the software to reconstruct the probable RAID
- Note – If RAID construction fails, you can click the ‘Create Virtual Drive’ button to build a virtual RAID drive. Else, the probable RAID gets reconstructed after some time, and the software displays the RAID volumes in the ‘Select Constructed RAID’ window.
- In ‘Select Constructed RAID’ window, click ‘Show Volume List’ button to list all RAID volumes
- In ‘Select Volume to Recover Data’ screen that appears; do the following
- Choose one of the enlisted volumes from which you have to recover data
- Click on the ‘Scan’ button
- The software displays a Preview window containing all recoverable data in ‘Tree View’, ‘File Type’, and ‘Deleted List’ panes. If not found as needed, click on blue colored ‘Click Here’ link for ‘Deep Scan’. After doing so, the software performs an in-depth scan to be able to recover data from RAID.
- In the Preview window, check the checkboxes for the recoverable files and folders that you want to retrieve, and click on the ‘Recover’ button
- In the ‘Recover’ dialog box that appears, perform the following steps:
- Click the ‘Browse’ button to choose a location for saving the data
- Note – Do not select the drive of the RAID array that is now connected to your PC. Use an external or internal disk having enough space for saving the RAID data.
- Click on ‘Start Saving’ button
After executing the aforesaid steps with Stellar Data Recovery Technician software, you can easily perform hardware RAID Recovery.


