

Stellar Data Recovery Premium for Mac can recover all types of data from Mac systems and other storage devices. It can also repair corrupt photos and videos. Some of the prominent features of this software are:
- Recovers permanently deleted documents, photos, videos, etc.
- Provides option to recover data from crashed Mac through bootable USB recovery drive.
- Repairs corrupt and damaged photos or videos.
- Supports APFS and HFS+ file systems on Mac with macOS Monterey or prior versions.
- Retrieves files from memory card, USB drives, FireWire storage drive, etc.
- Recovers from Time Machine and high capacity storage drives.
Steps to Recover Data using Stellar Data Recovery Premium for Mac
To recover data using Stellar Data Recovery Premium, follow the steps below:
Step 1: Run the Stellar Data Recovery Premium software on your Mac.
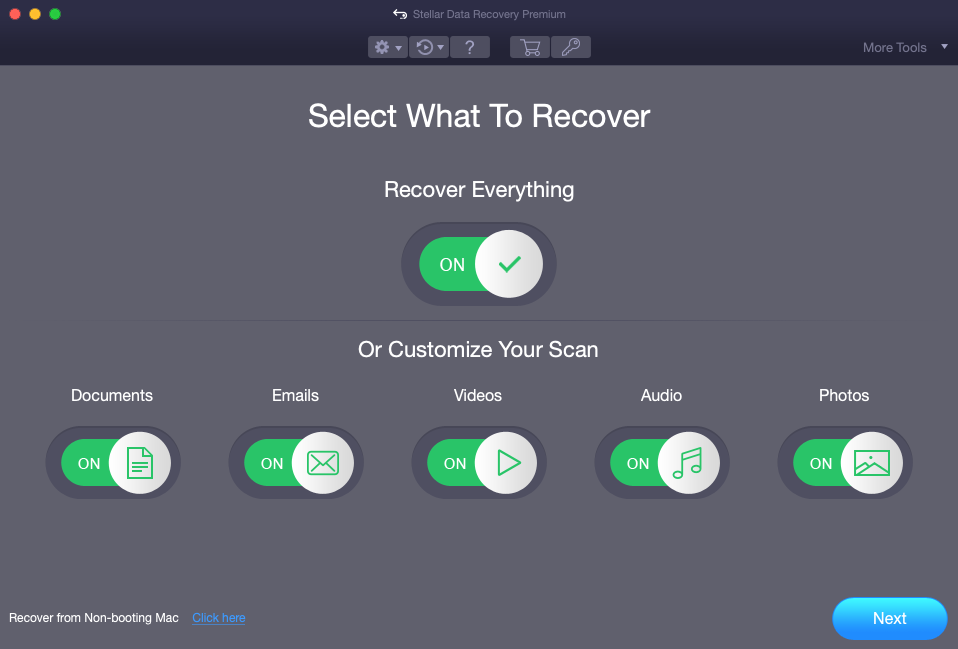
Step 2: From the main user interface, select the type of data you want to recover and click Next. You can either choose to Recover Everything or choose from the specific file types i.e. Documents, Emails, Videos, Audio, or Photos.
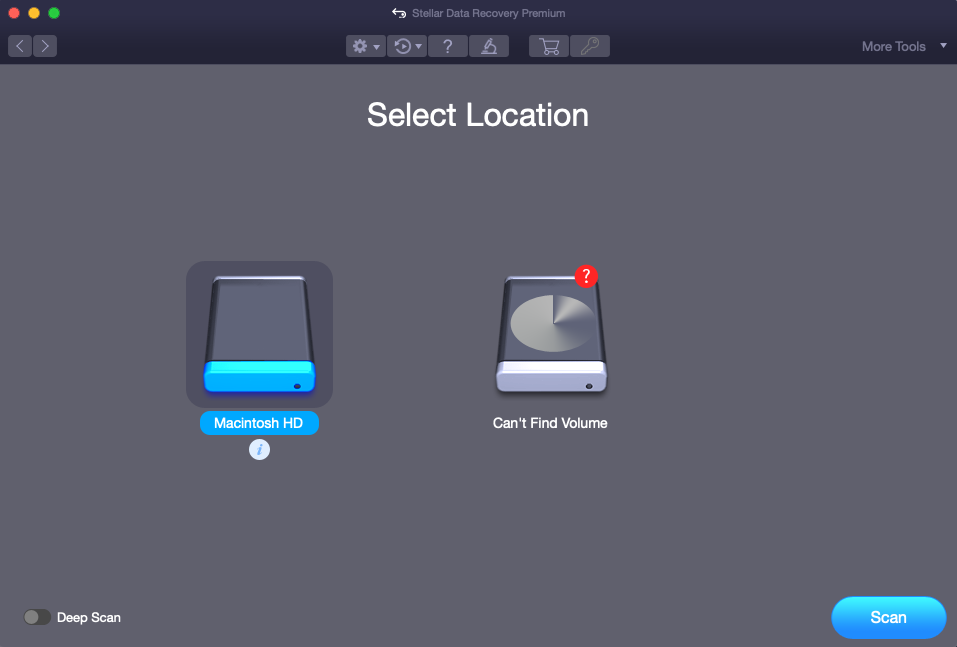
Step 3: The next screen that appears is Select Location where you need to select the volume from where you have to recover the data.
|
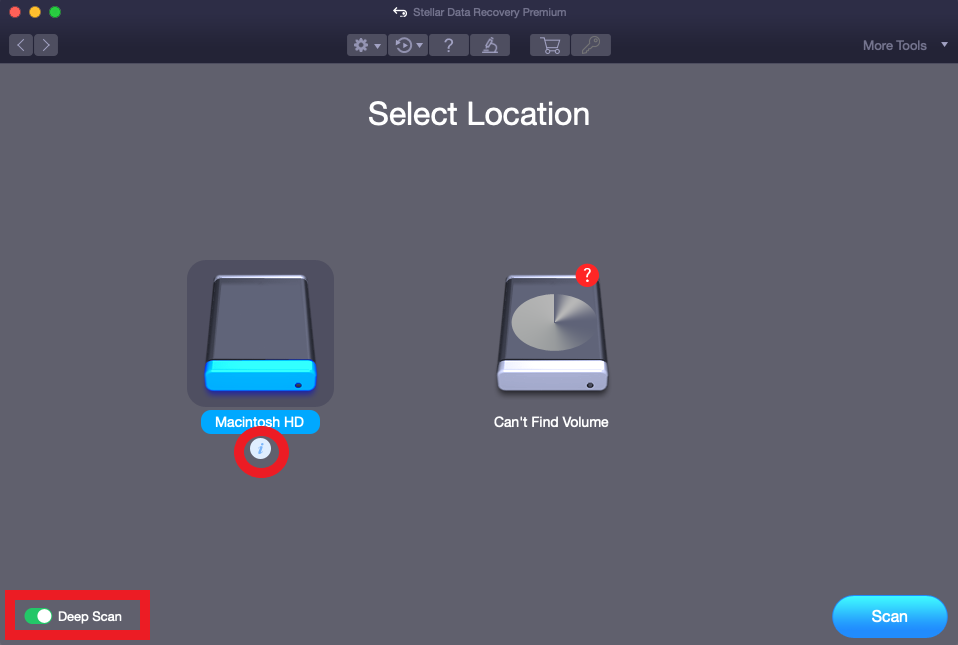
Note: You can view the information of the selected volume by clicking on the ‘i' icon below the selected volume. You can also choose comprehensive scanning of volume by turning on the Deep Scan toggle at the bottom-left corner of the Select Location screen. |
Step 4: Once you have selected the volume, click the Scan button at the bottom-right corner.
|
Note: If you are using Stellar Data Recovery for the first time on your Mac with macOS Monterey or later versions, you need to allow loading of an extension signed by Stellar Data Recovery on your Mac. Click here to learn more. |
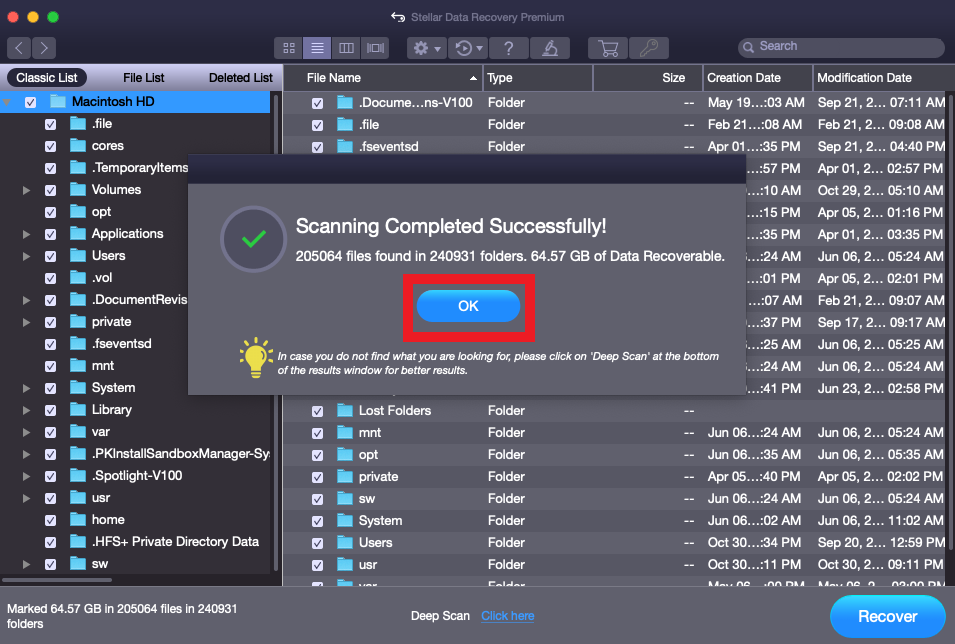
Step 5: The scan process will commence. If you want to stop the scan, use the Stop button at the bottom right of the software window.

Step 6: Once the scan is complete, the information of all the scanned files and folder will appear in a dialog box. Click OK to proceed.
Step 7: The complete details of files and folders are displayed in a tree view. To preview the files, you can expand the tree structure and click the desired folder in the sidebar on left.
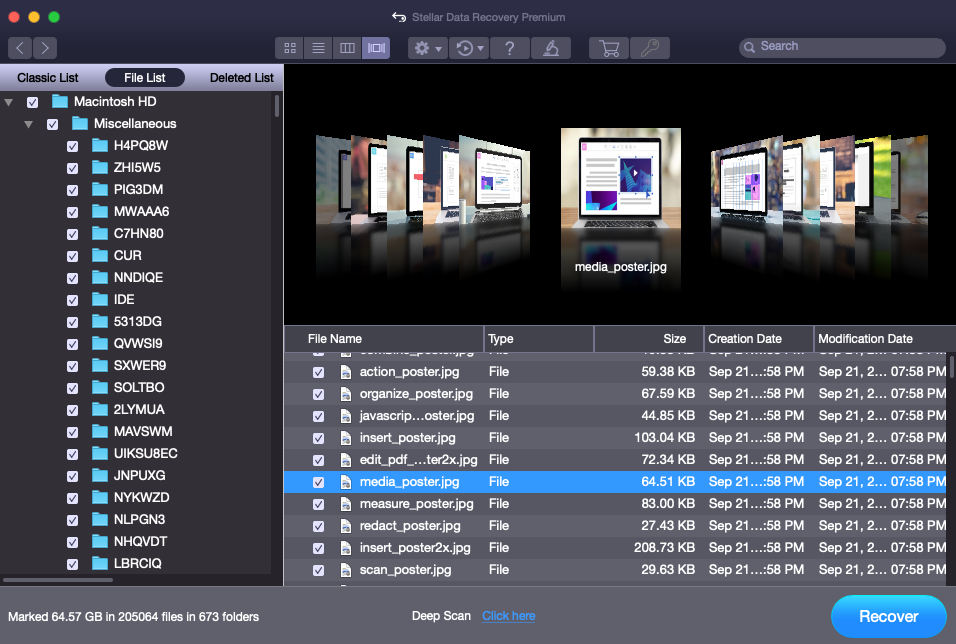
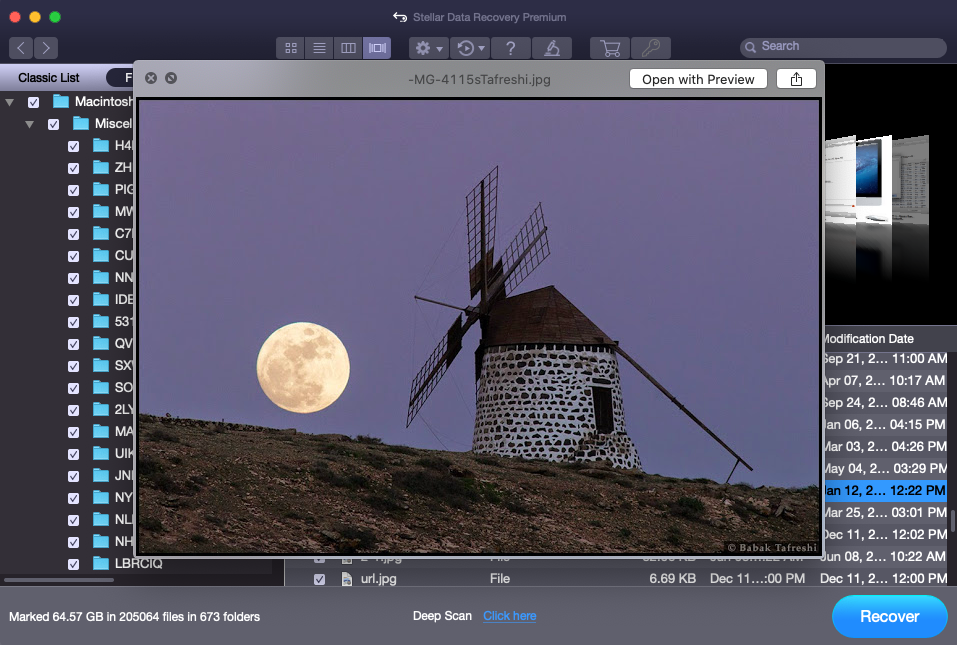
Step 8: Double-click the specific file in the right pane and the preview will appear in a new window.
|
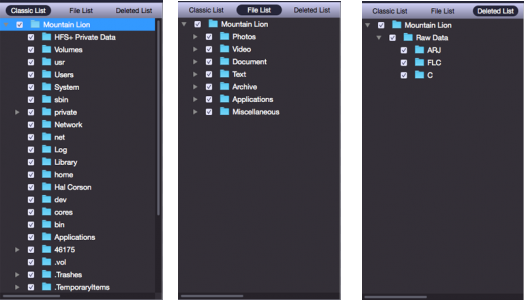
Note: You can change the view format by choosing the Classic List, File List, or Deleted List option provided on the top of sidebar on left. |
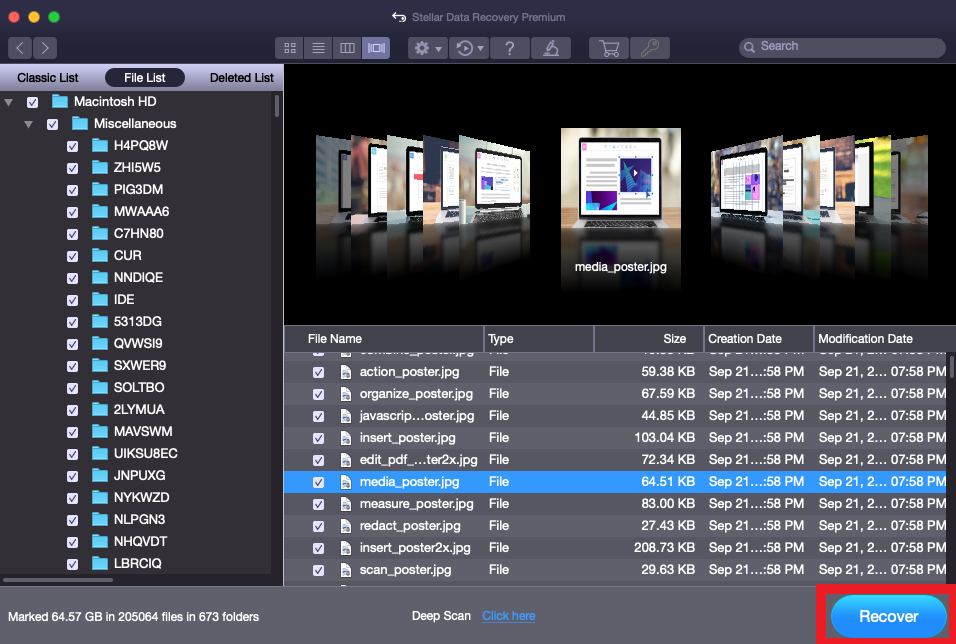
Step 9: You can save specific files, all the files, and individual folder. To save a specific file, select the file and click on the Recover button at the bottom.
Step 10: To recover all the files, check the root node in the left pane and click the Recover button at the bottom right.
|
Note: You can also choose a file type to be recovered by changing the view to File List and selecting types of files. Then click Recover. |
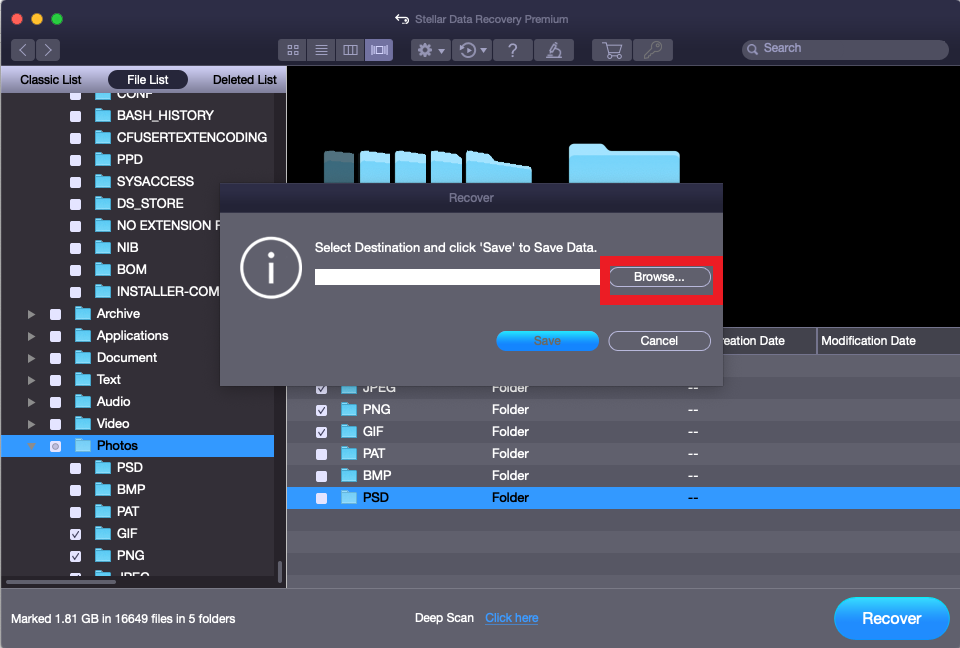
Step 11: A dialog box titled Recover appears. Click the Browse button and select the destination where you want to save your recovered files.
Step 12: Once the destination is selected, click Save to start the saving process. If there are files in the destination with same name as the recovered file, you can choose to overwrite, rename, or skip as per your convenience.
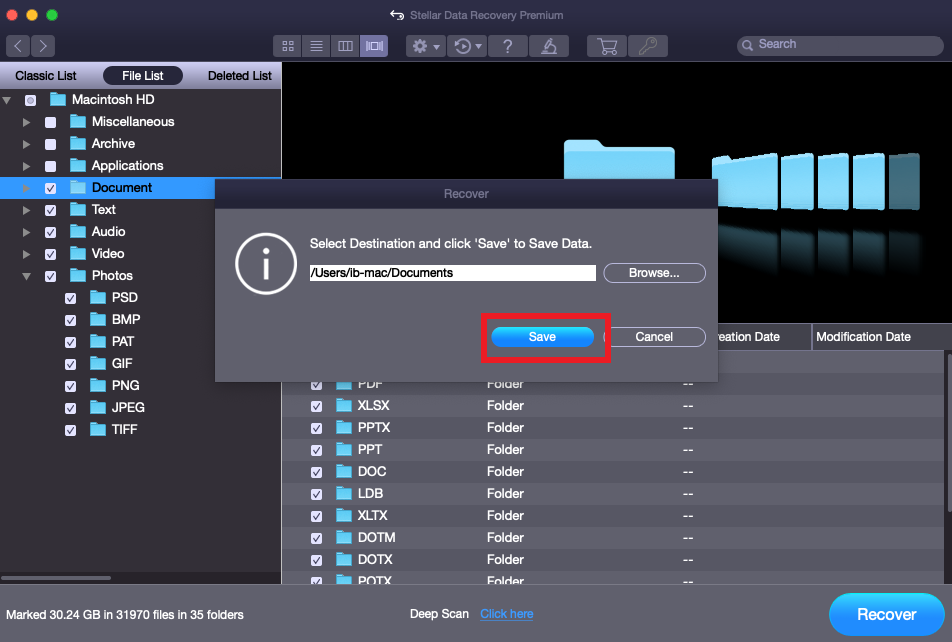
The selected files will be saved at the destination designated by you. You can browse the destination to locate the recovered files and access them.
|
Note: Stellar Data Recovery Premium allows you to save and resume the recovery process at a later stage. To know more click here. |


